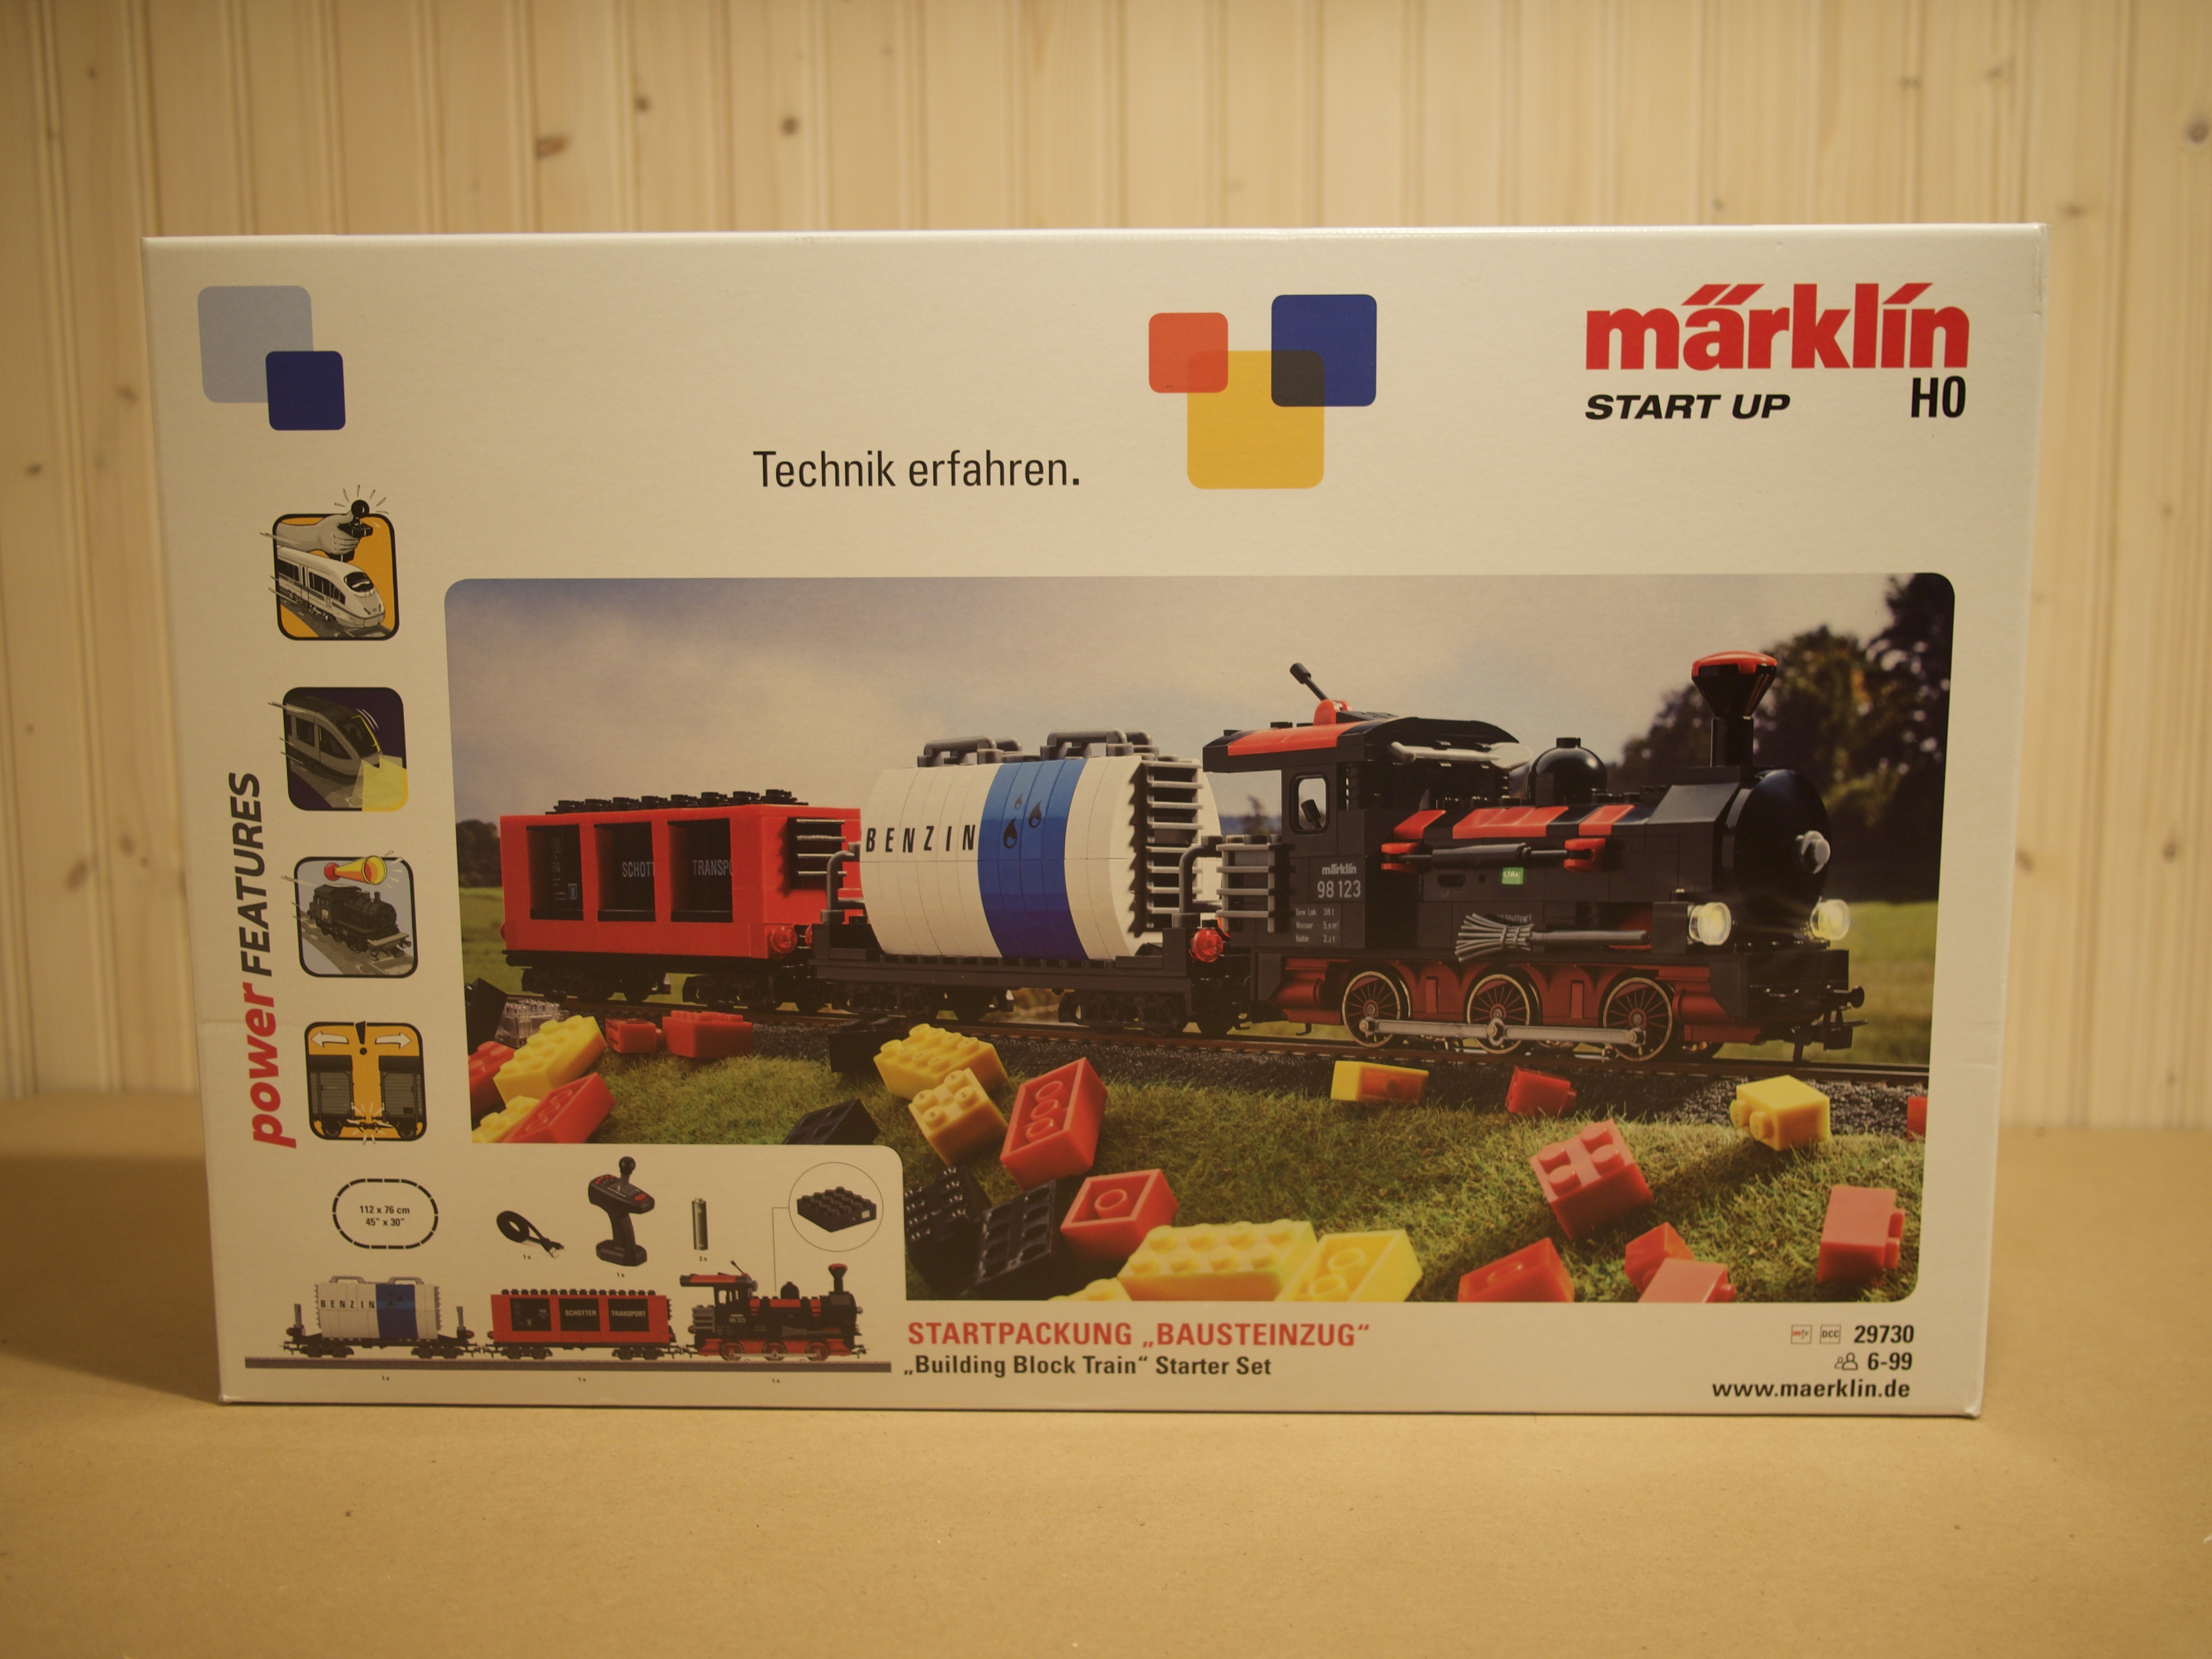
Märklin 29730 building block train
As the Lego Group continues to simplify its trains, I've become curious about alternatives. I purchased this Märklin when it was released last year and have been meaning to write about it:
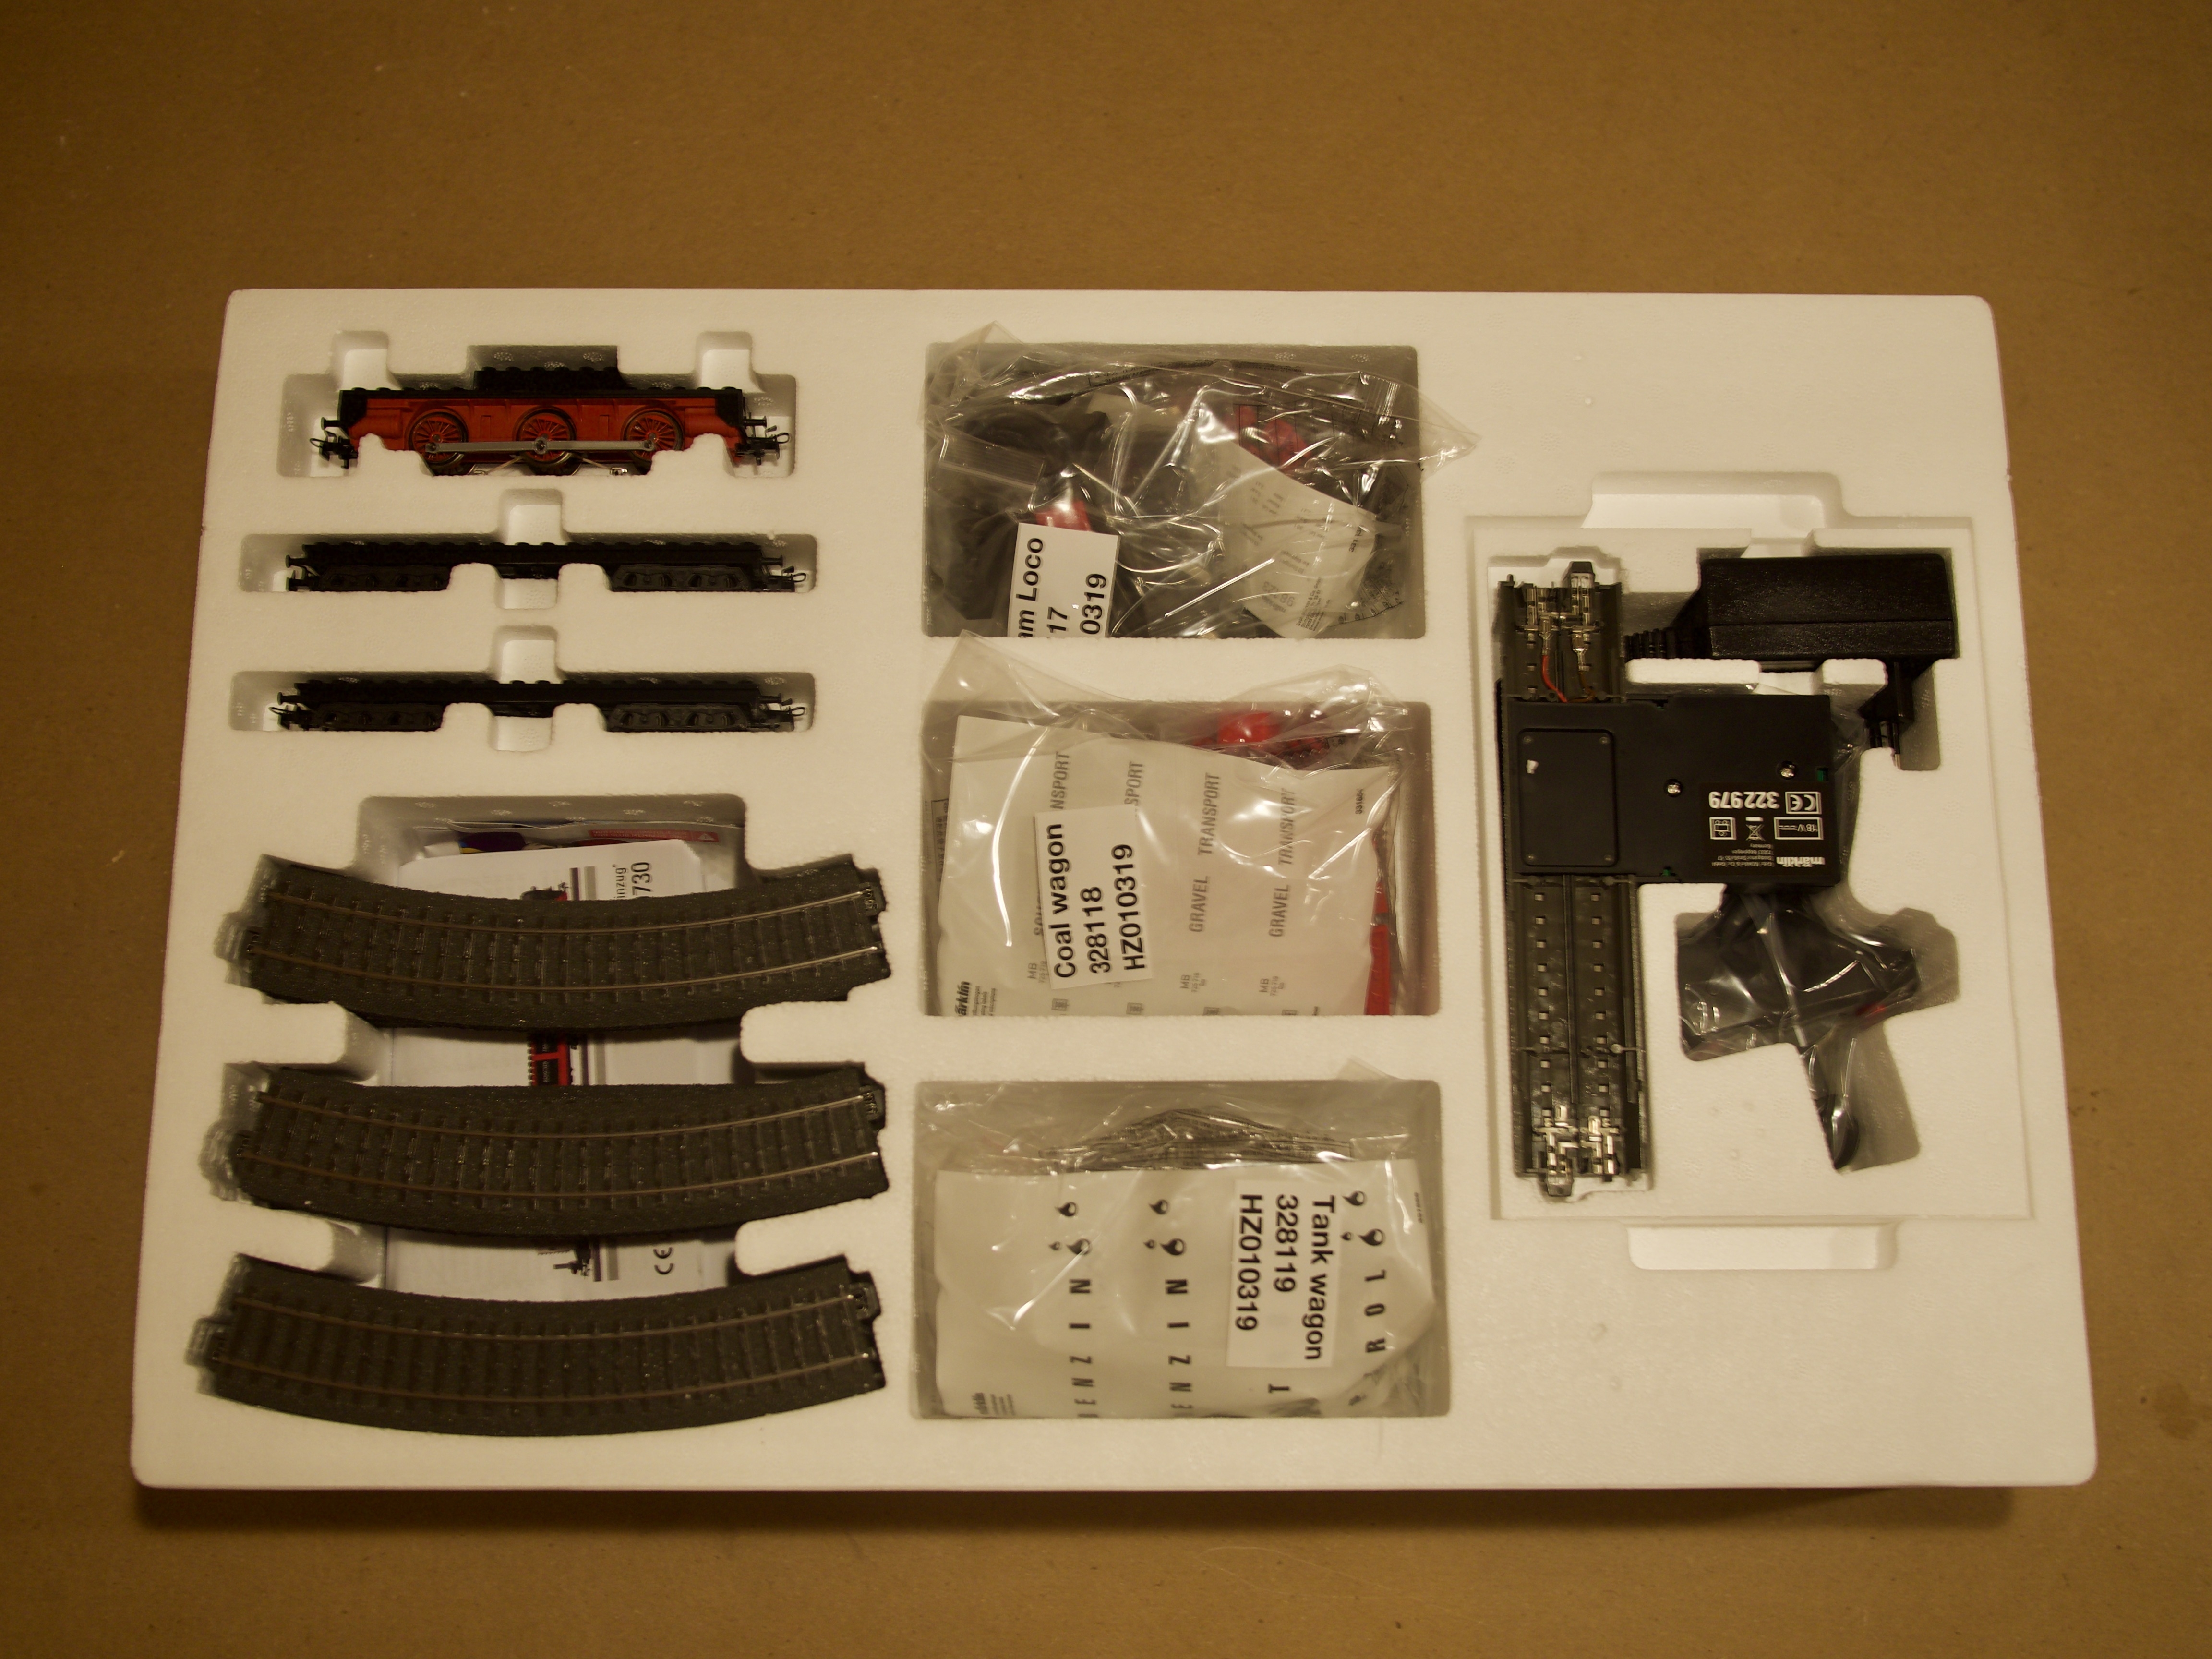
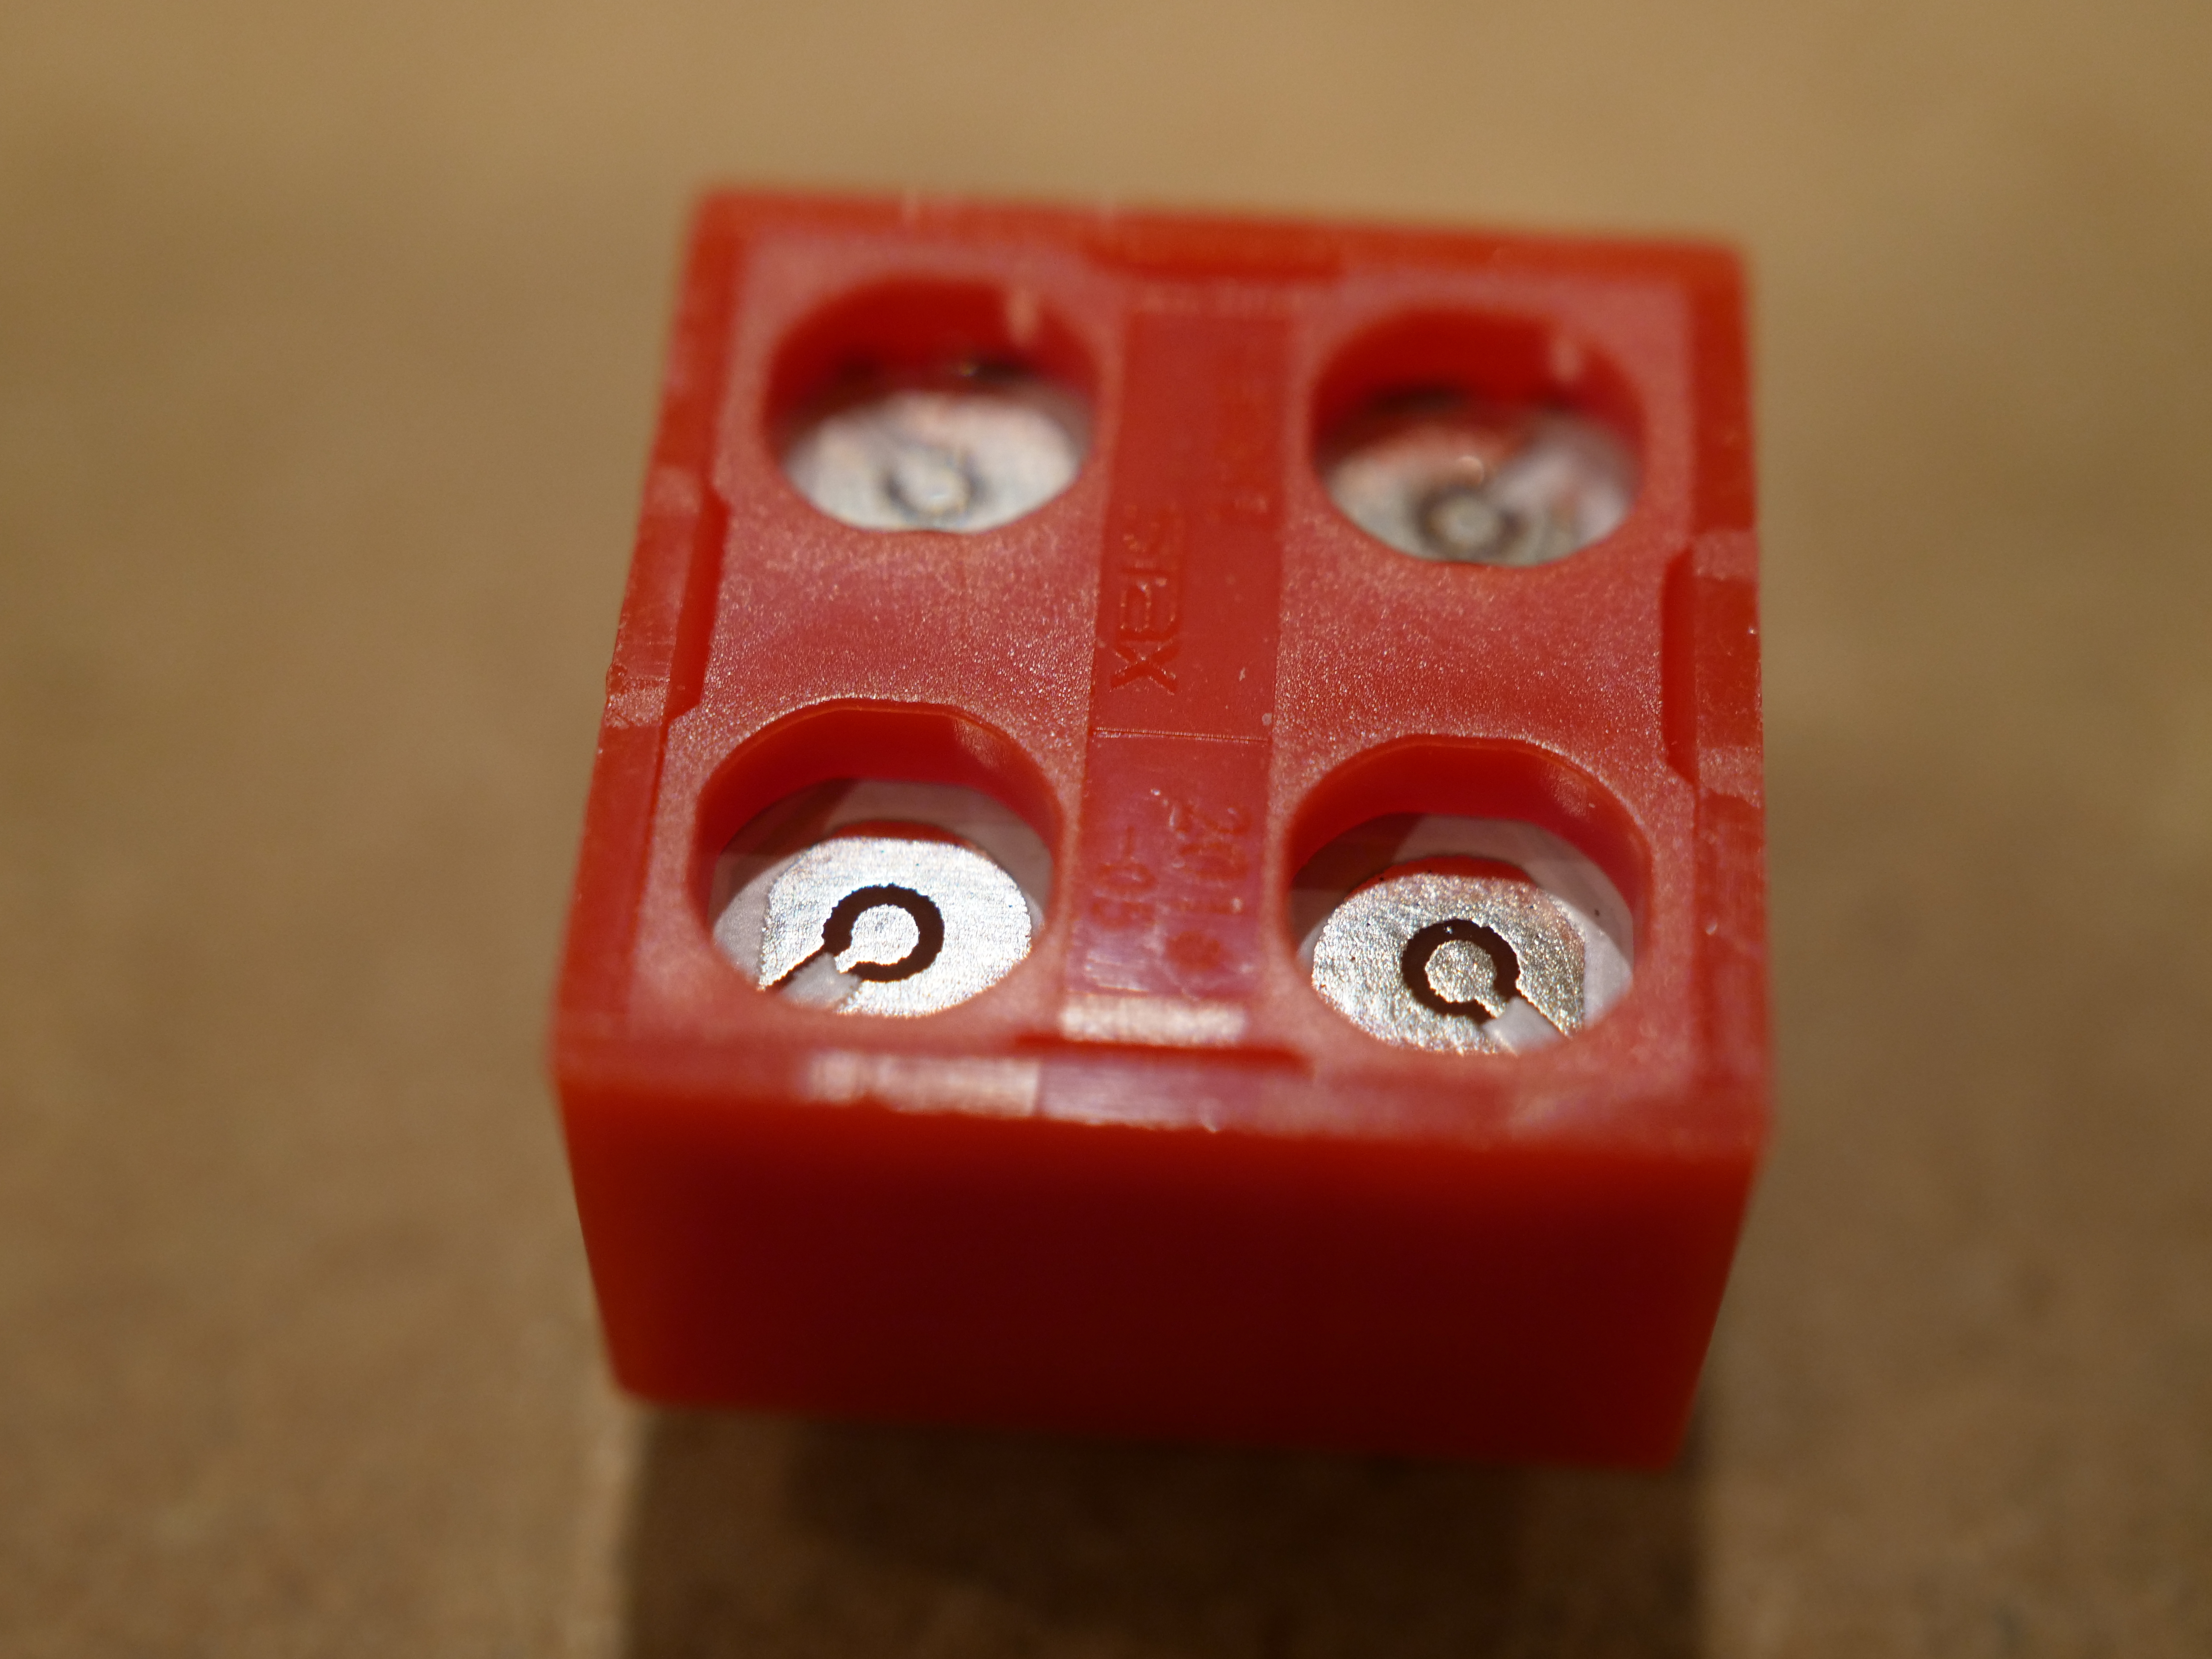
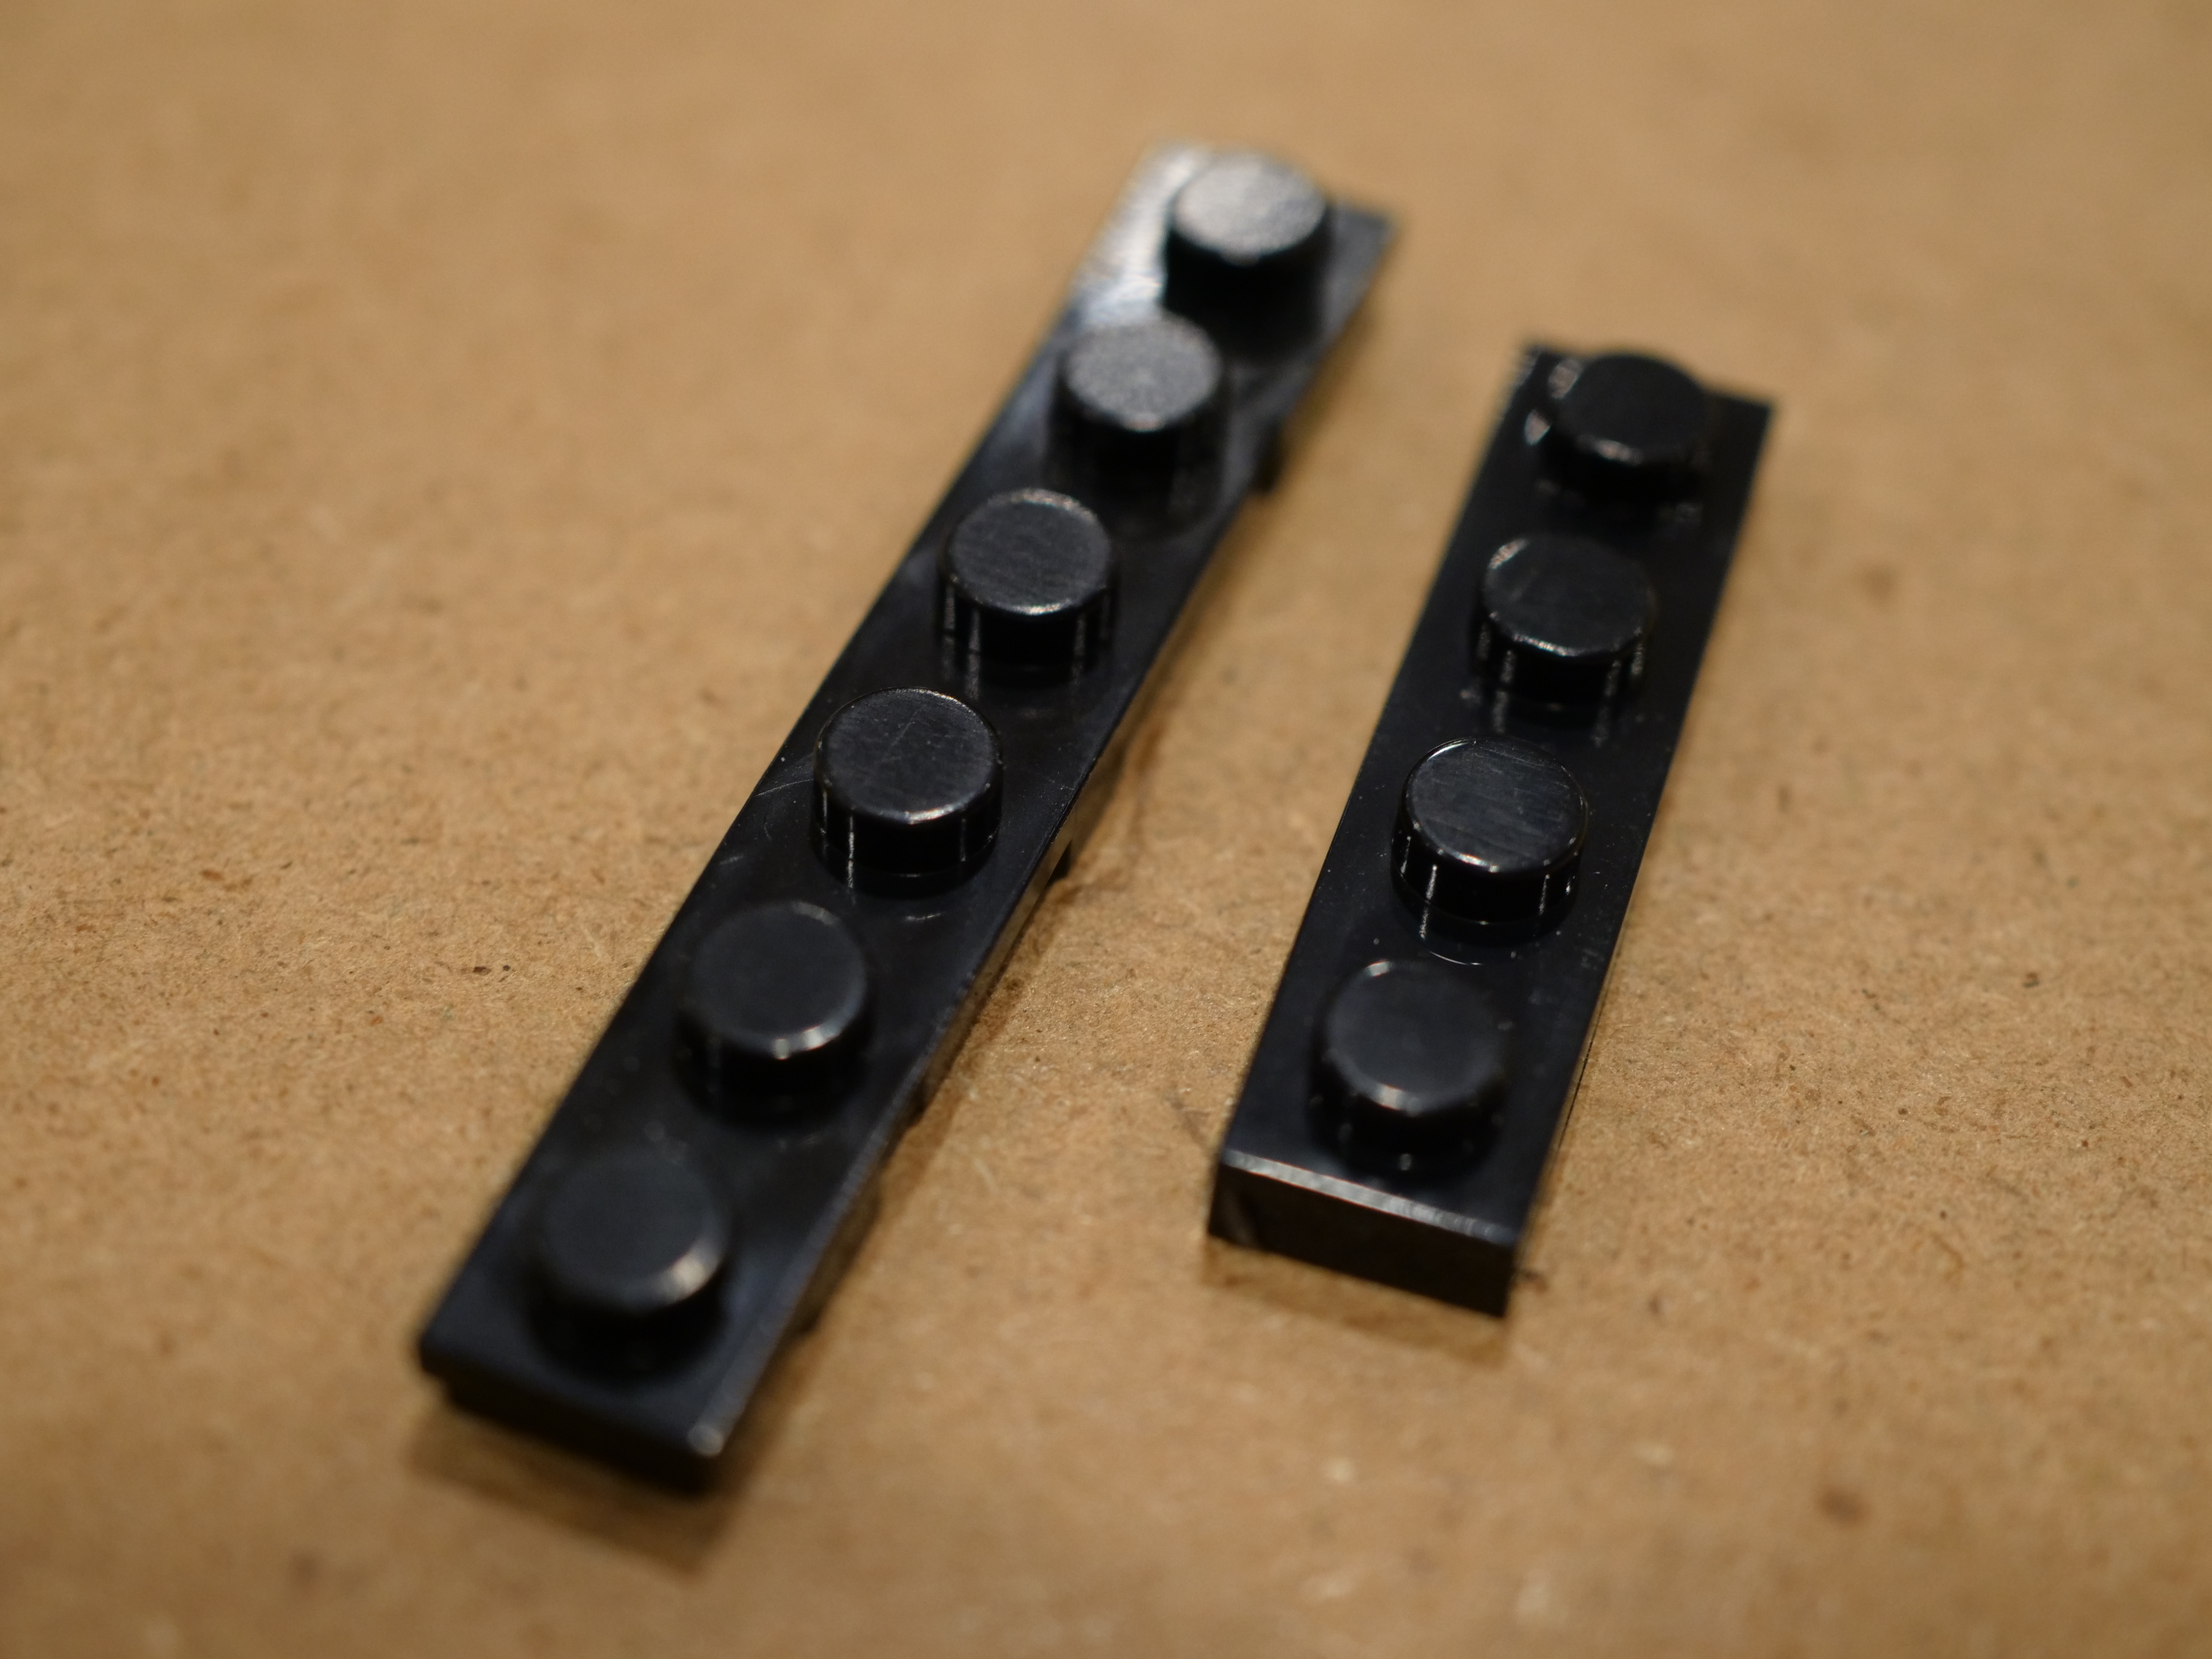
The instructions are not glossy, but I don’t think the colors are any harder to identify than TLG’s. The bricks are the same dimensions as TLG’s. Märklin lists other sets as being made by Banbao. Banbao bricks interconnect with TLG’s, but are slightly higher. I’m not sure if this means they chose a new supplier, or if Banbao is now making standard height bricks. The bag indicates the bricks are made in China. Compared to TLG’s bricks, there’s a little more mush when connecting the bricks, and a little more snap when separating them. I’m not sure that they’re objectively inferior, but I don’t like these as much.
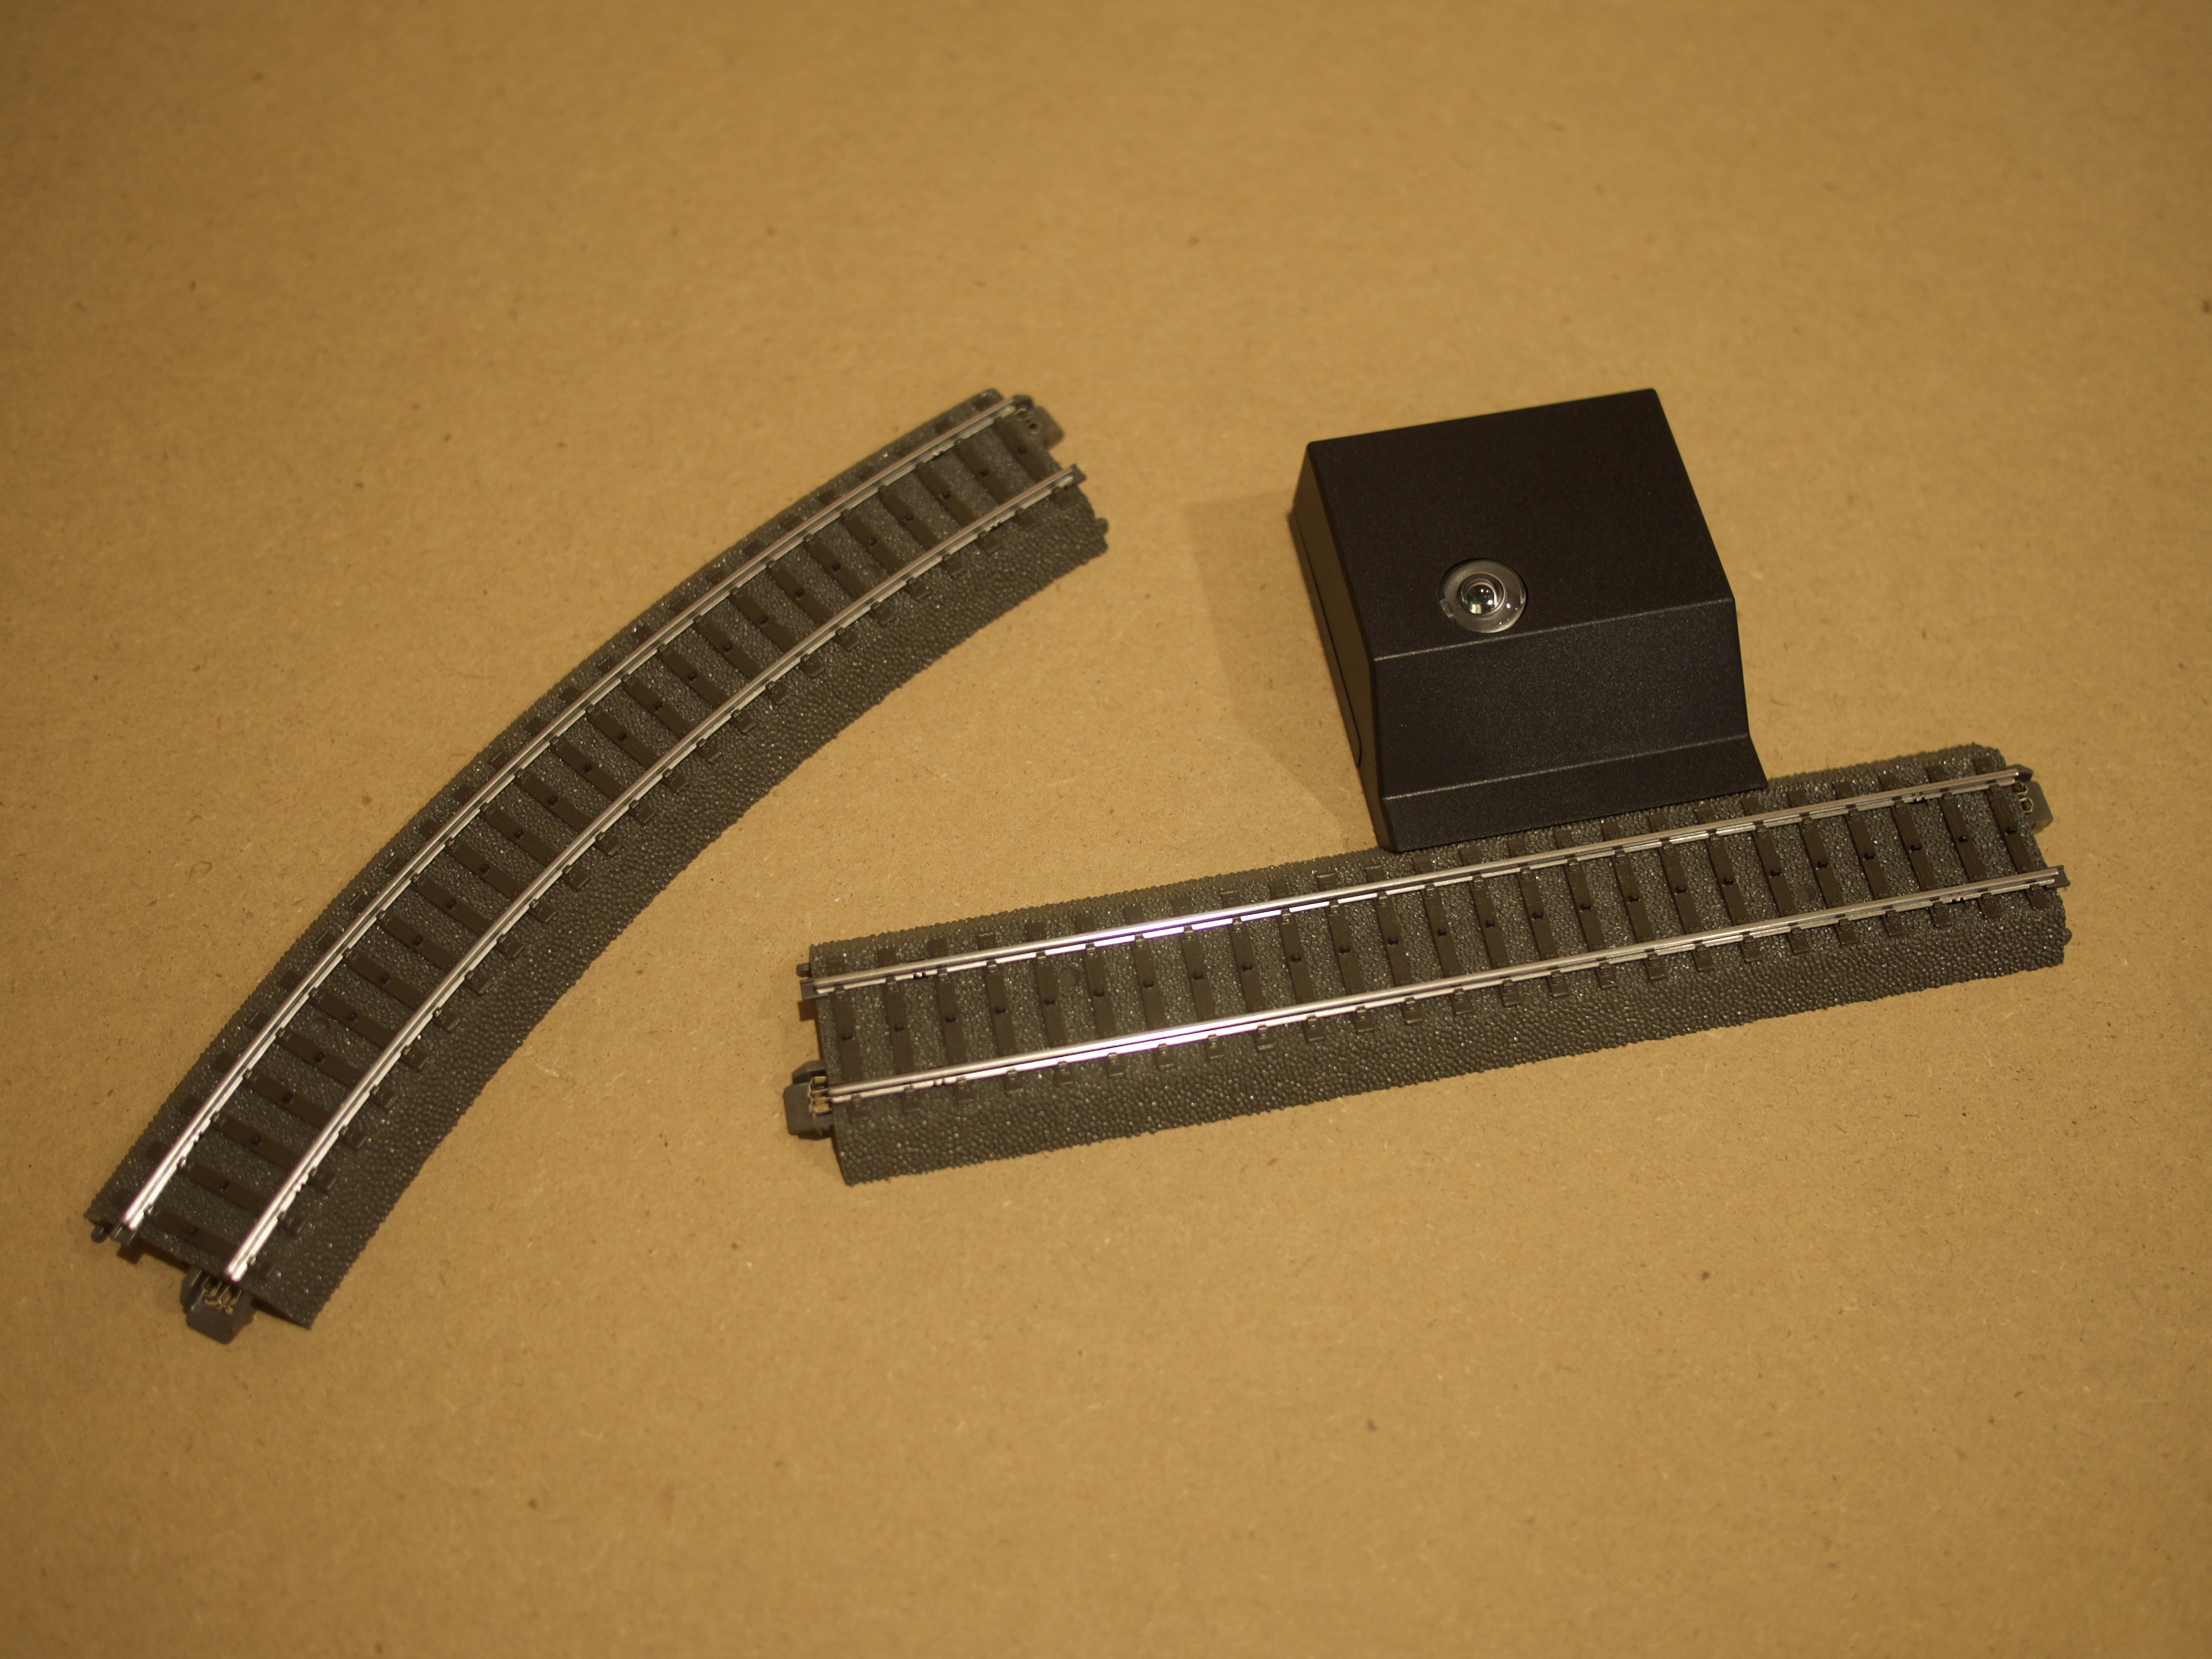
The track is generic H0, with nothing block-like about it.
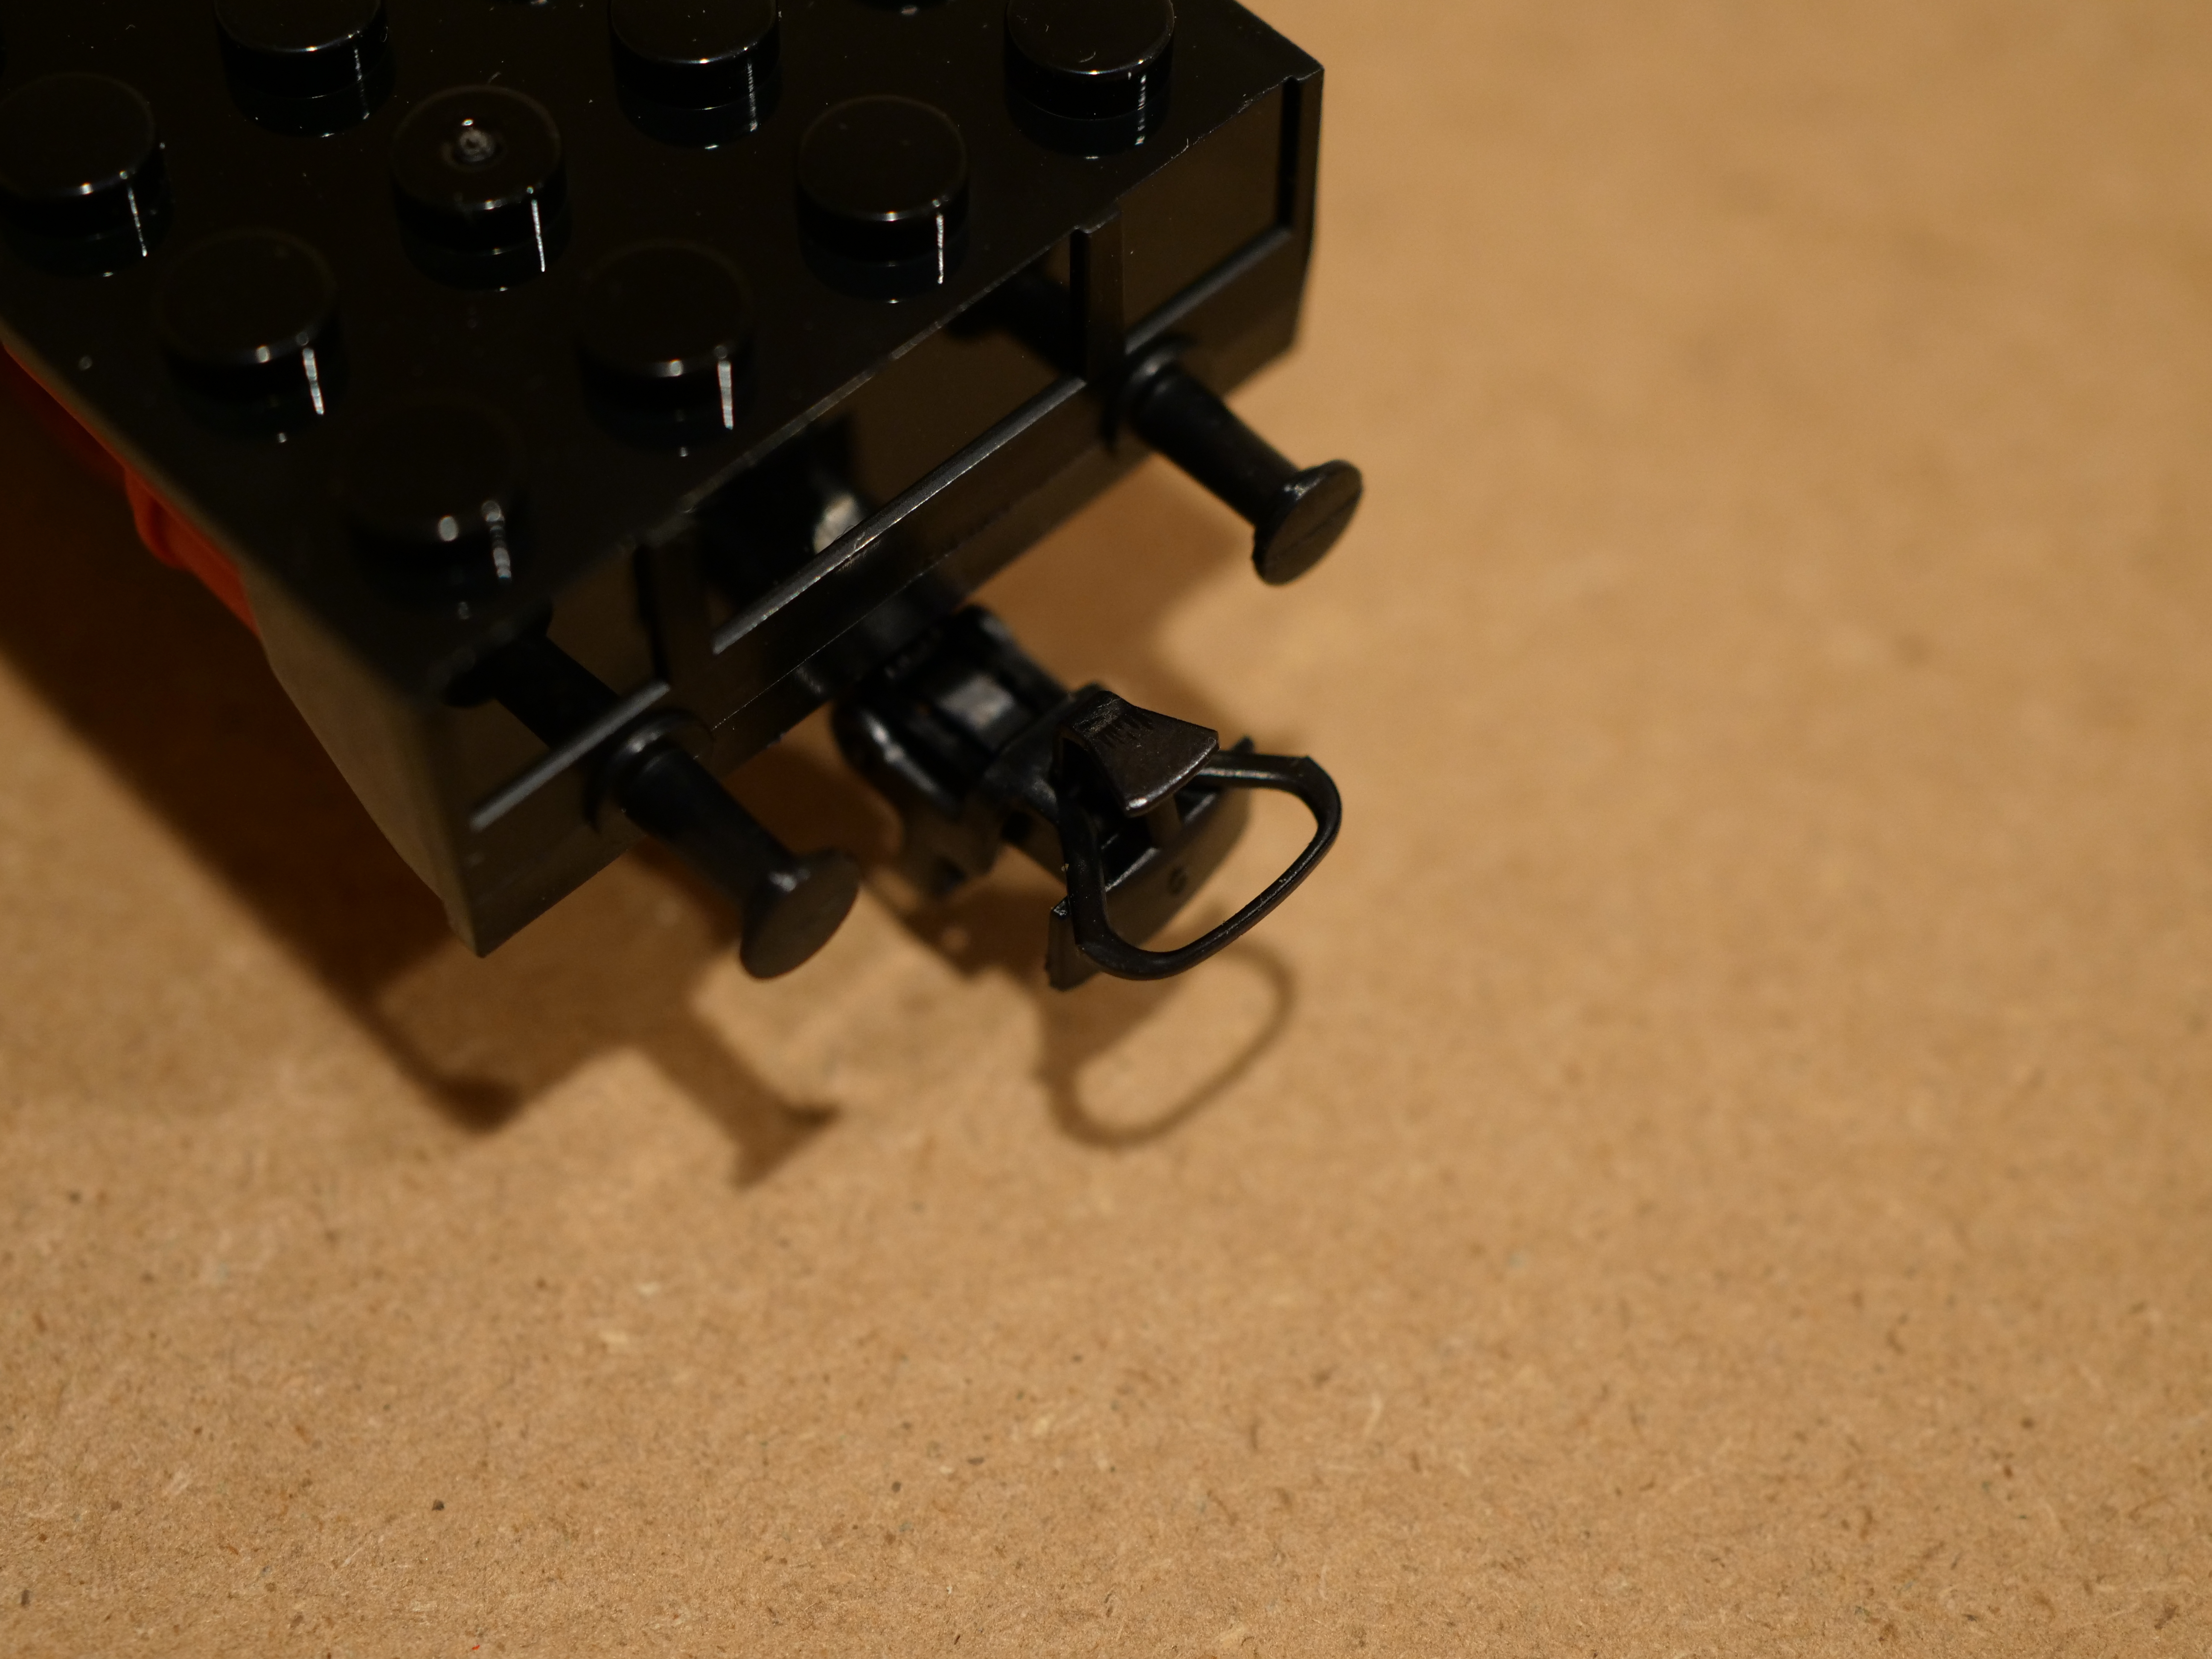
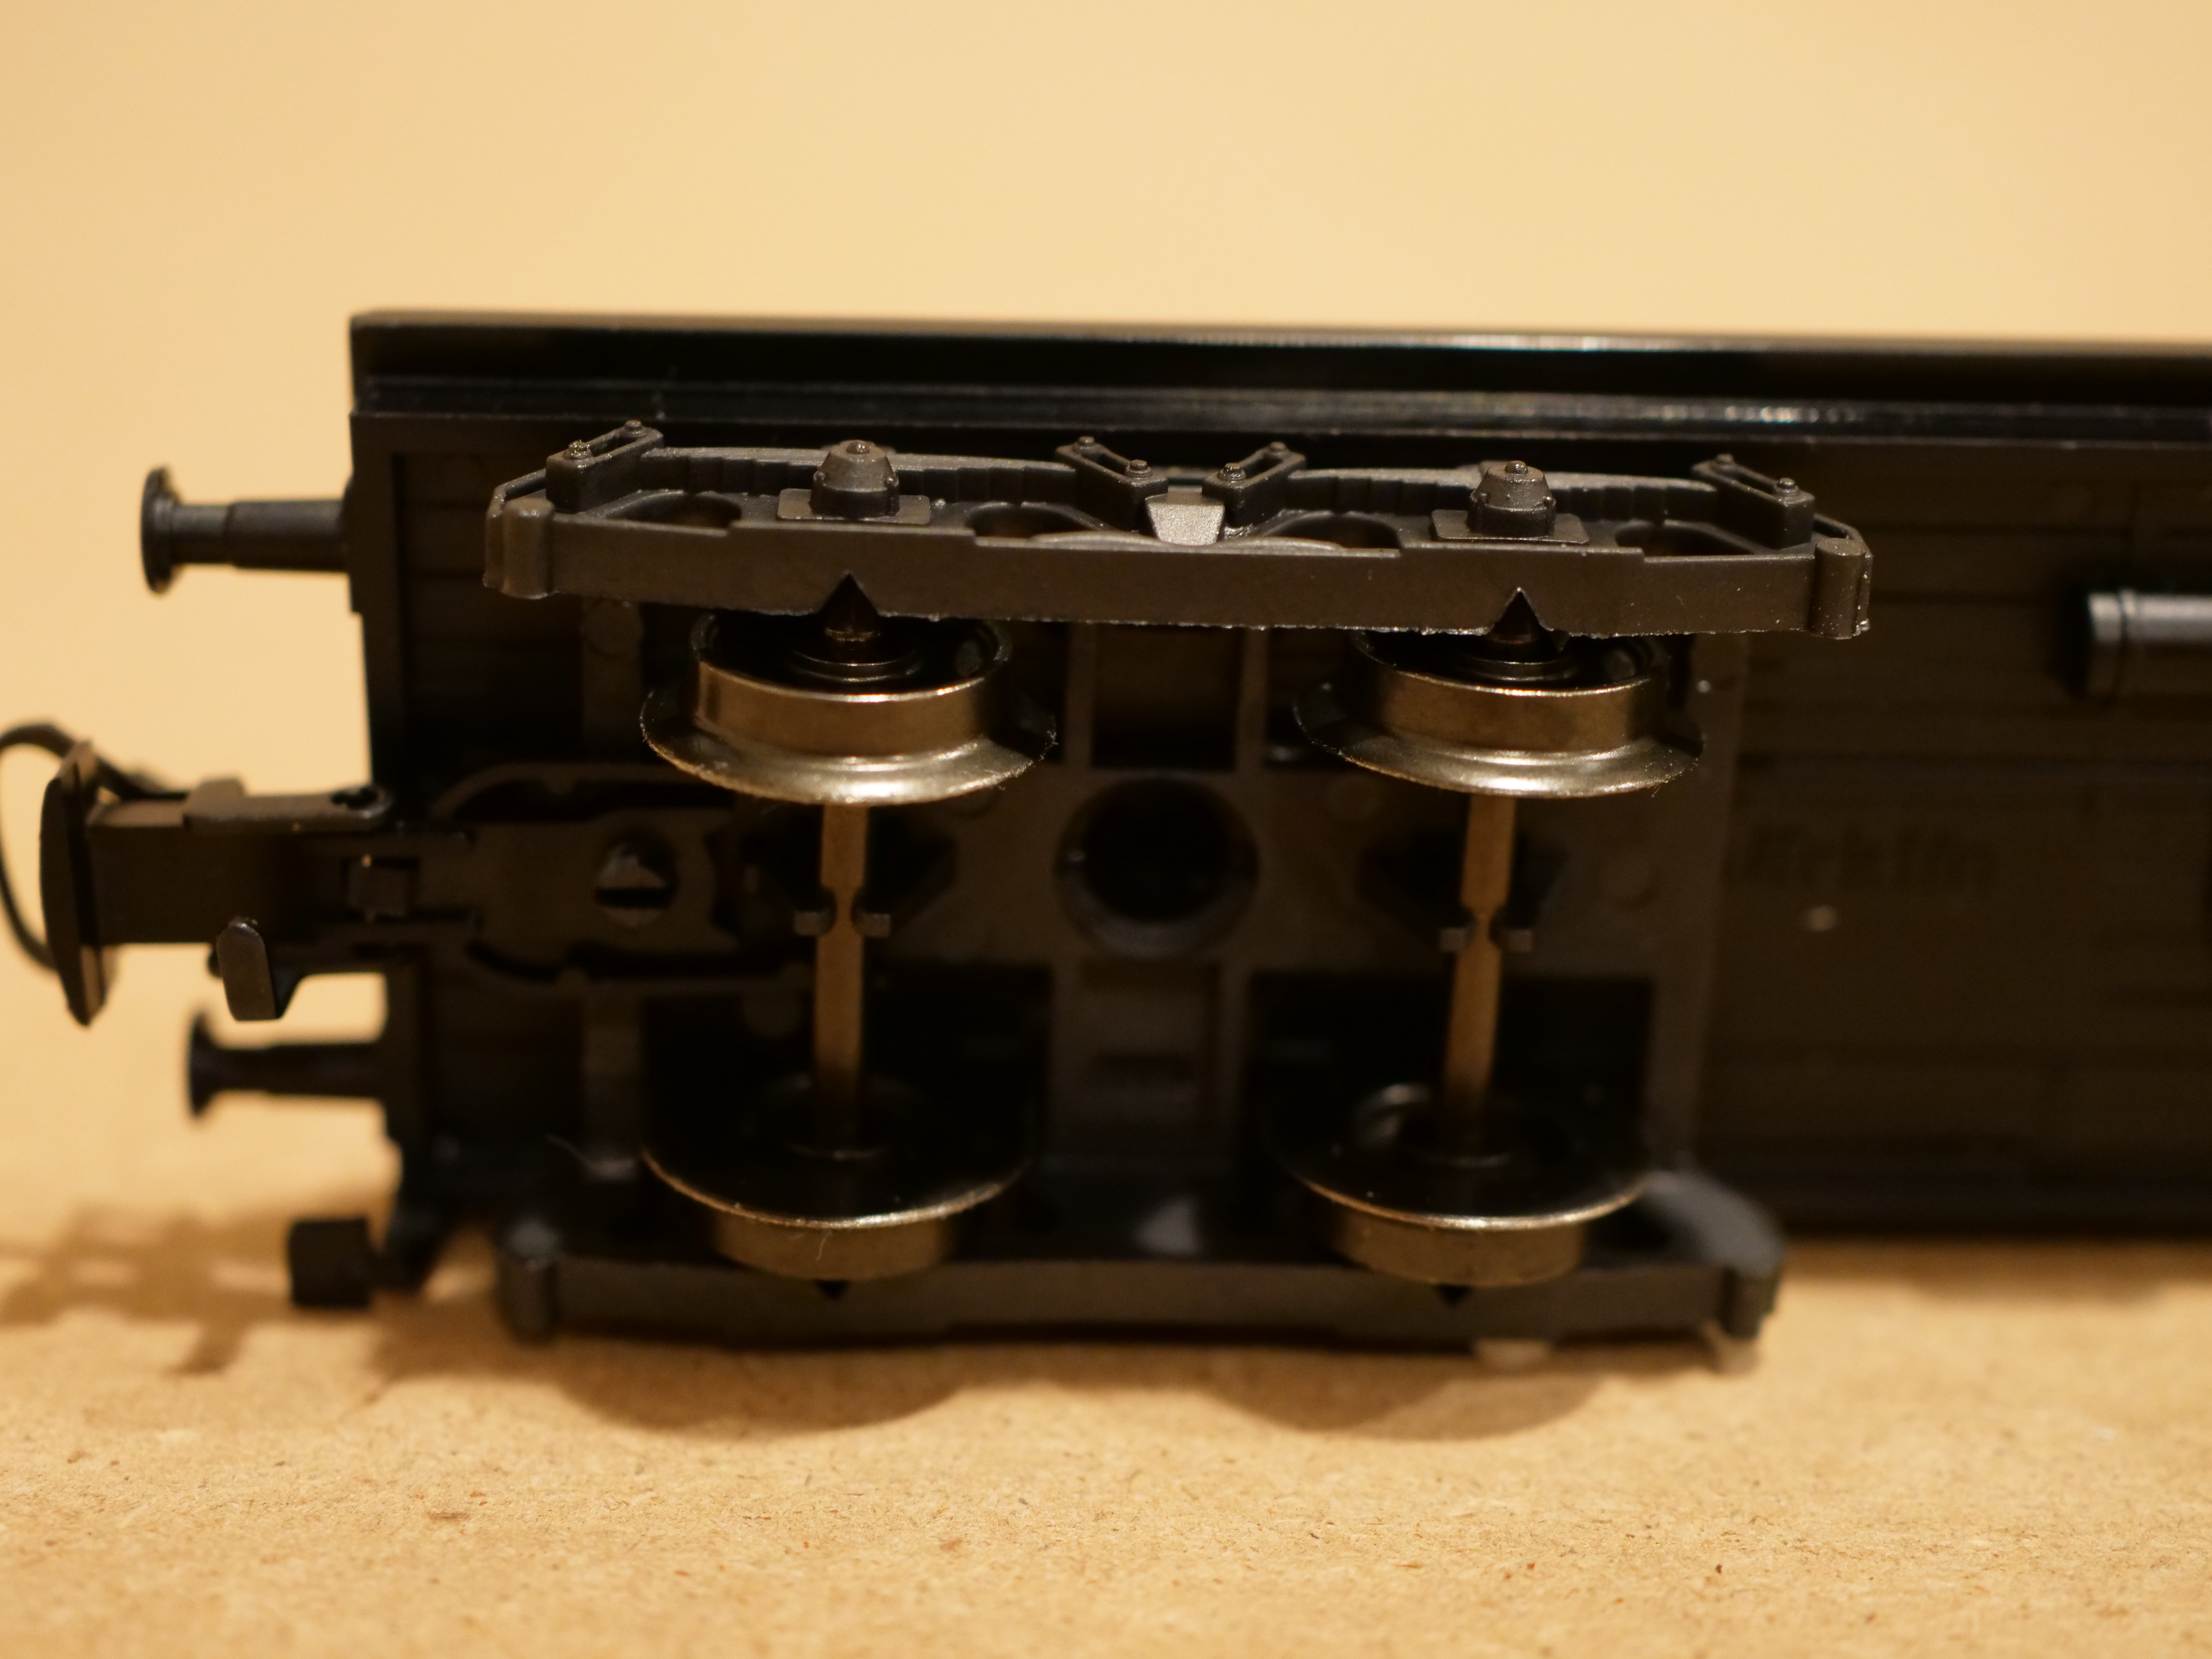
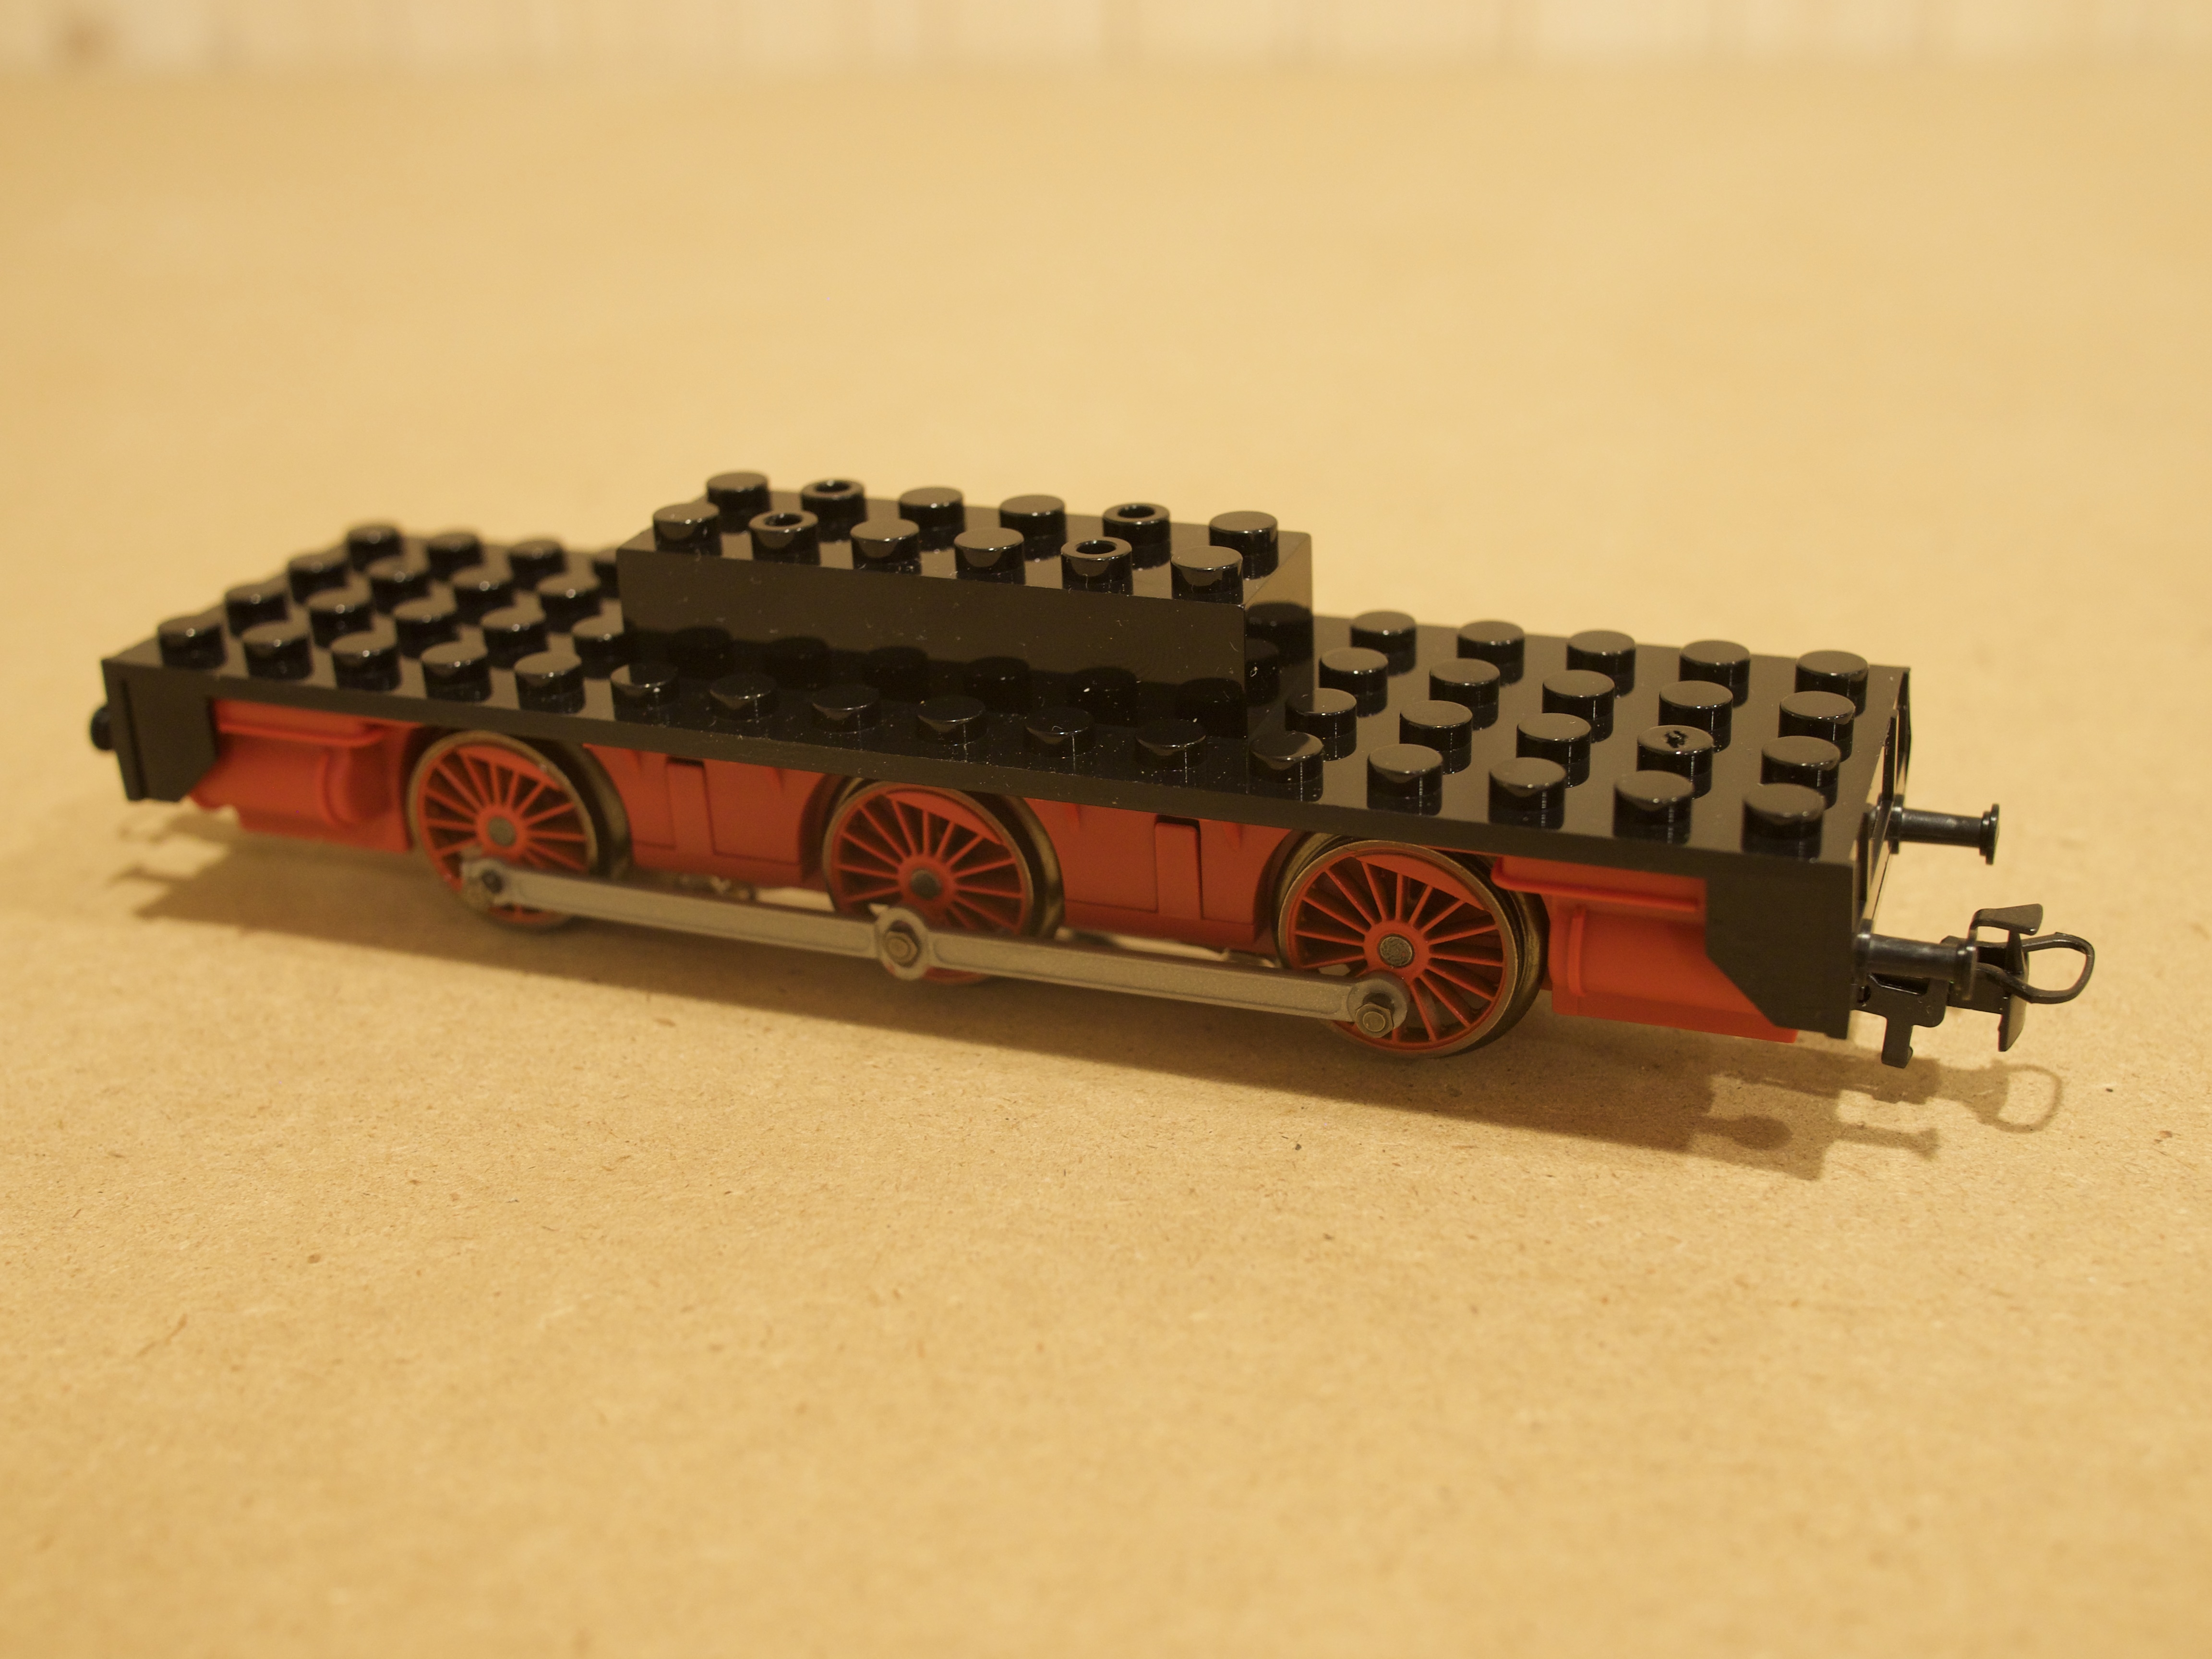
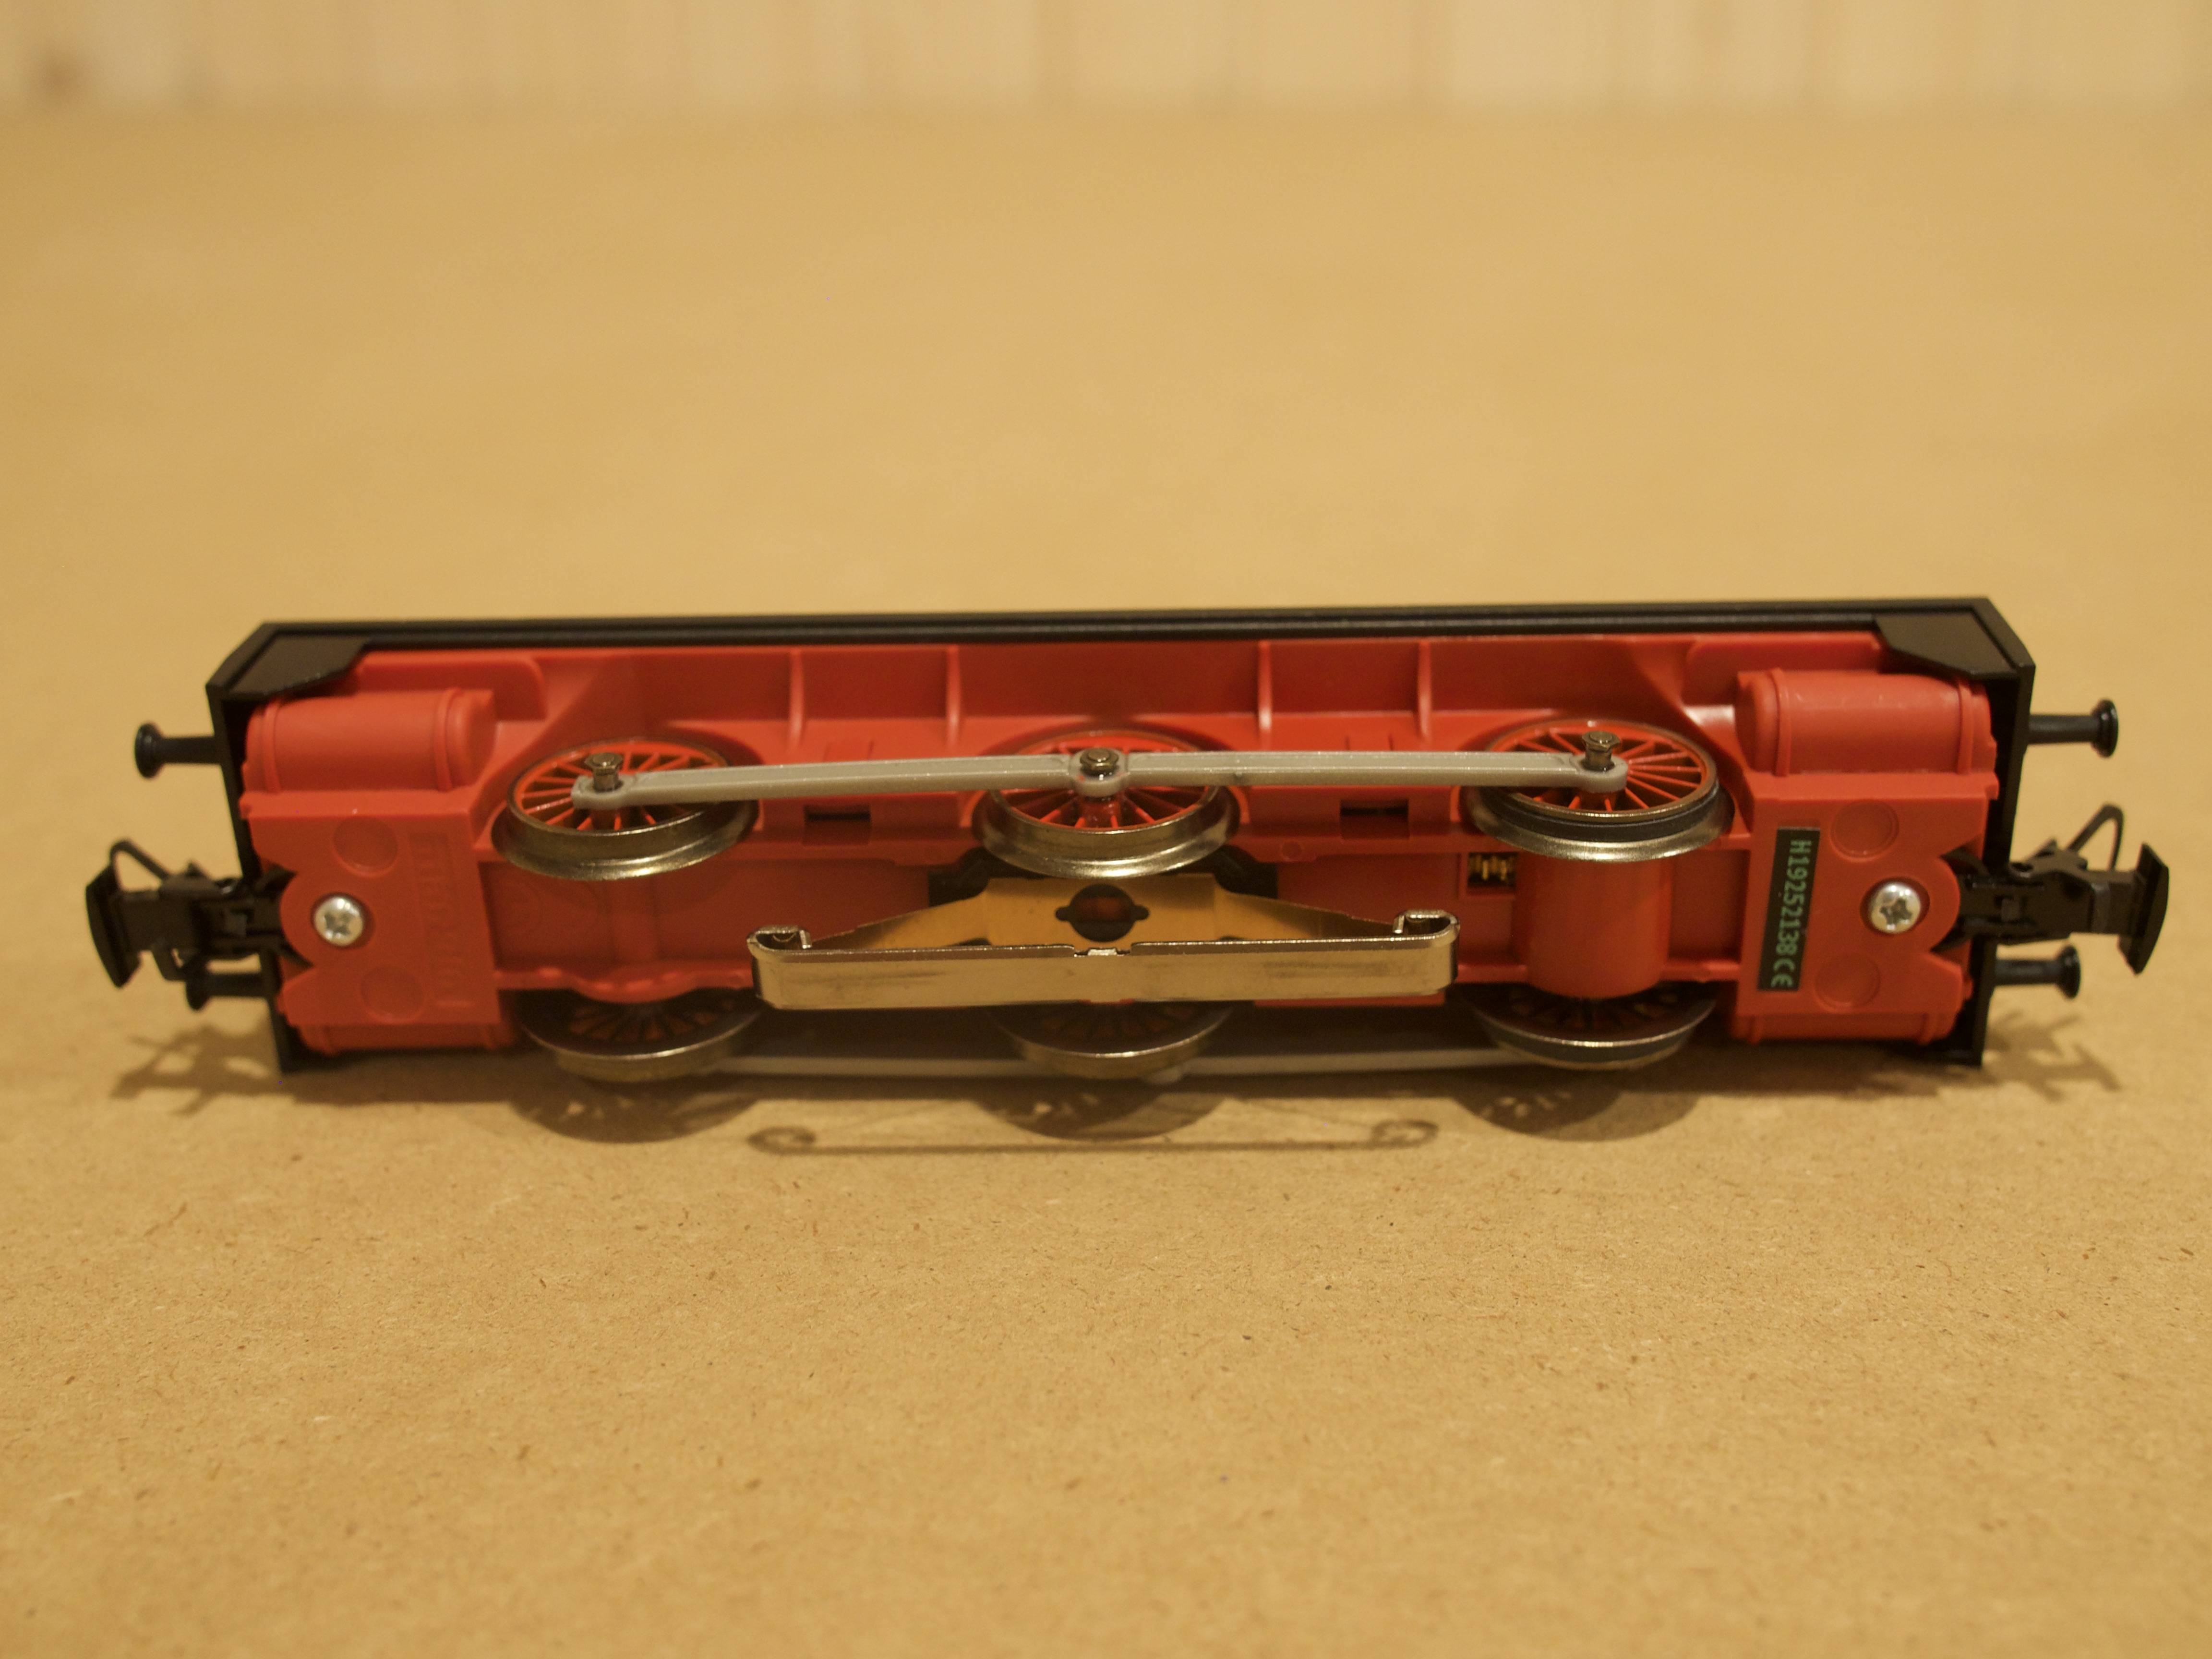
Likewise, the couplers and bogies are standard Märklin:
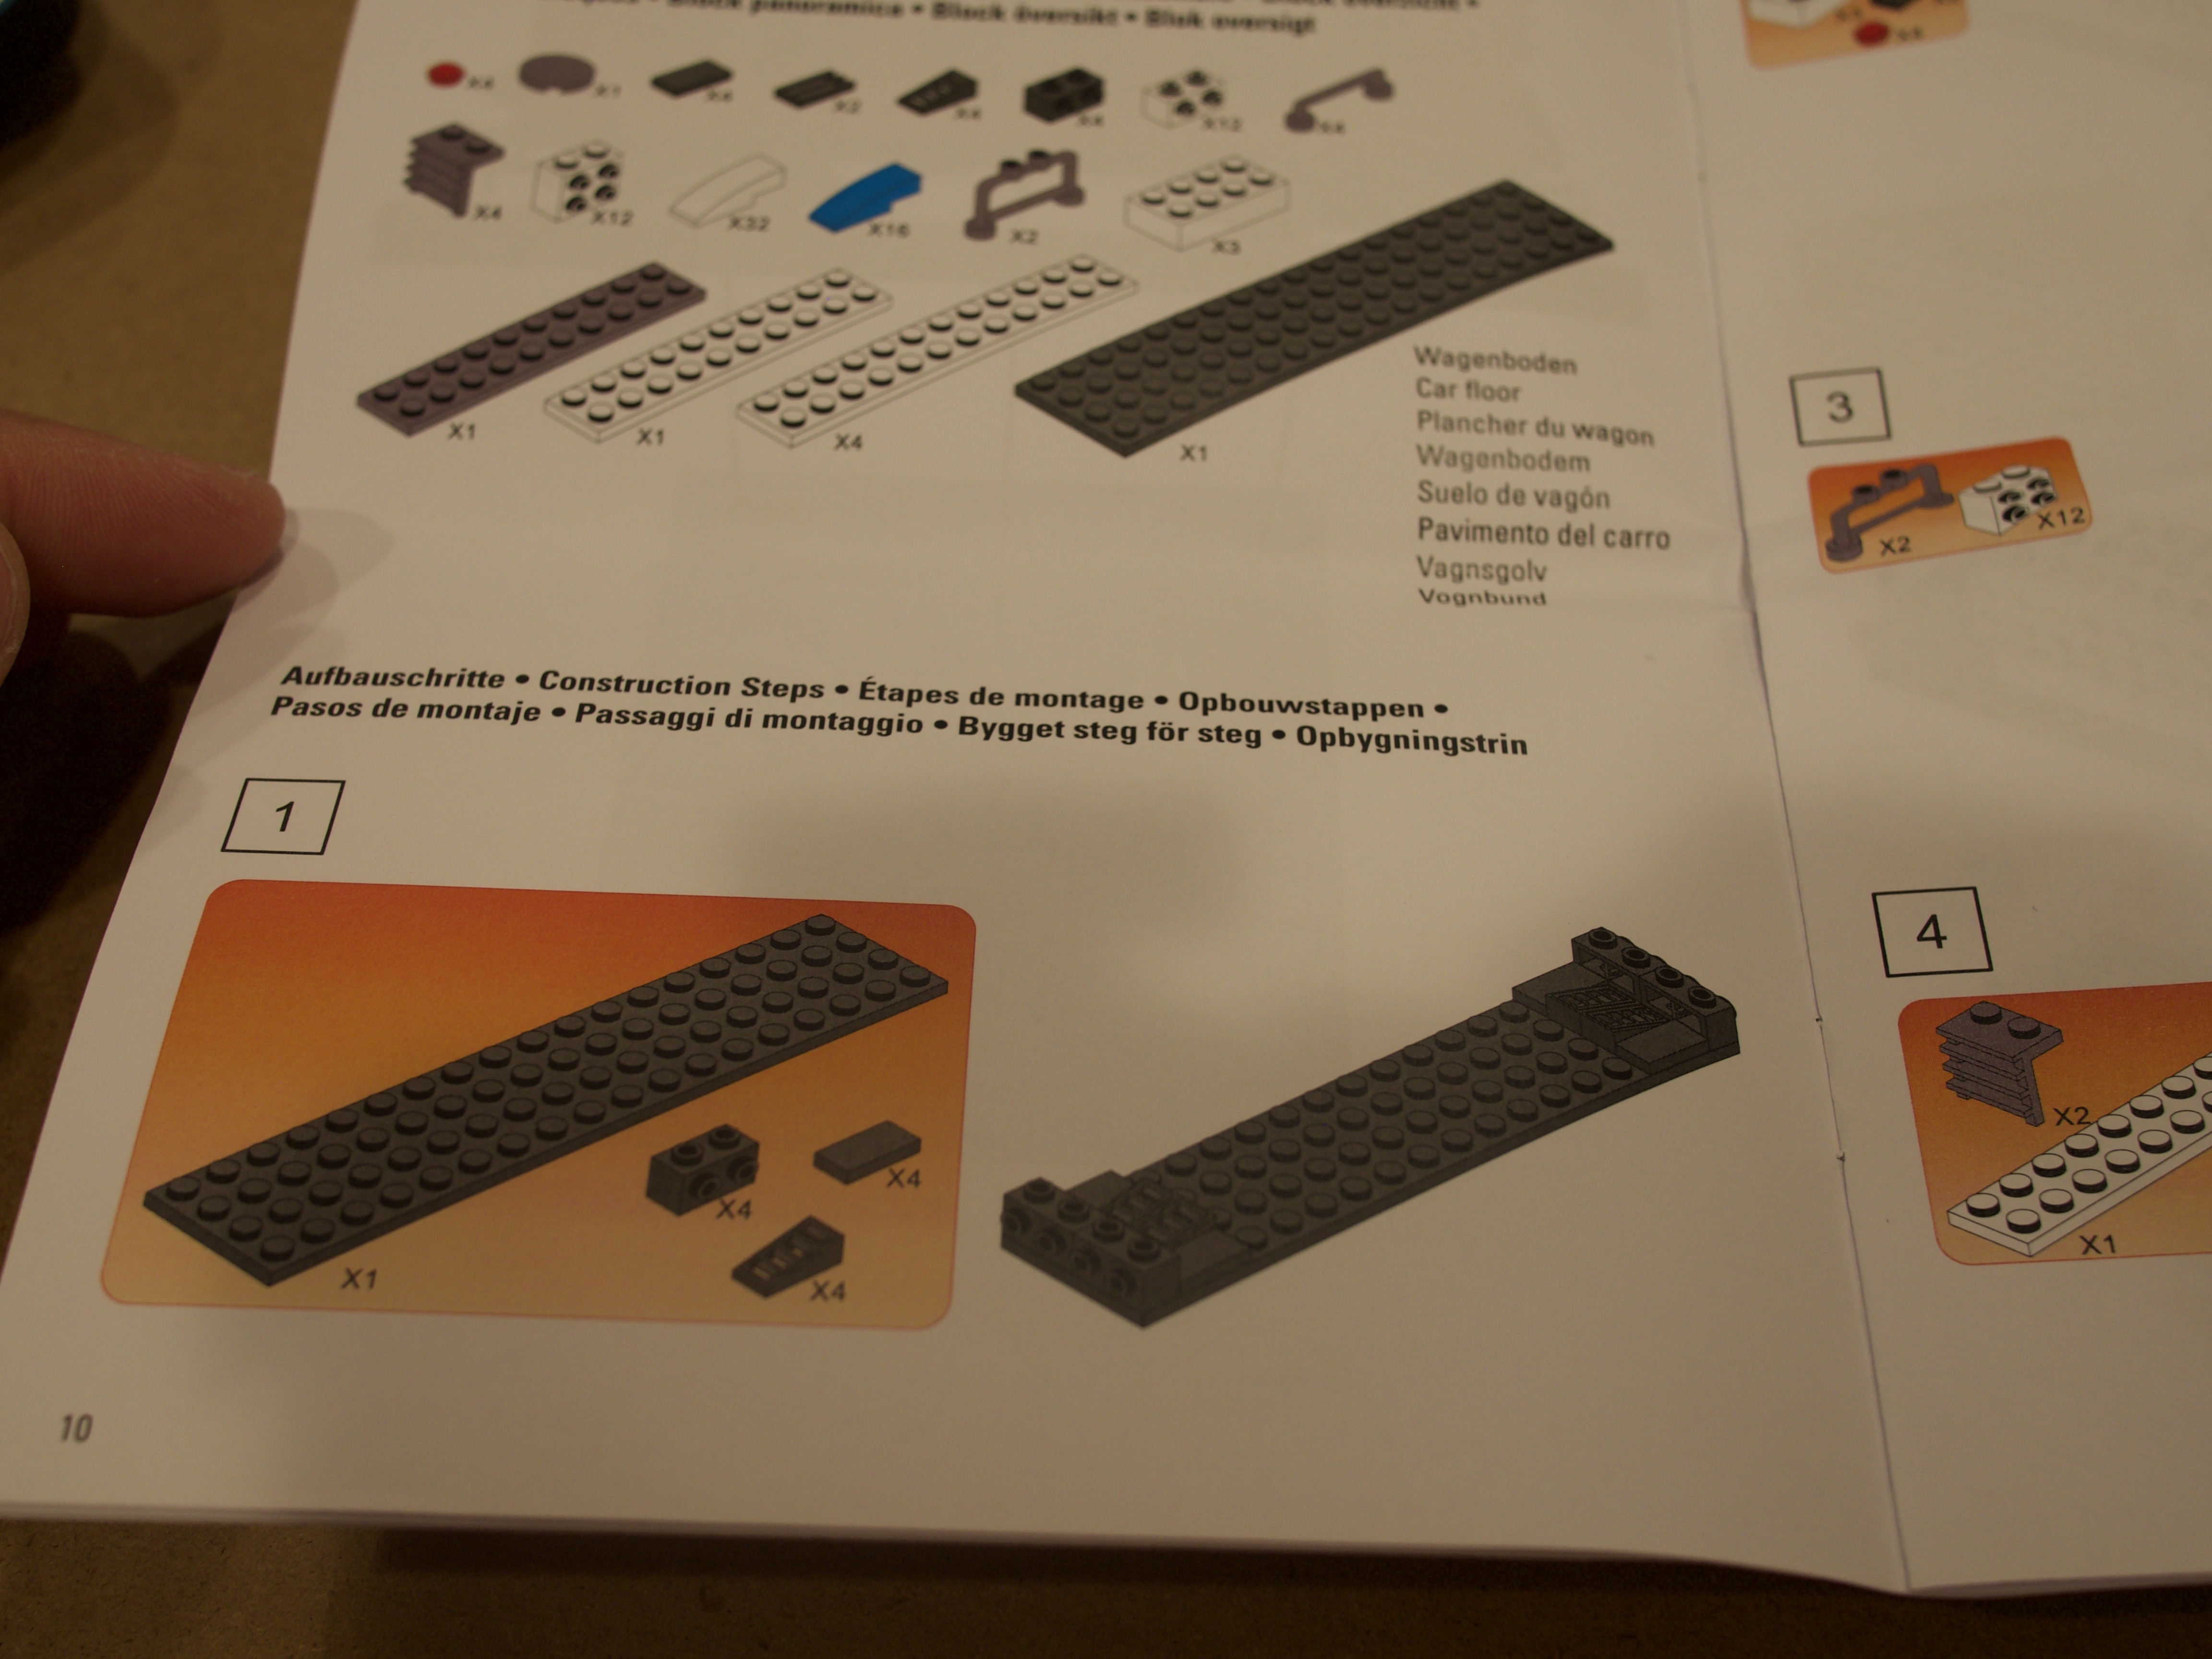
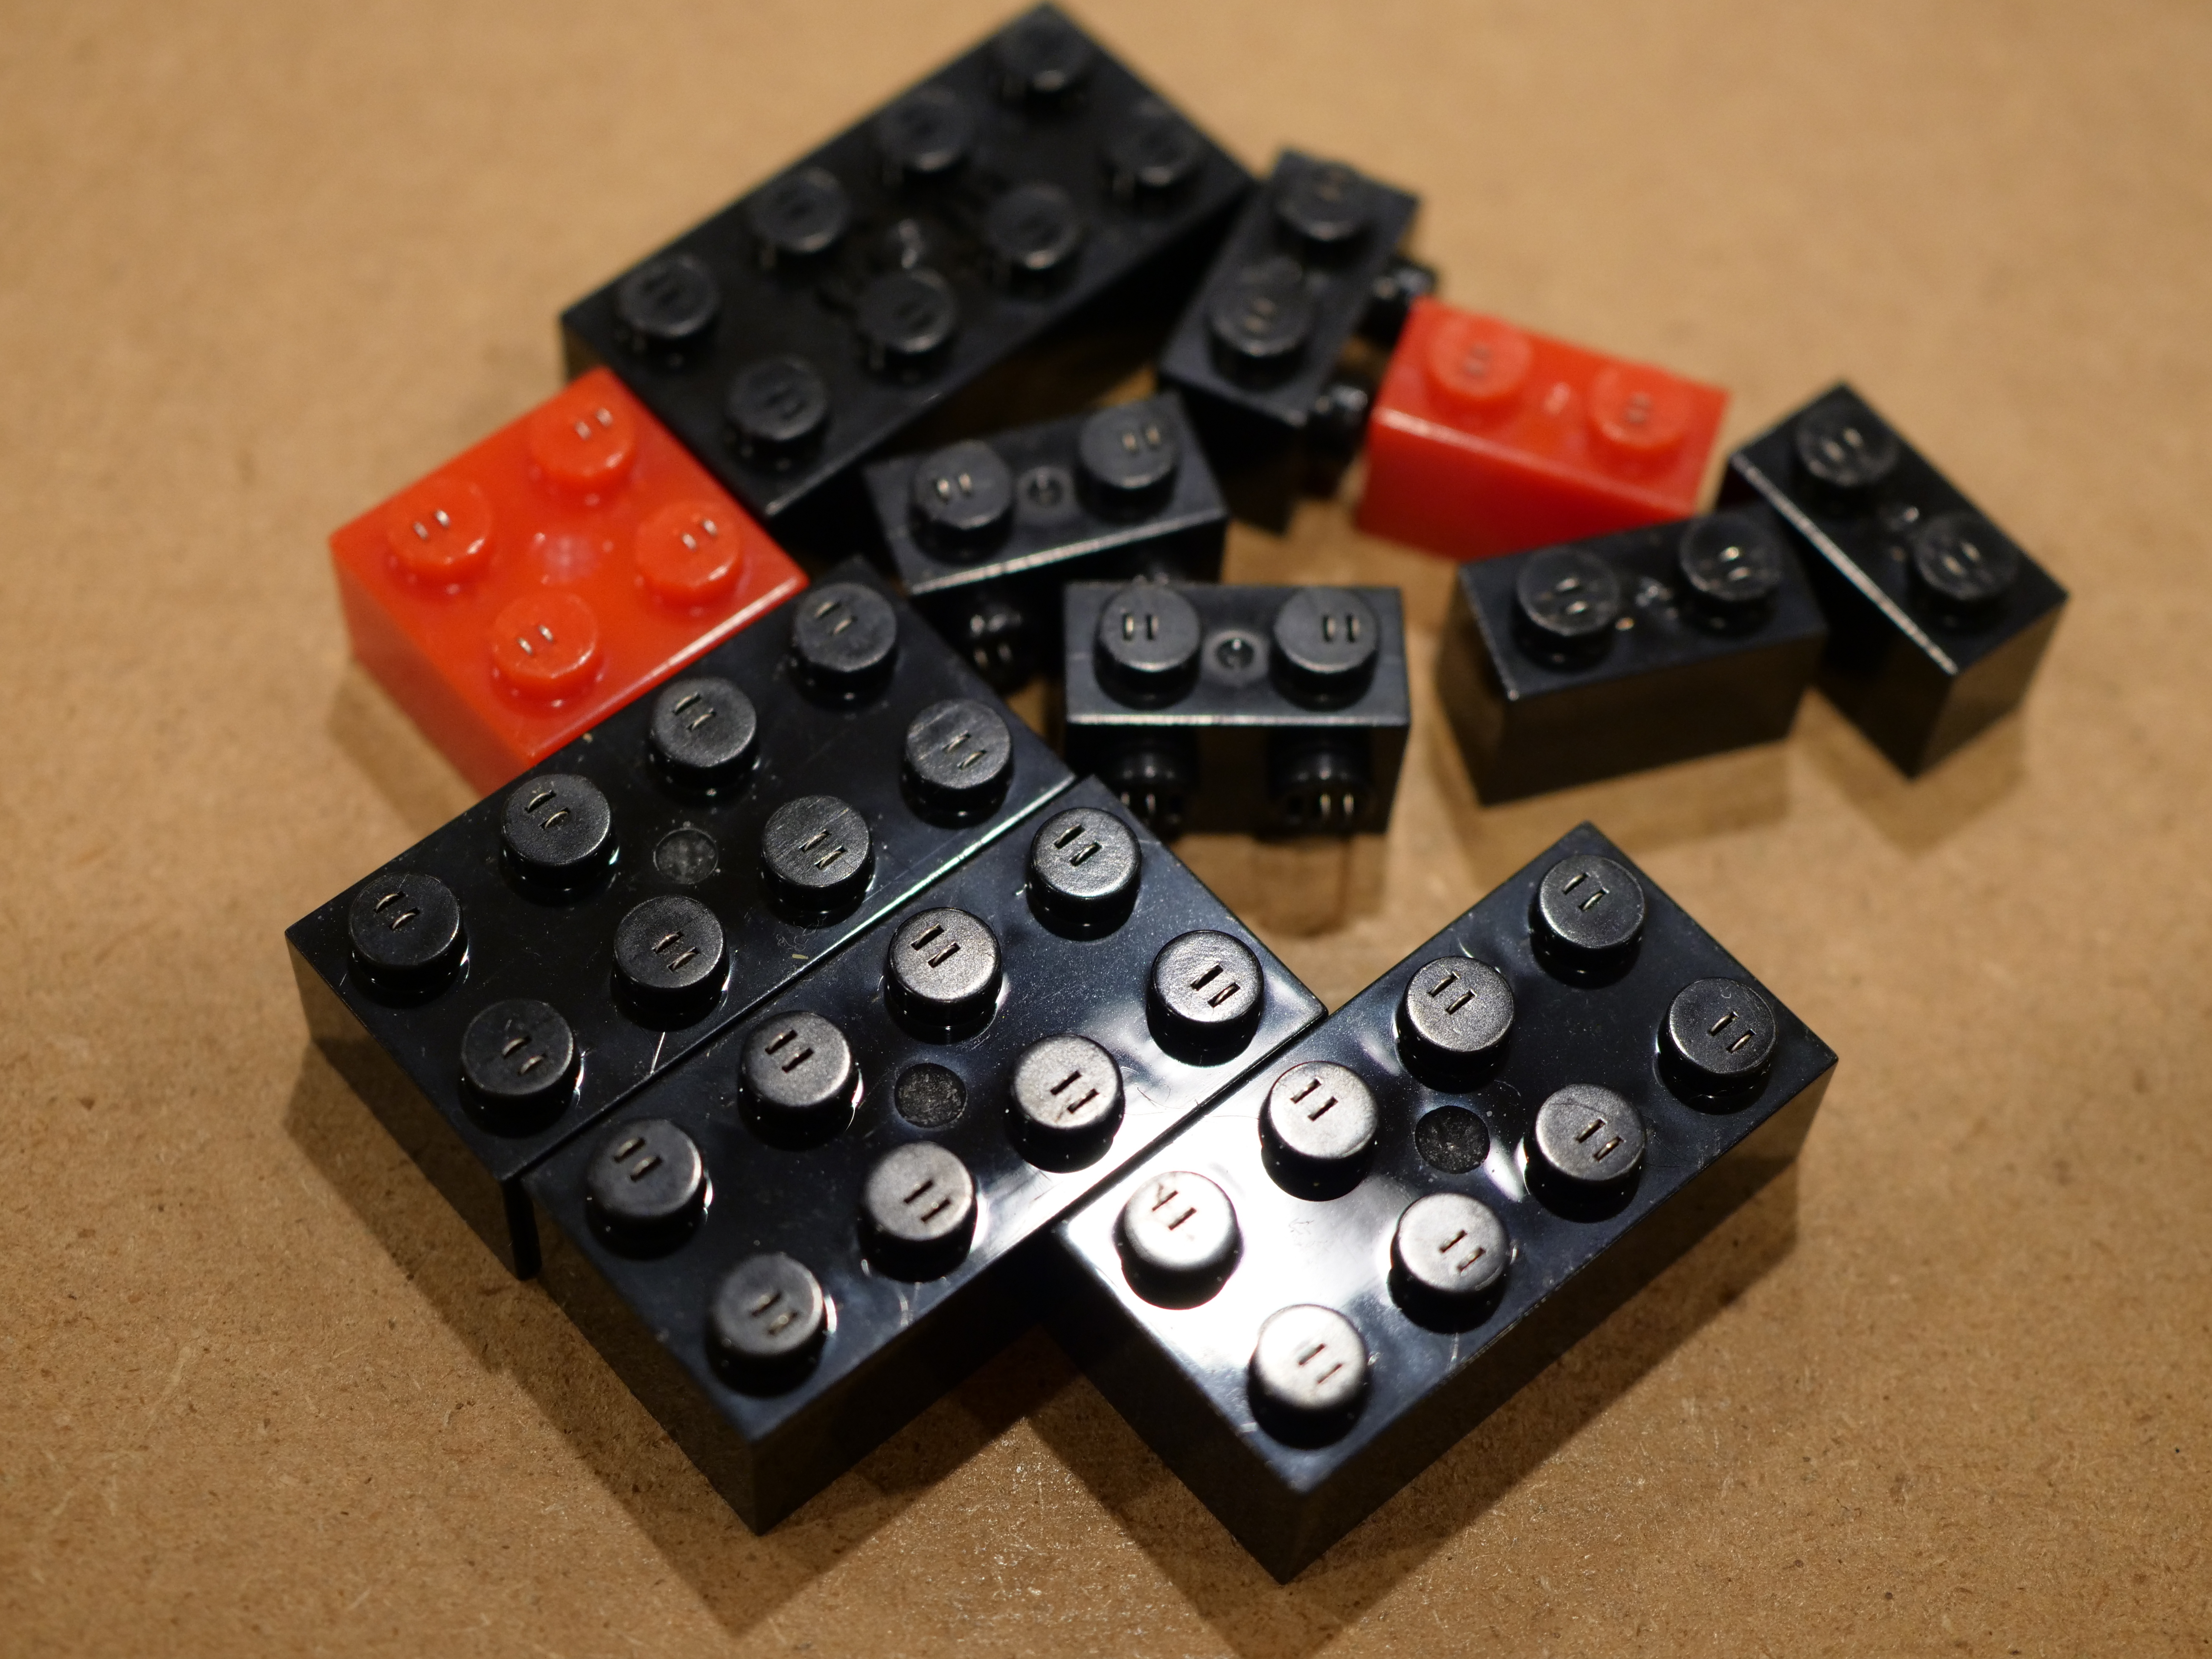
The coal car is the first build. Märklin doesn’t follow TLG’s building conventions. On the first step, you’re putting down ten bricks, none of which interconnect. Even by step 3, you still have this mess:
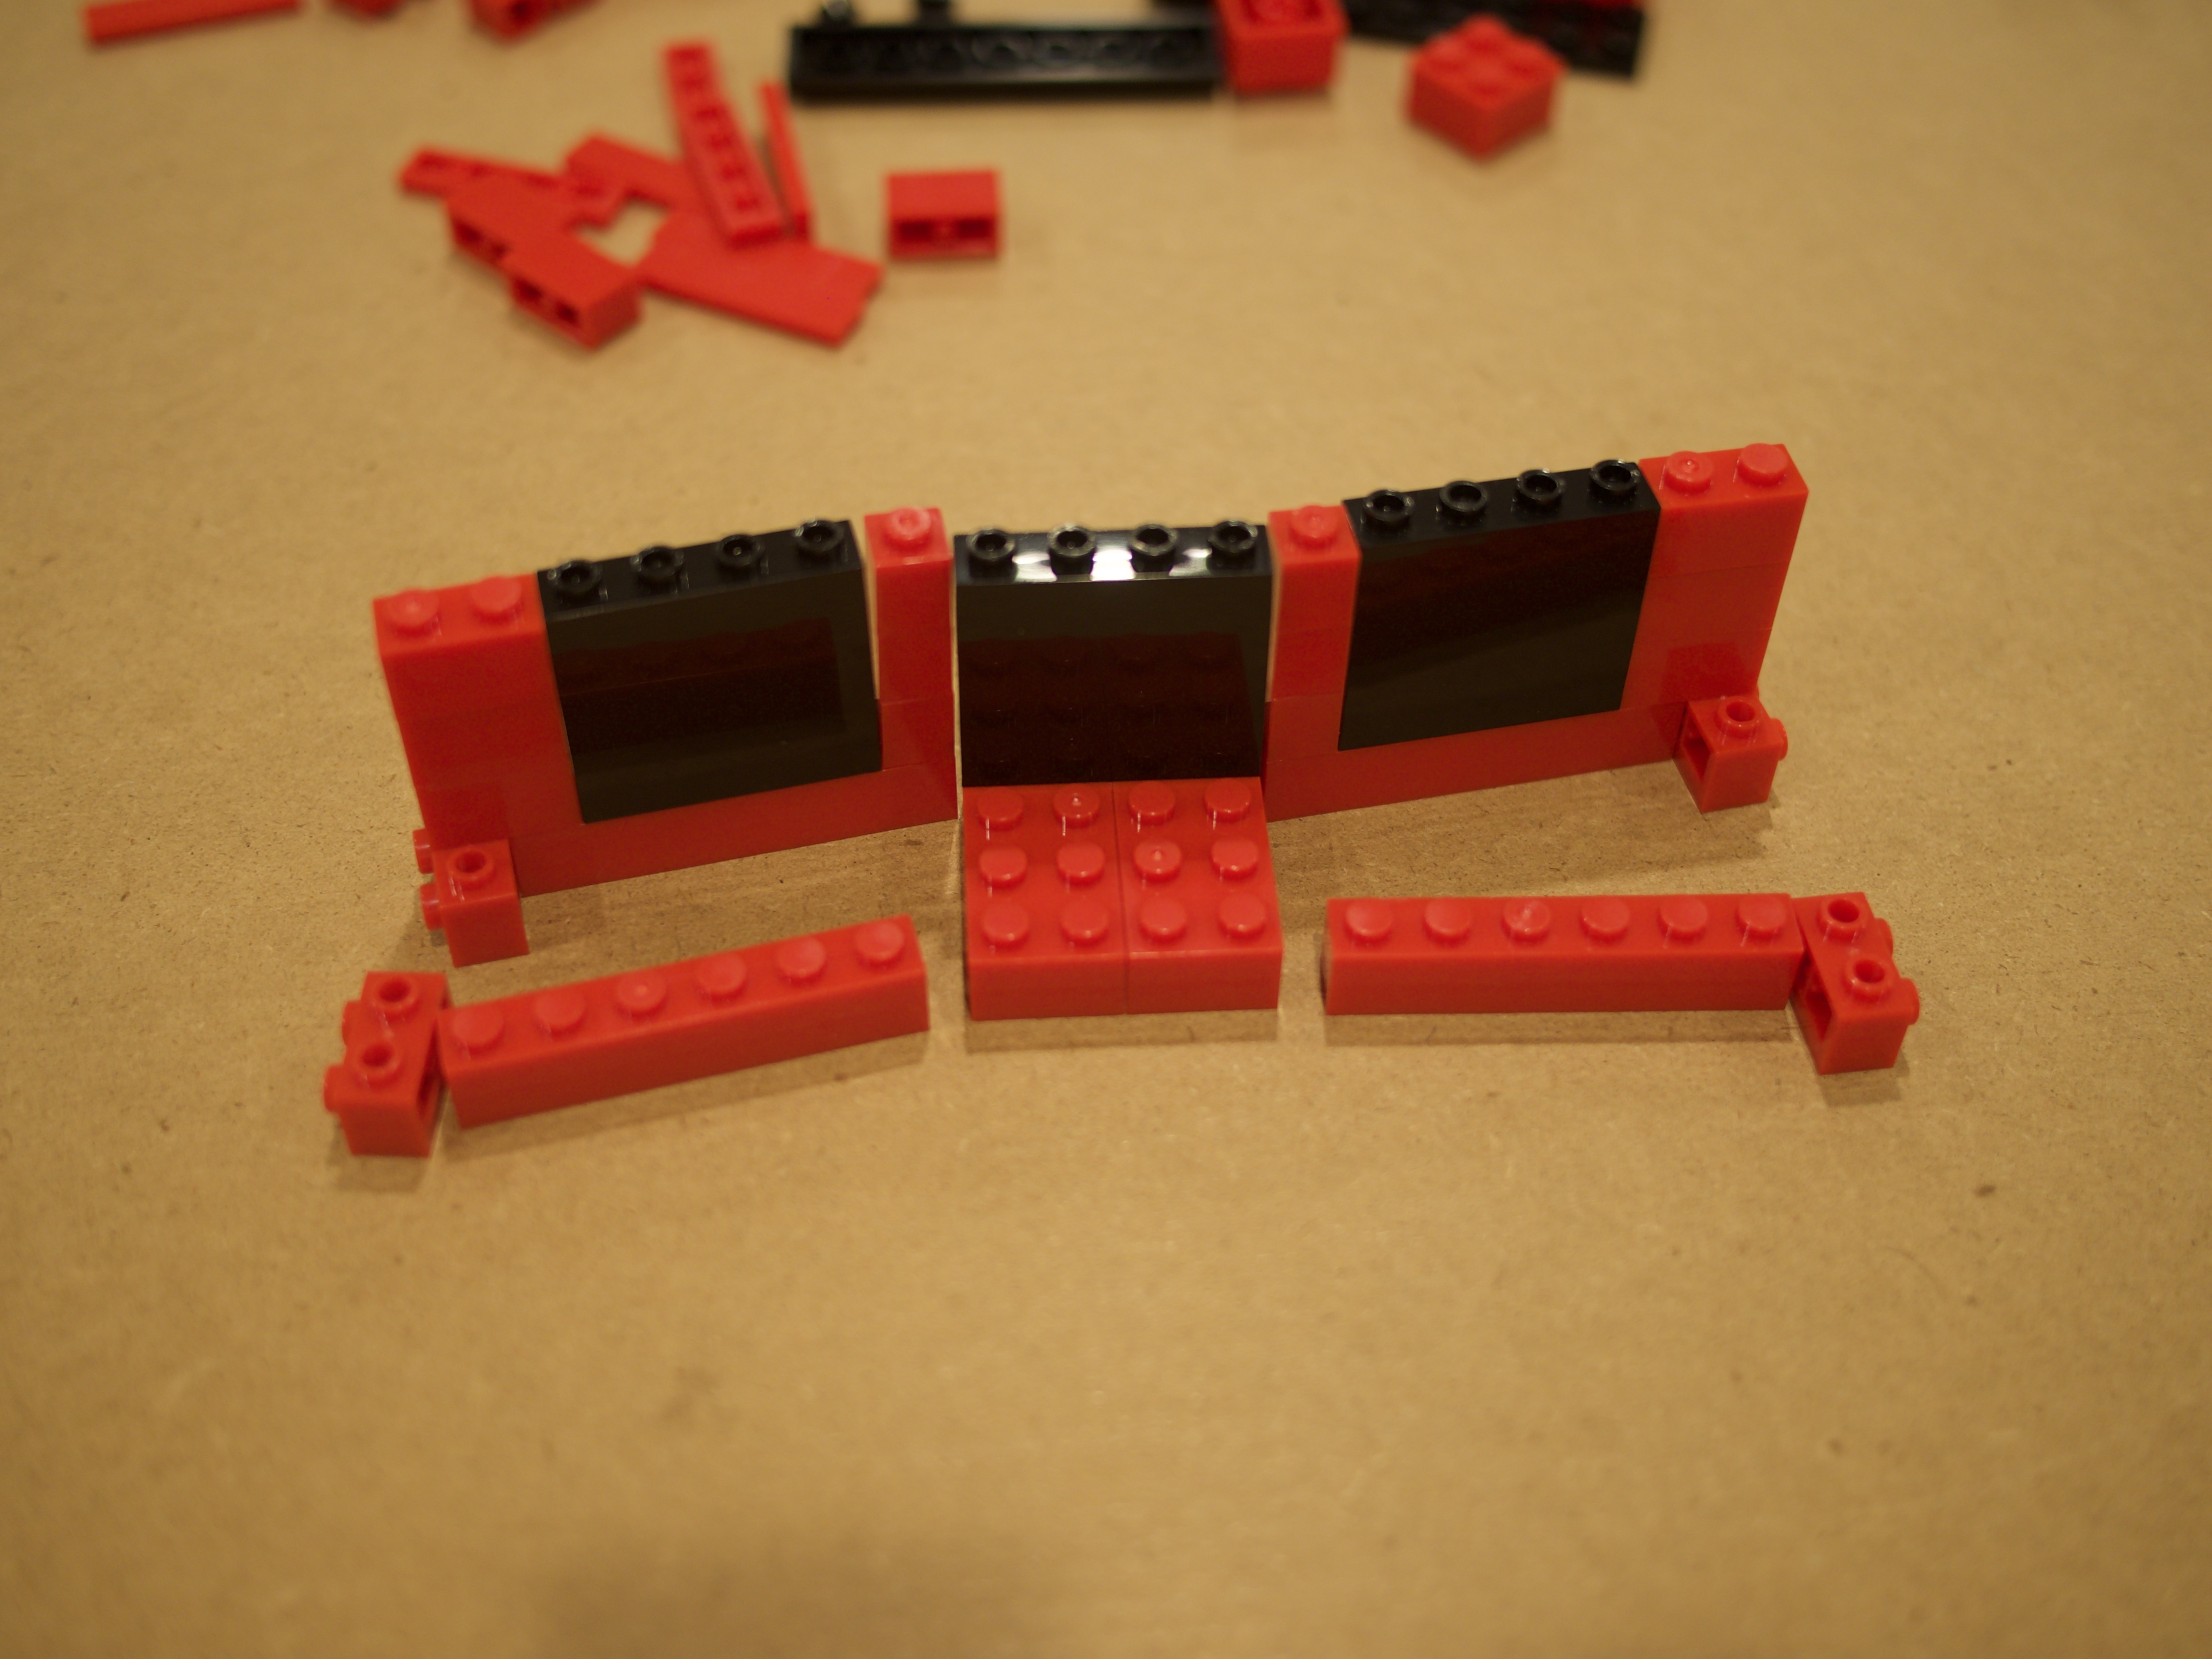
It isn’t until step 7 until the independent sections finally come together. I’m not sure whether it’s due to the design of the model or the quality of the bricks, but putting them together is rather awkward.
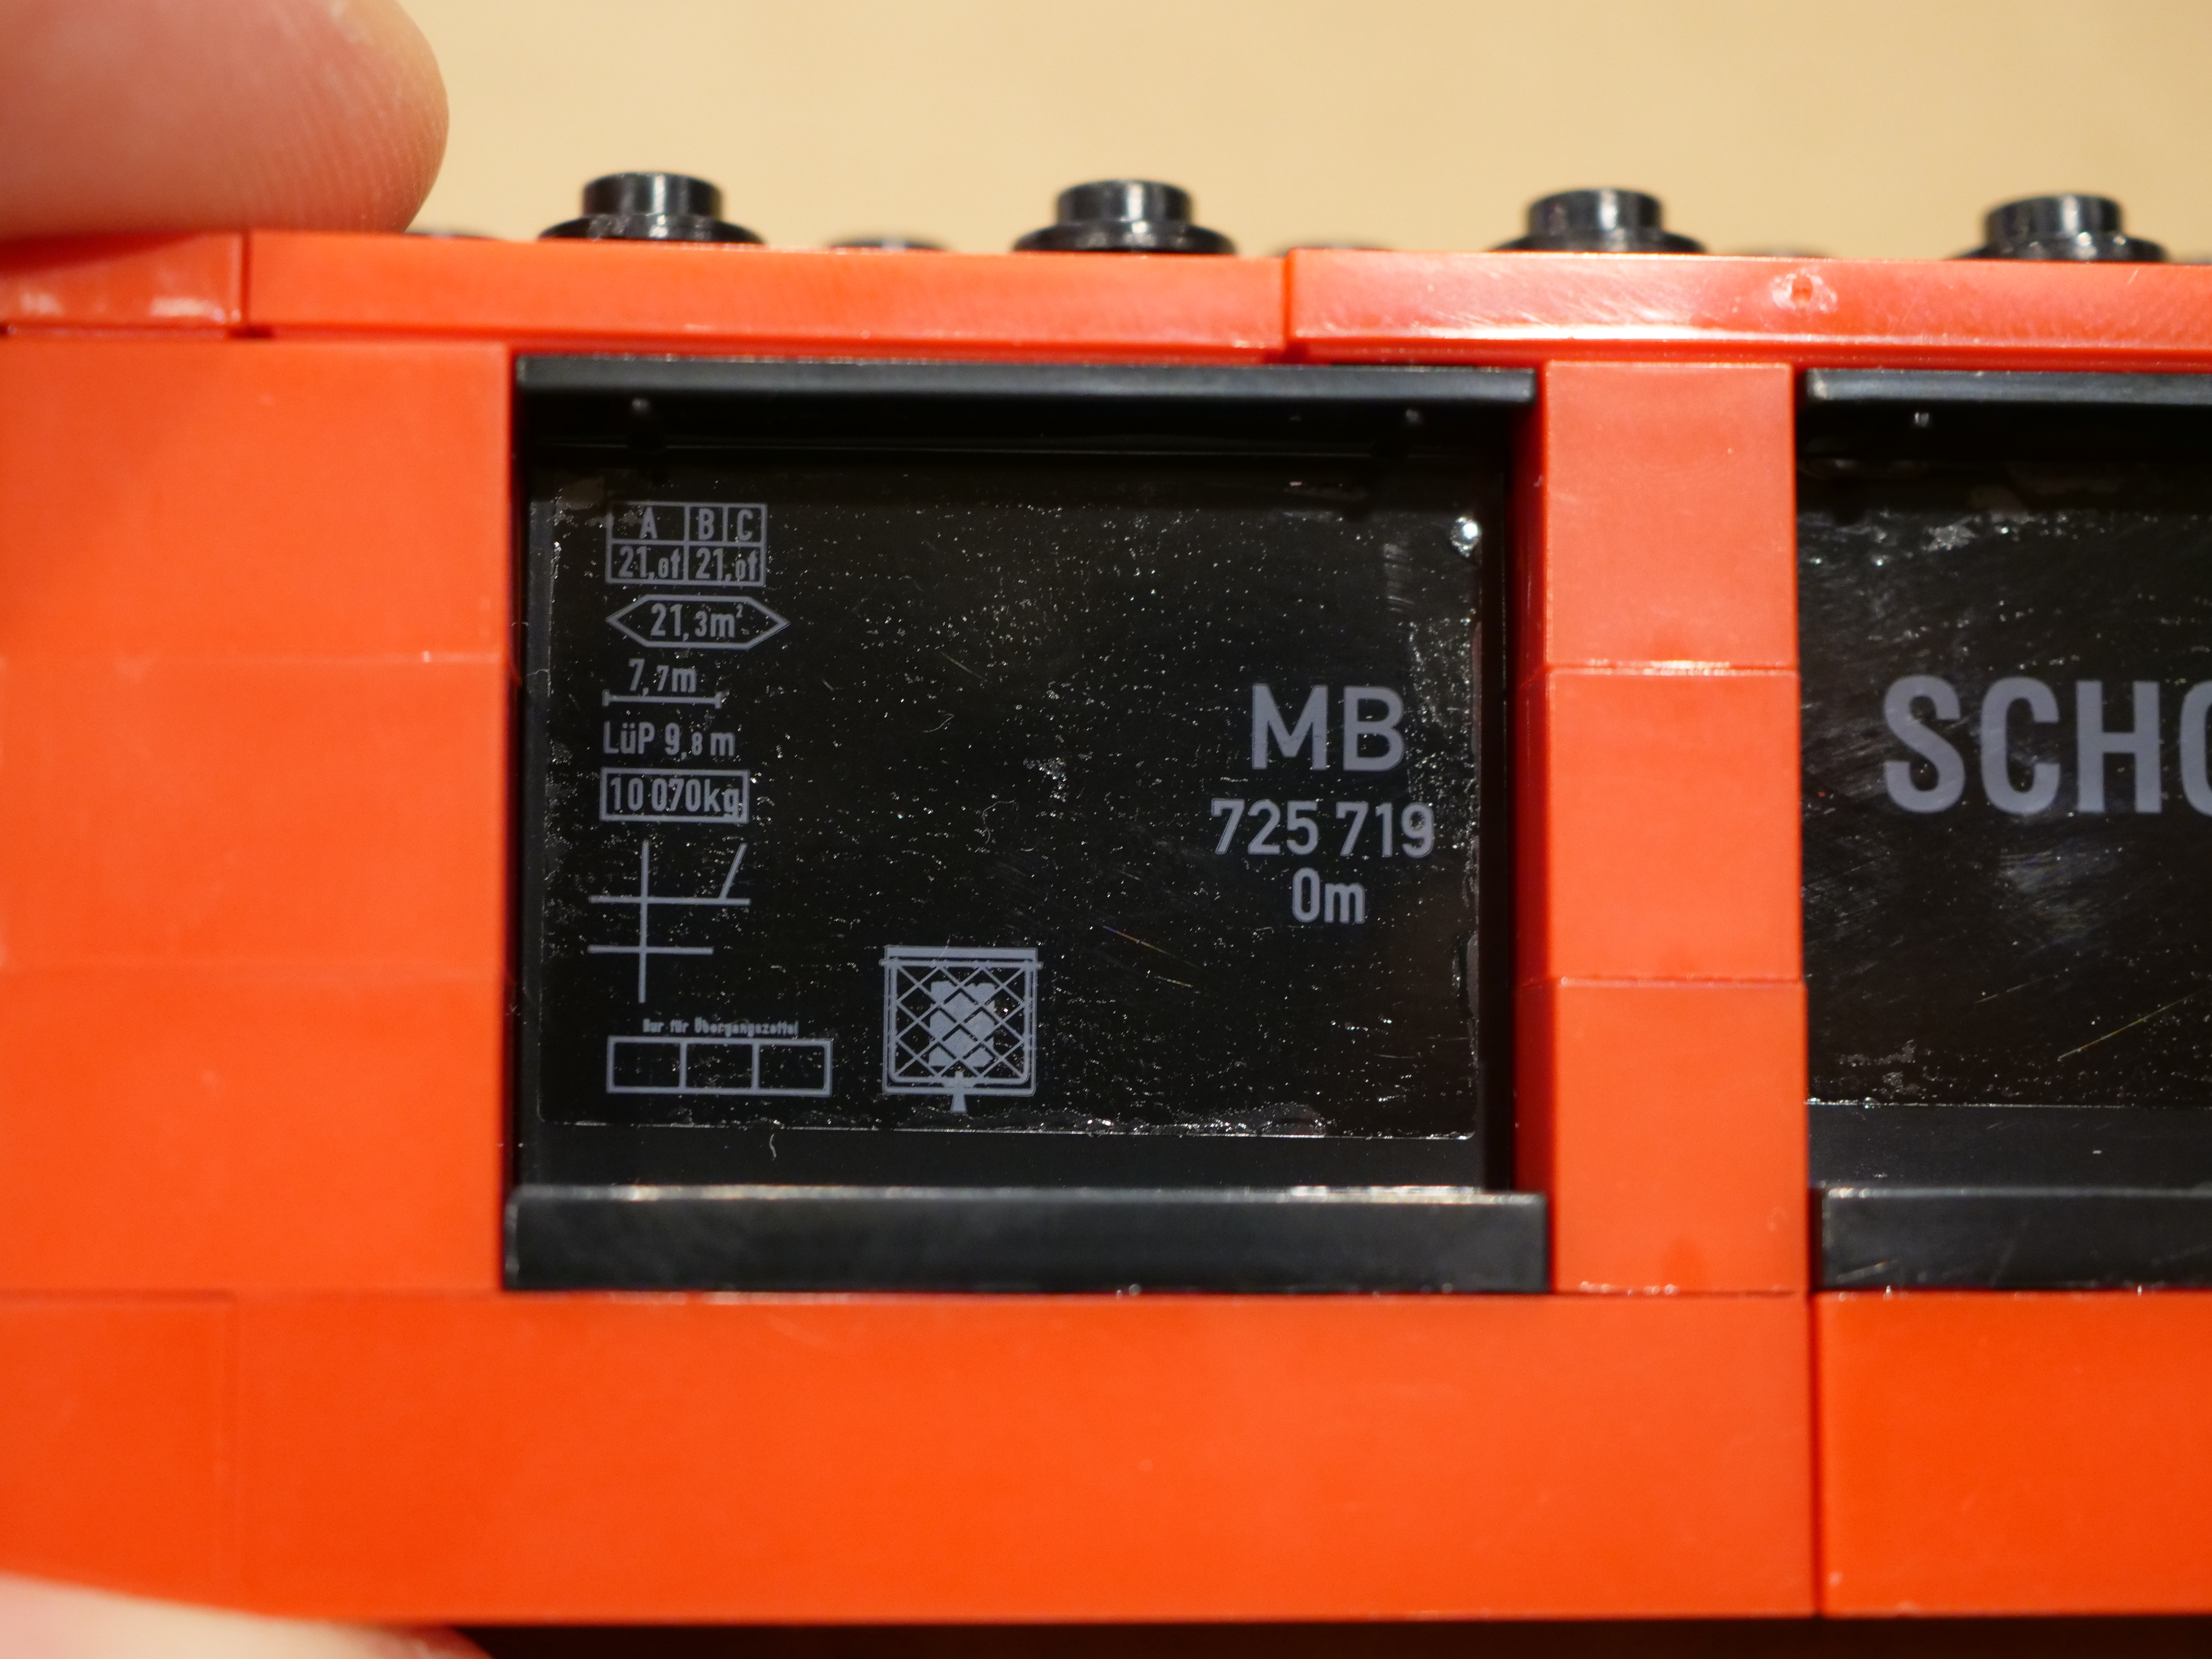
I was really hoping Marklin was use printed bricks, but they opted for stickers. When applying TLG’s stickers, I use Apple's “Black Plastic Tool” to position them, and often end up peeling them off a time or two. With these, once they were half way on, they didn’t feel like they were going to safely come off. One of my stickers is a bit crooked, as a consequence. The stickers don't look great.
Next is the tank wagon. This model is built directly on the car chassis, although it’s ambiguous from the instructions. Apparently they haven't modeled the chassis, as it's shown in the instructions as just a 4x18 plate.
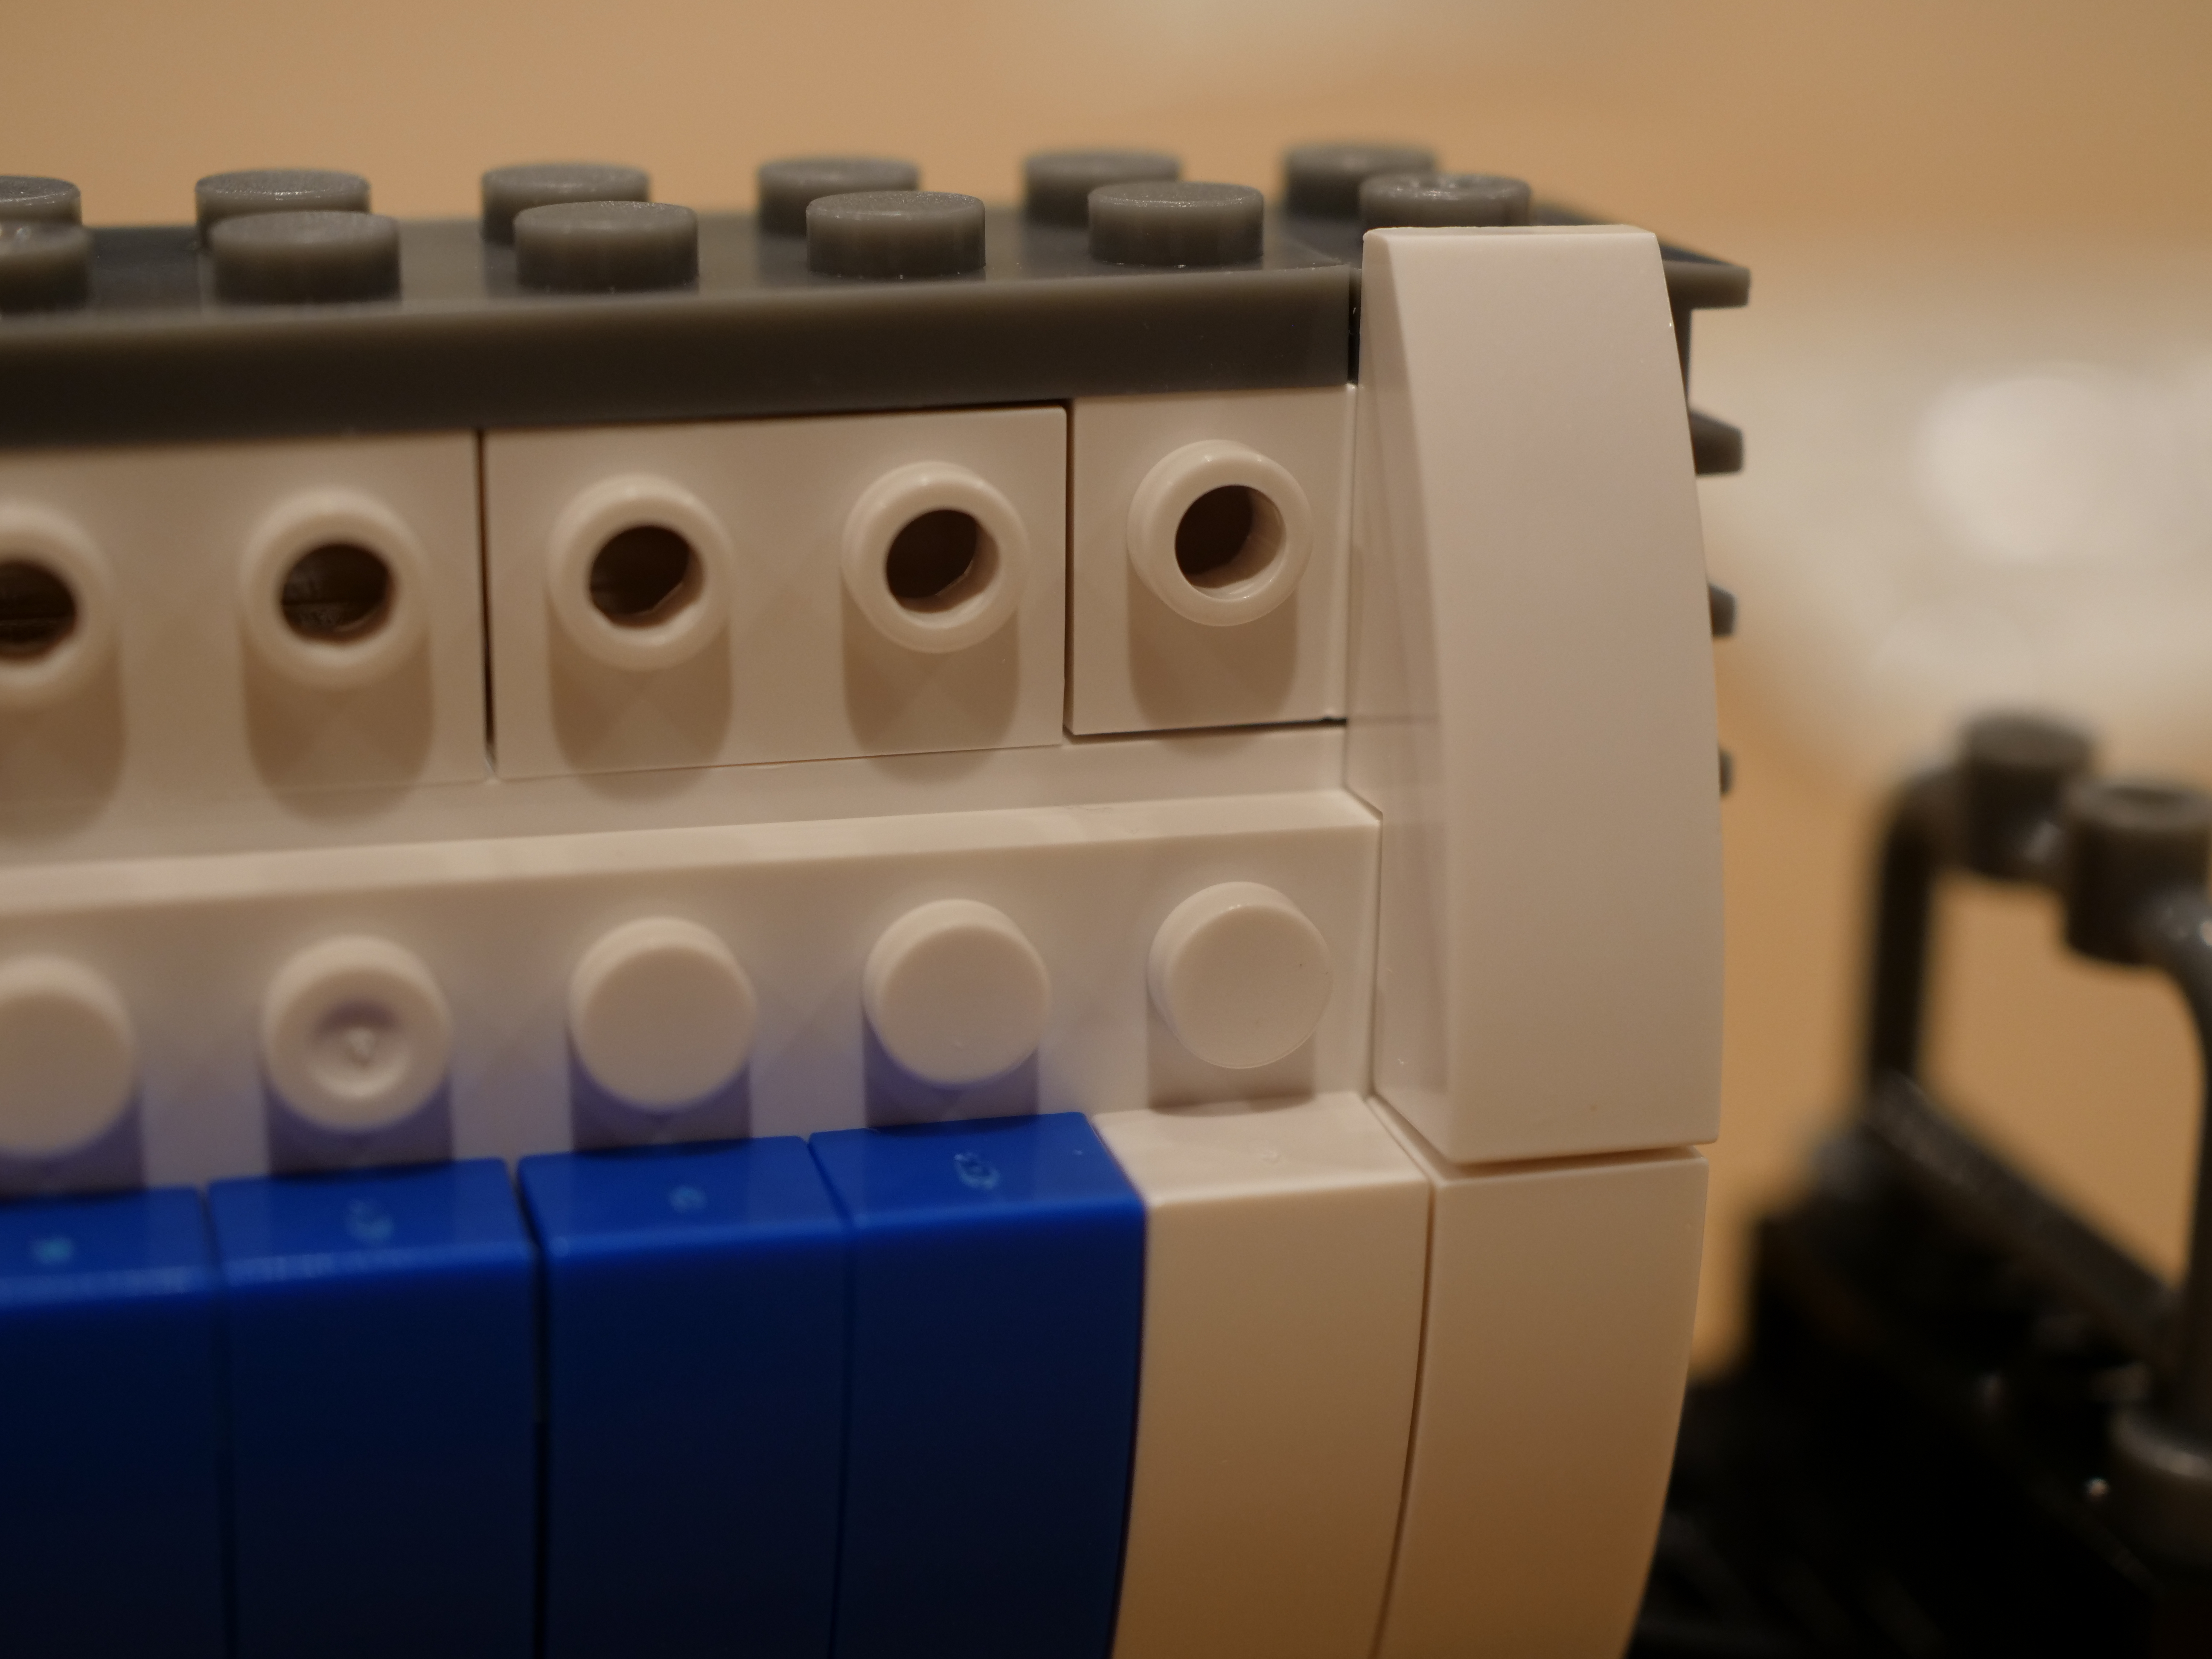
Placing the bricks for the upper half of the curve involves placing the mini-stud on the underside of the curved slope into the hole on the horizontally facing stud. However, this doesn’t line up quite right. The brick has to be raised slightly to make this connection. I looked over the instructions carefully, and I don’t think I missed anything.
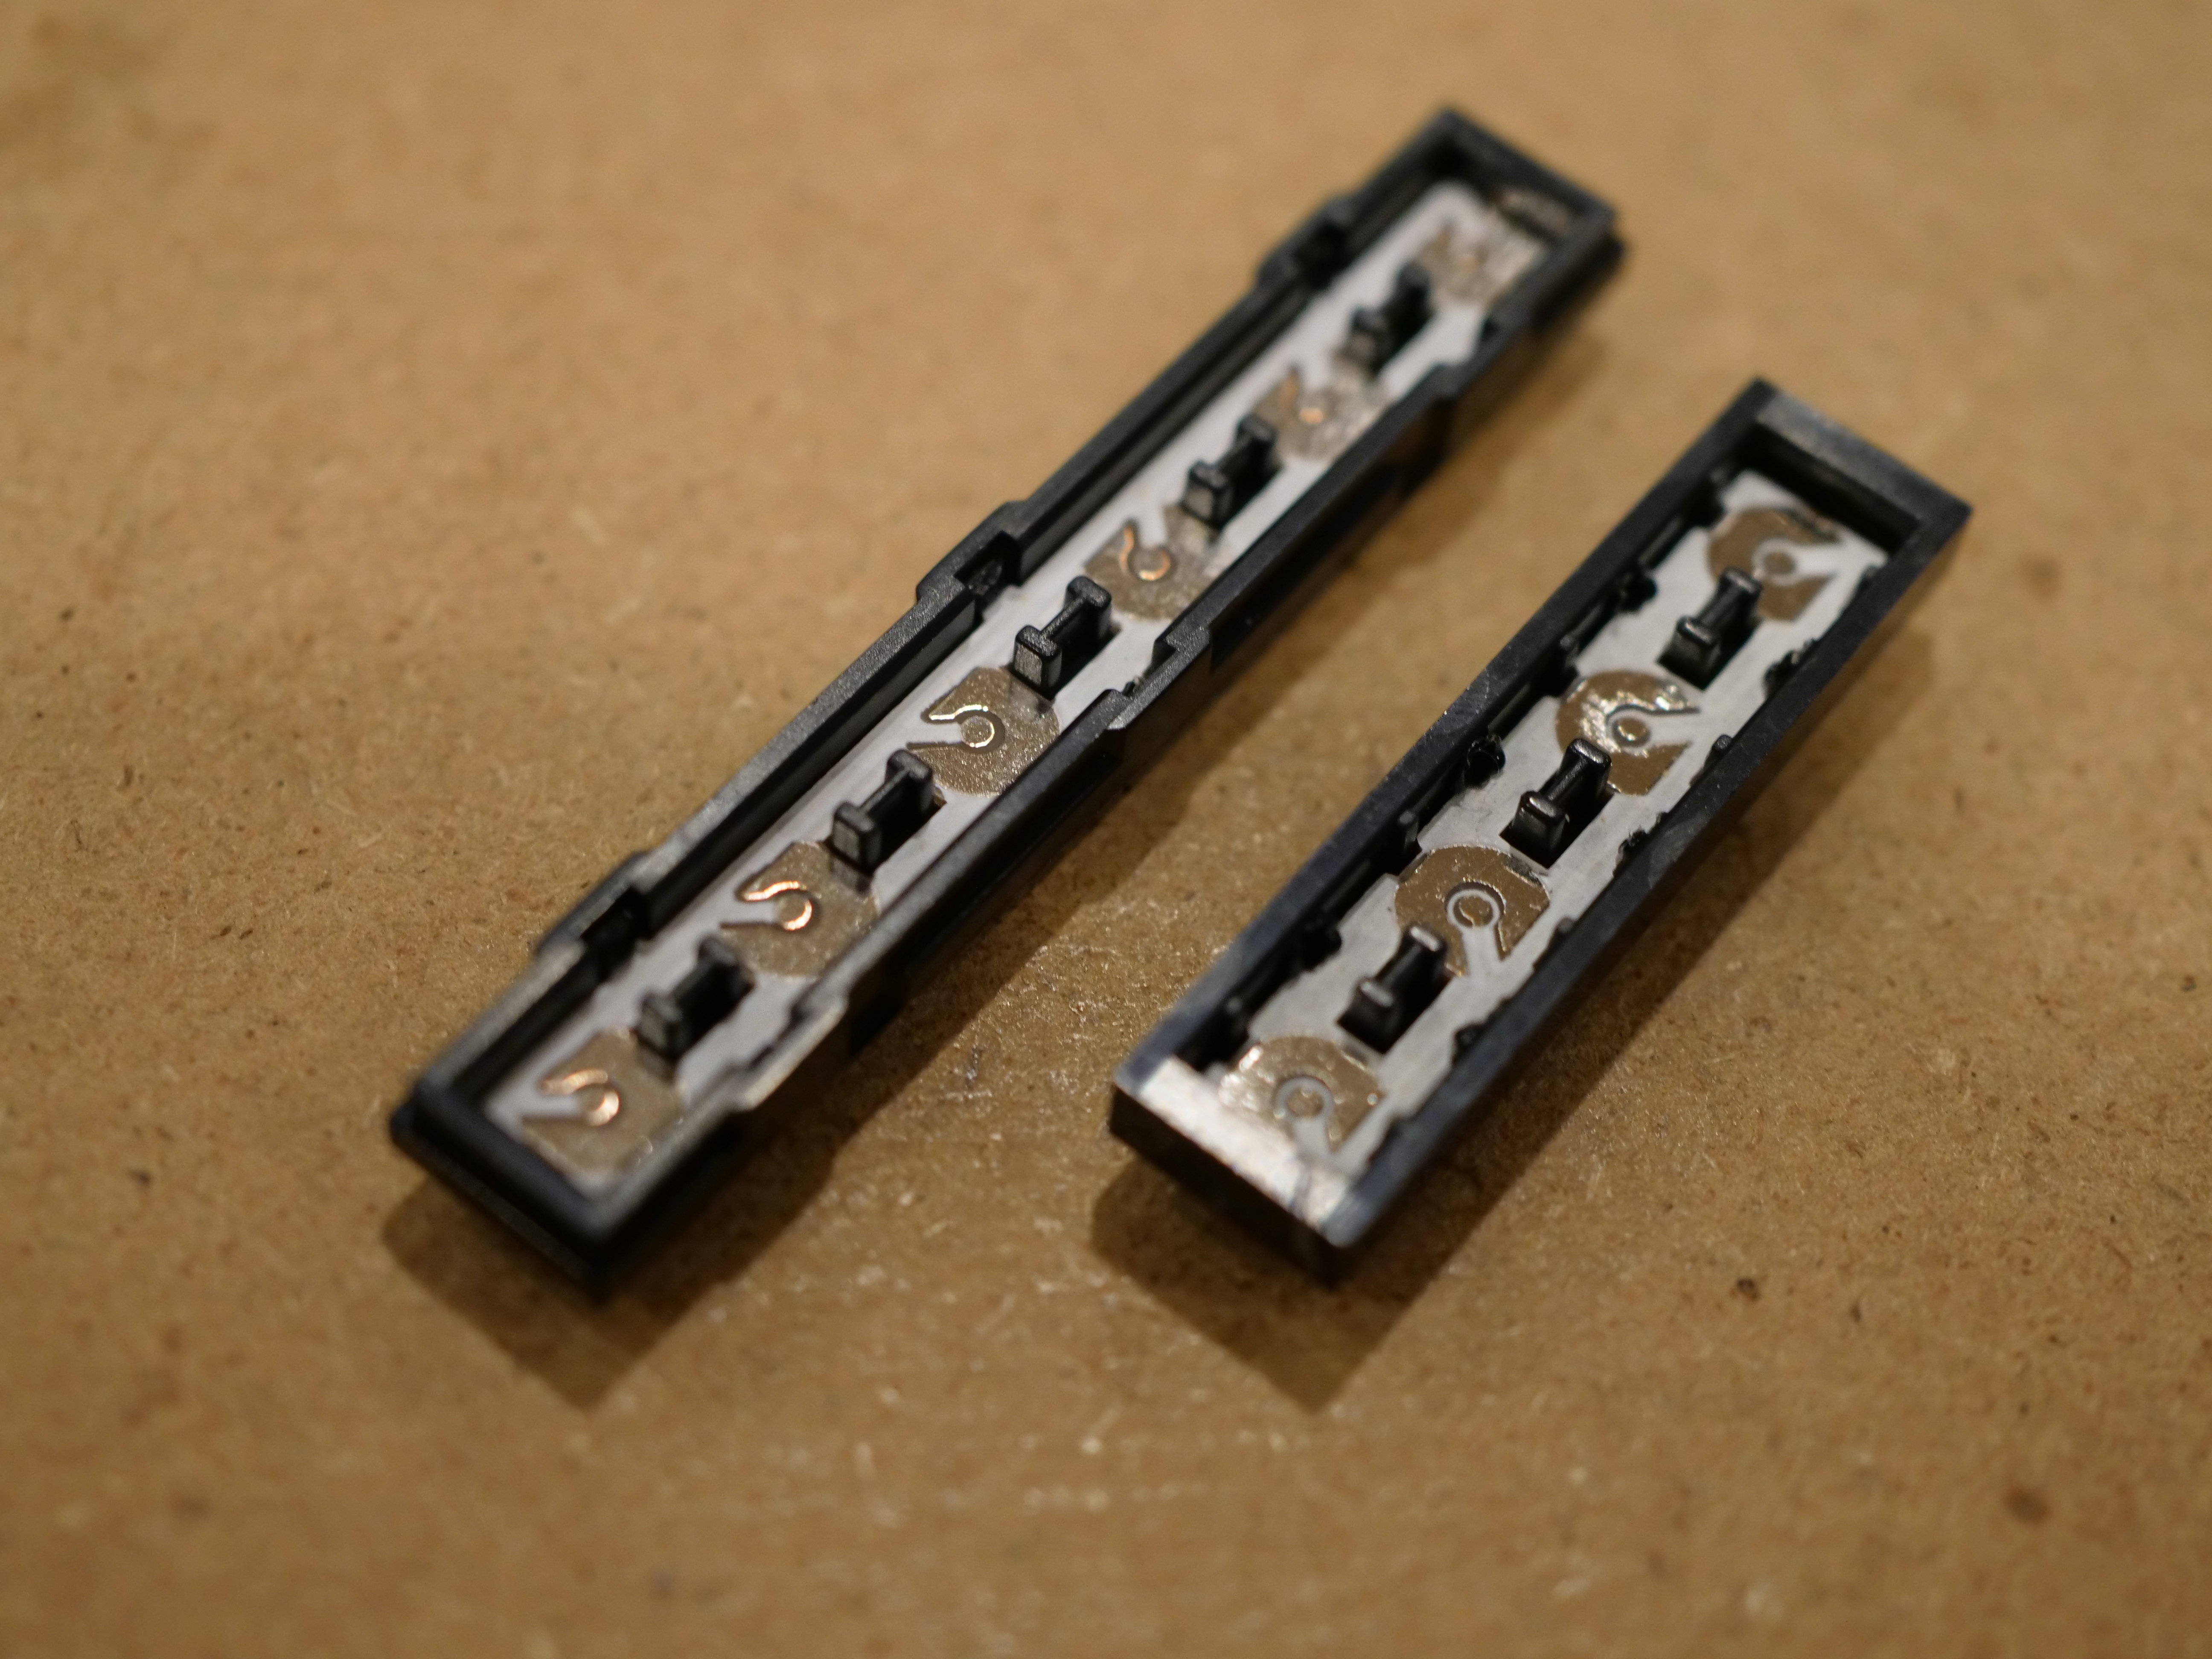
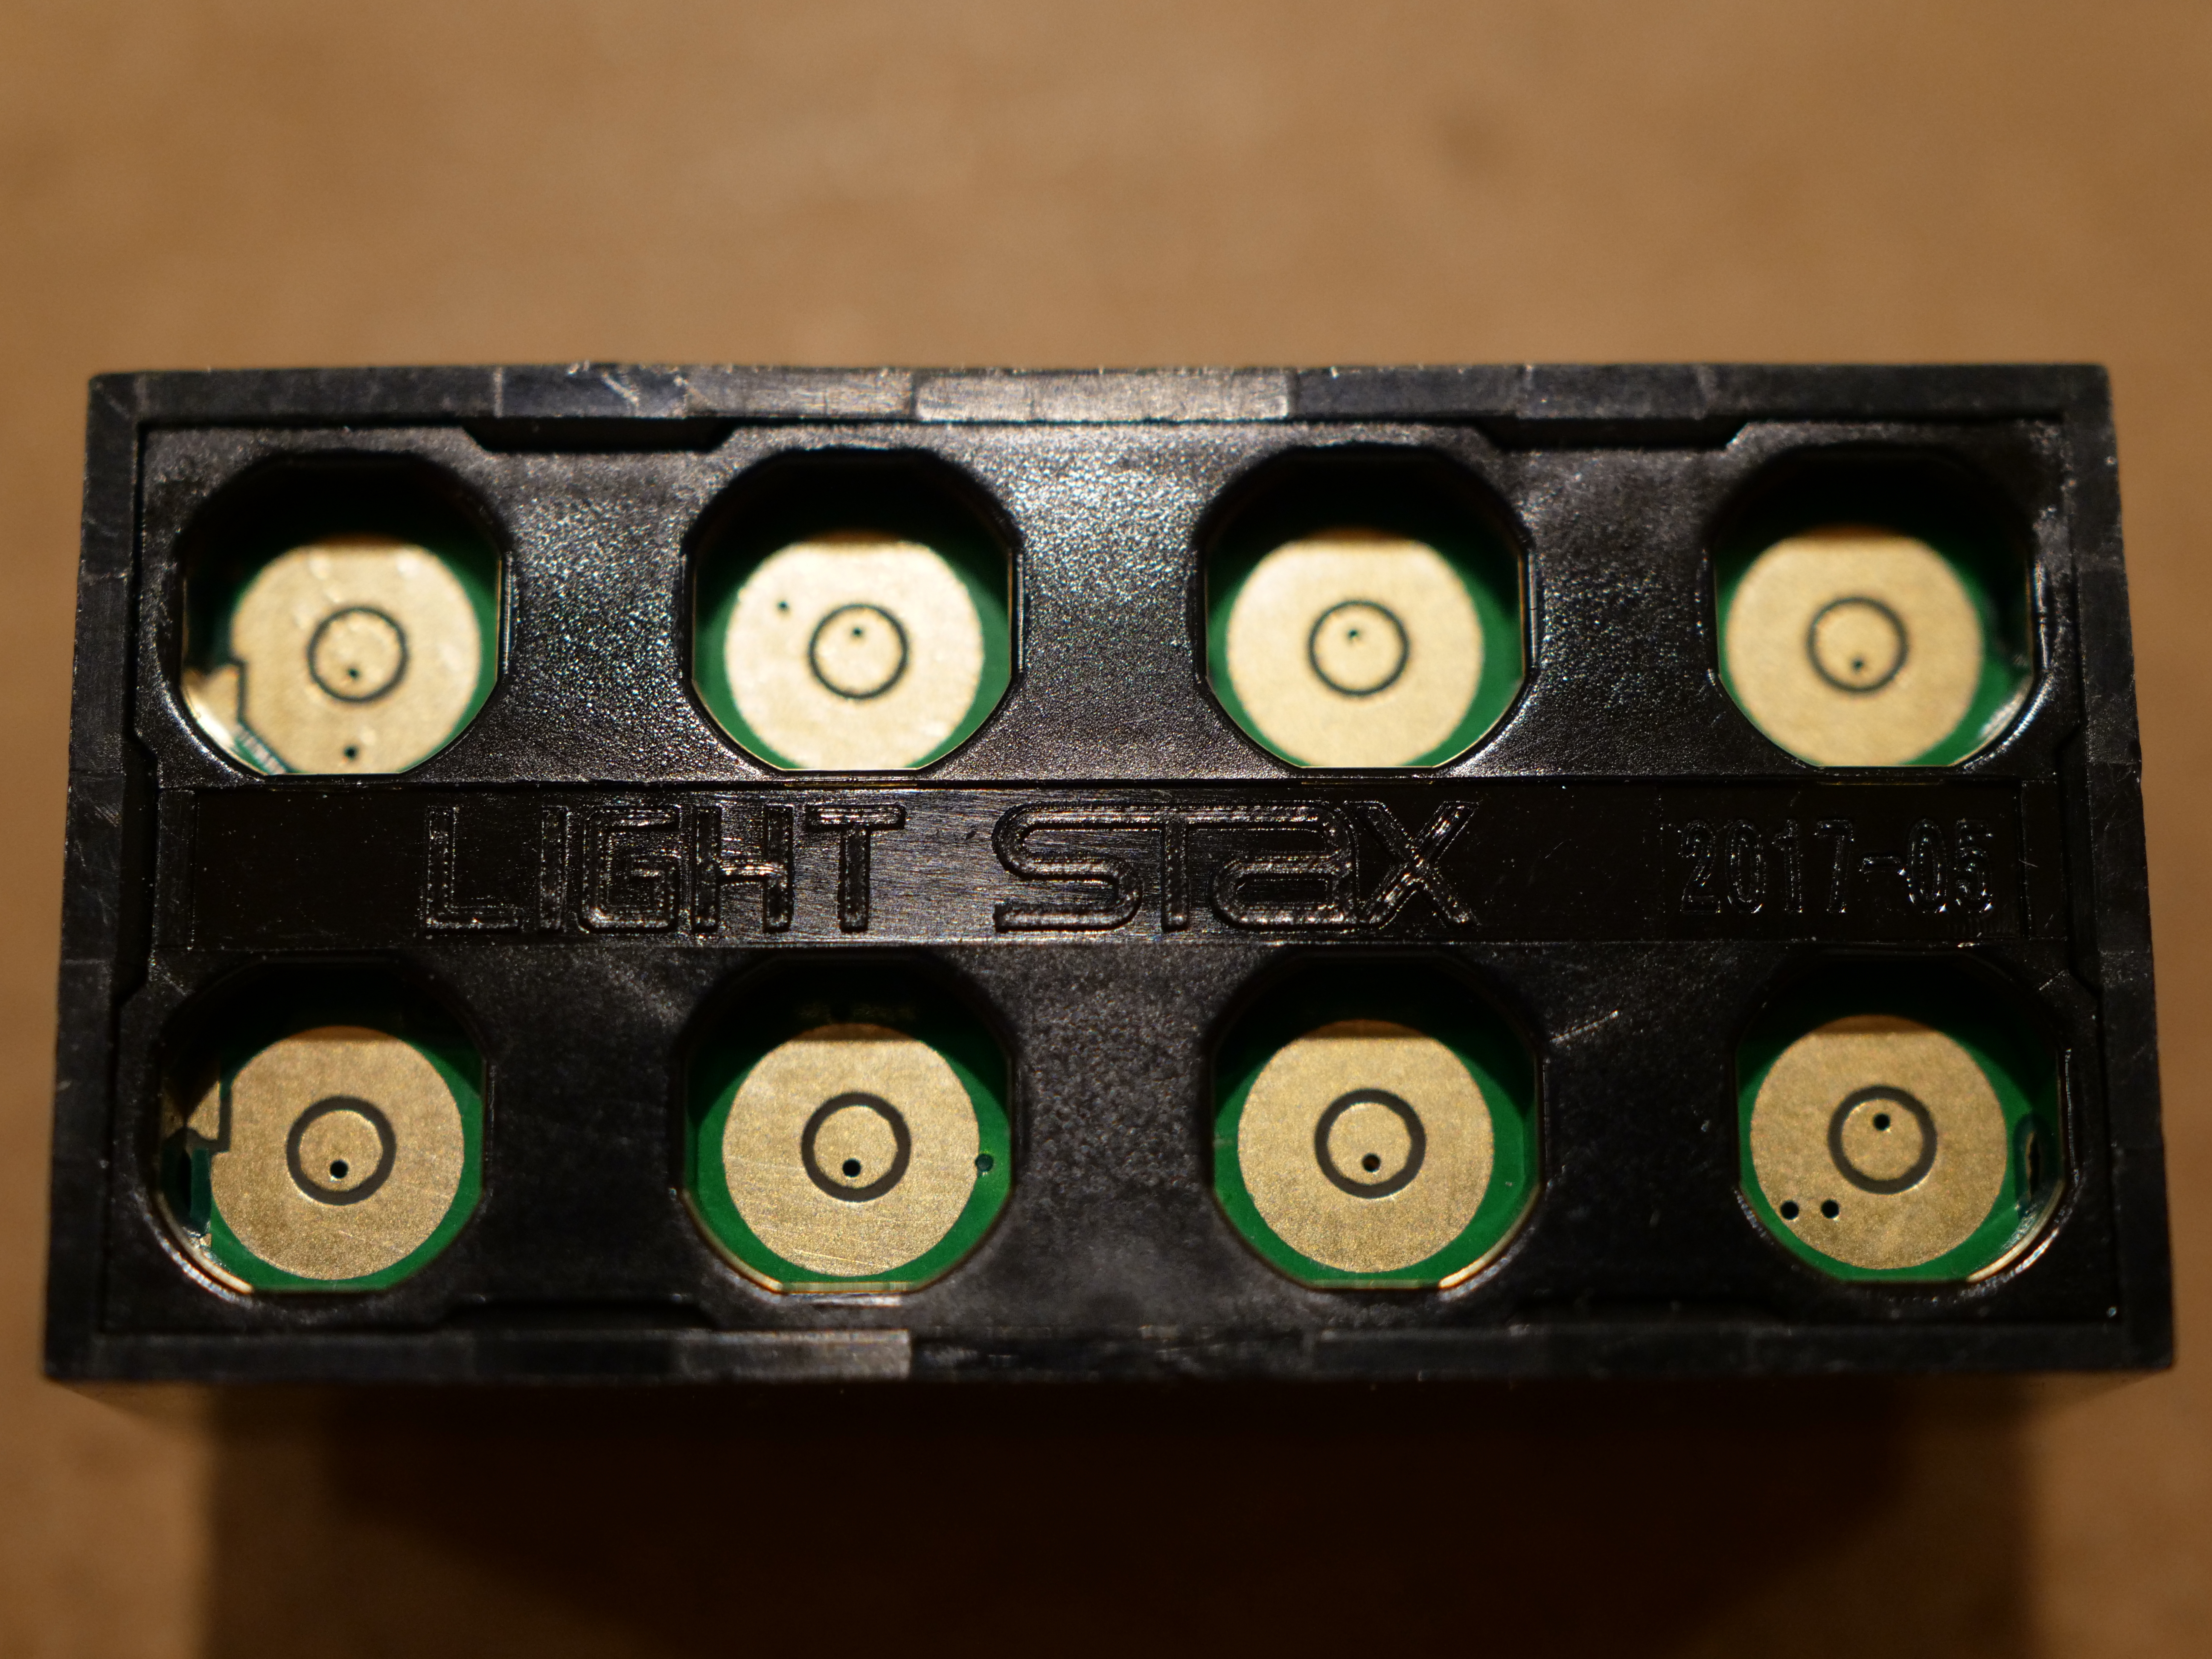
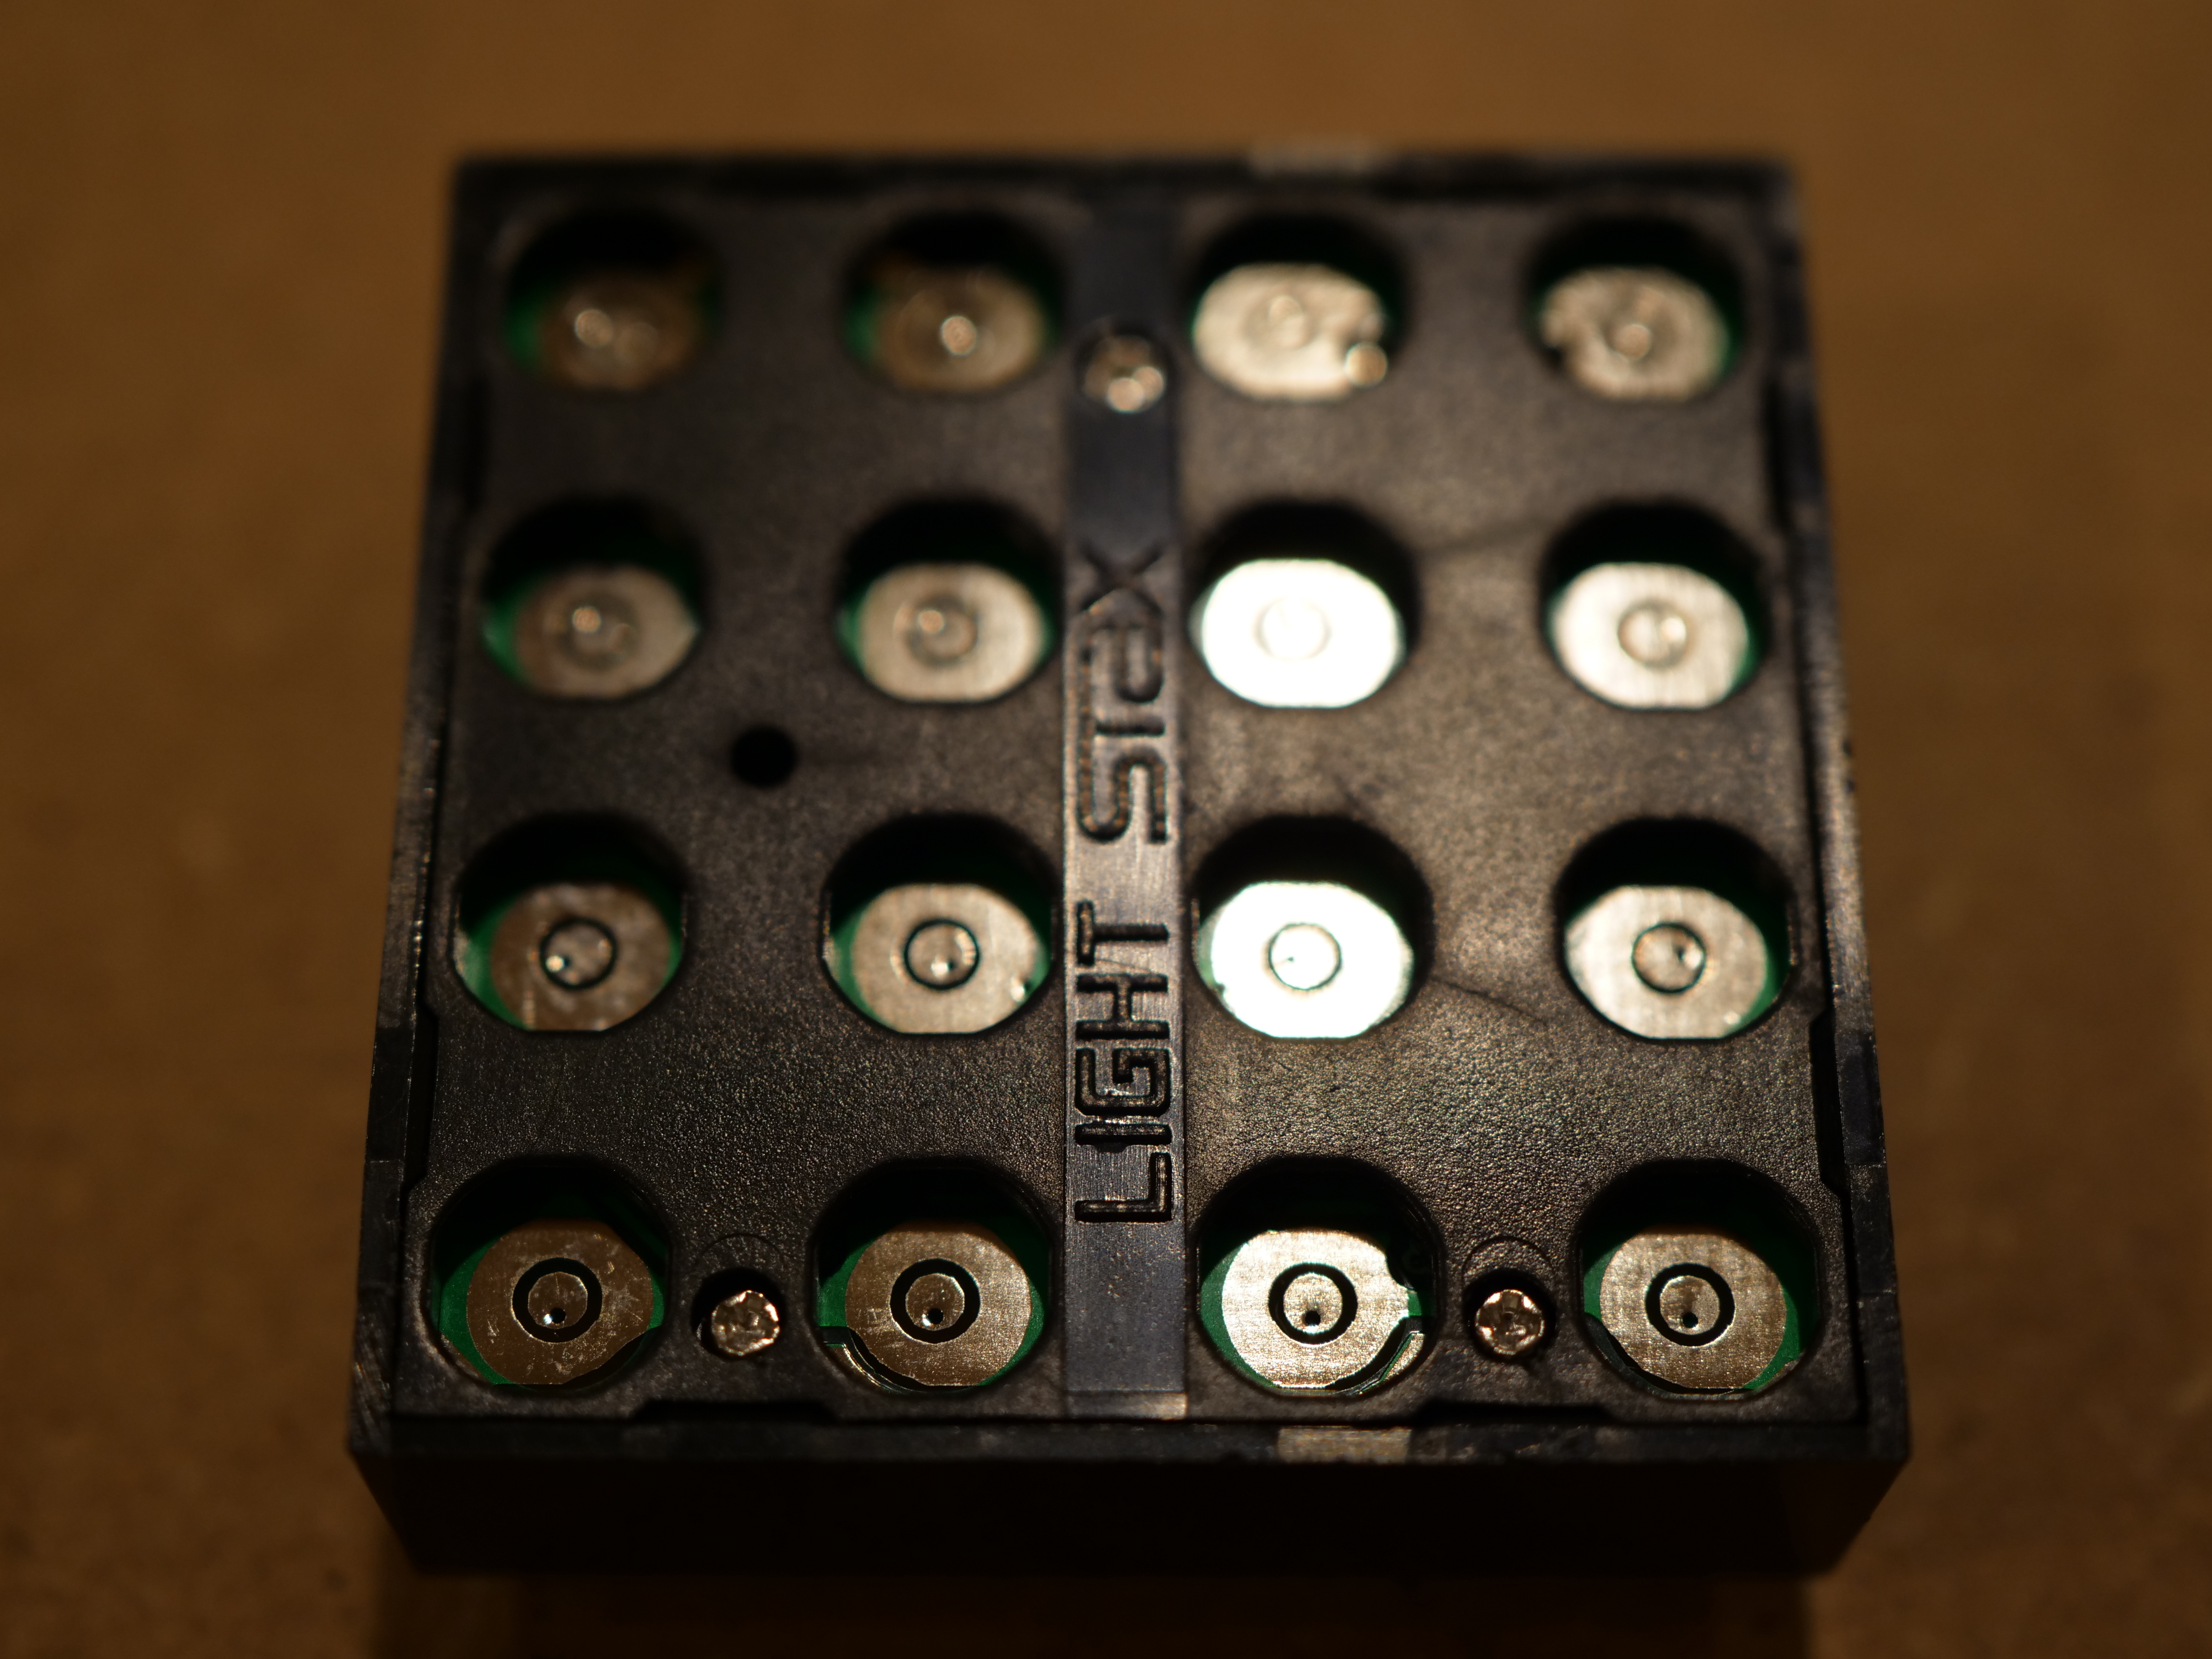
The third and final build is the engine. The most interesting parts are from Light Stax. There are a variety of bricks for making electrical connections:
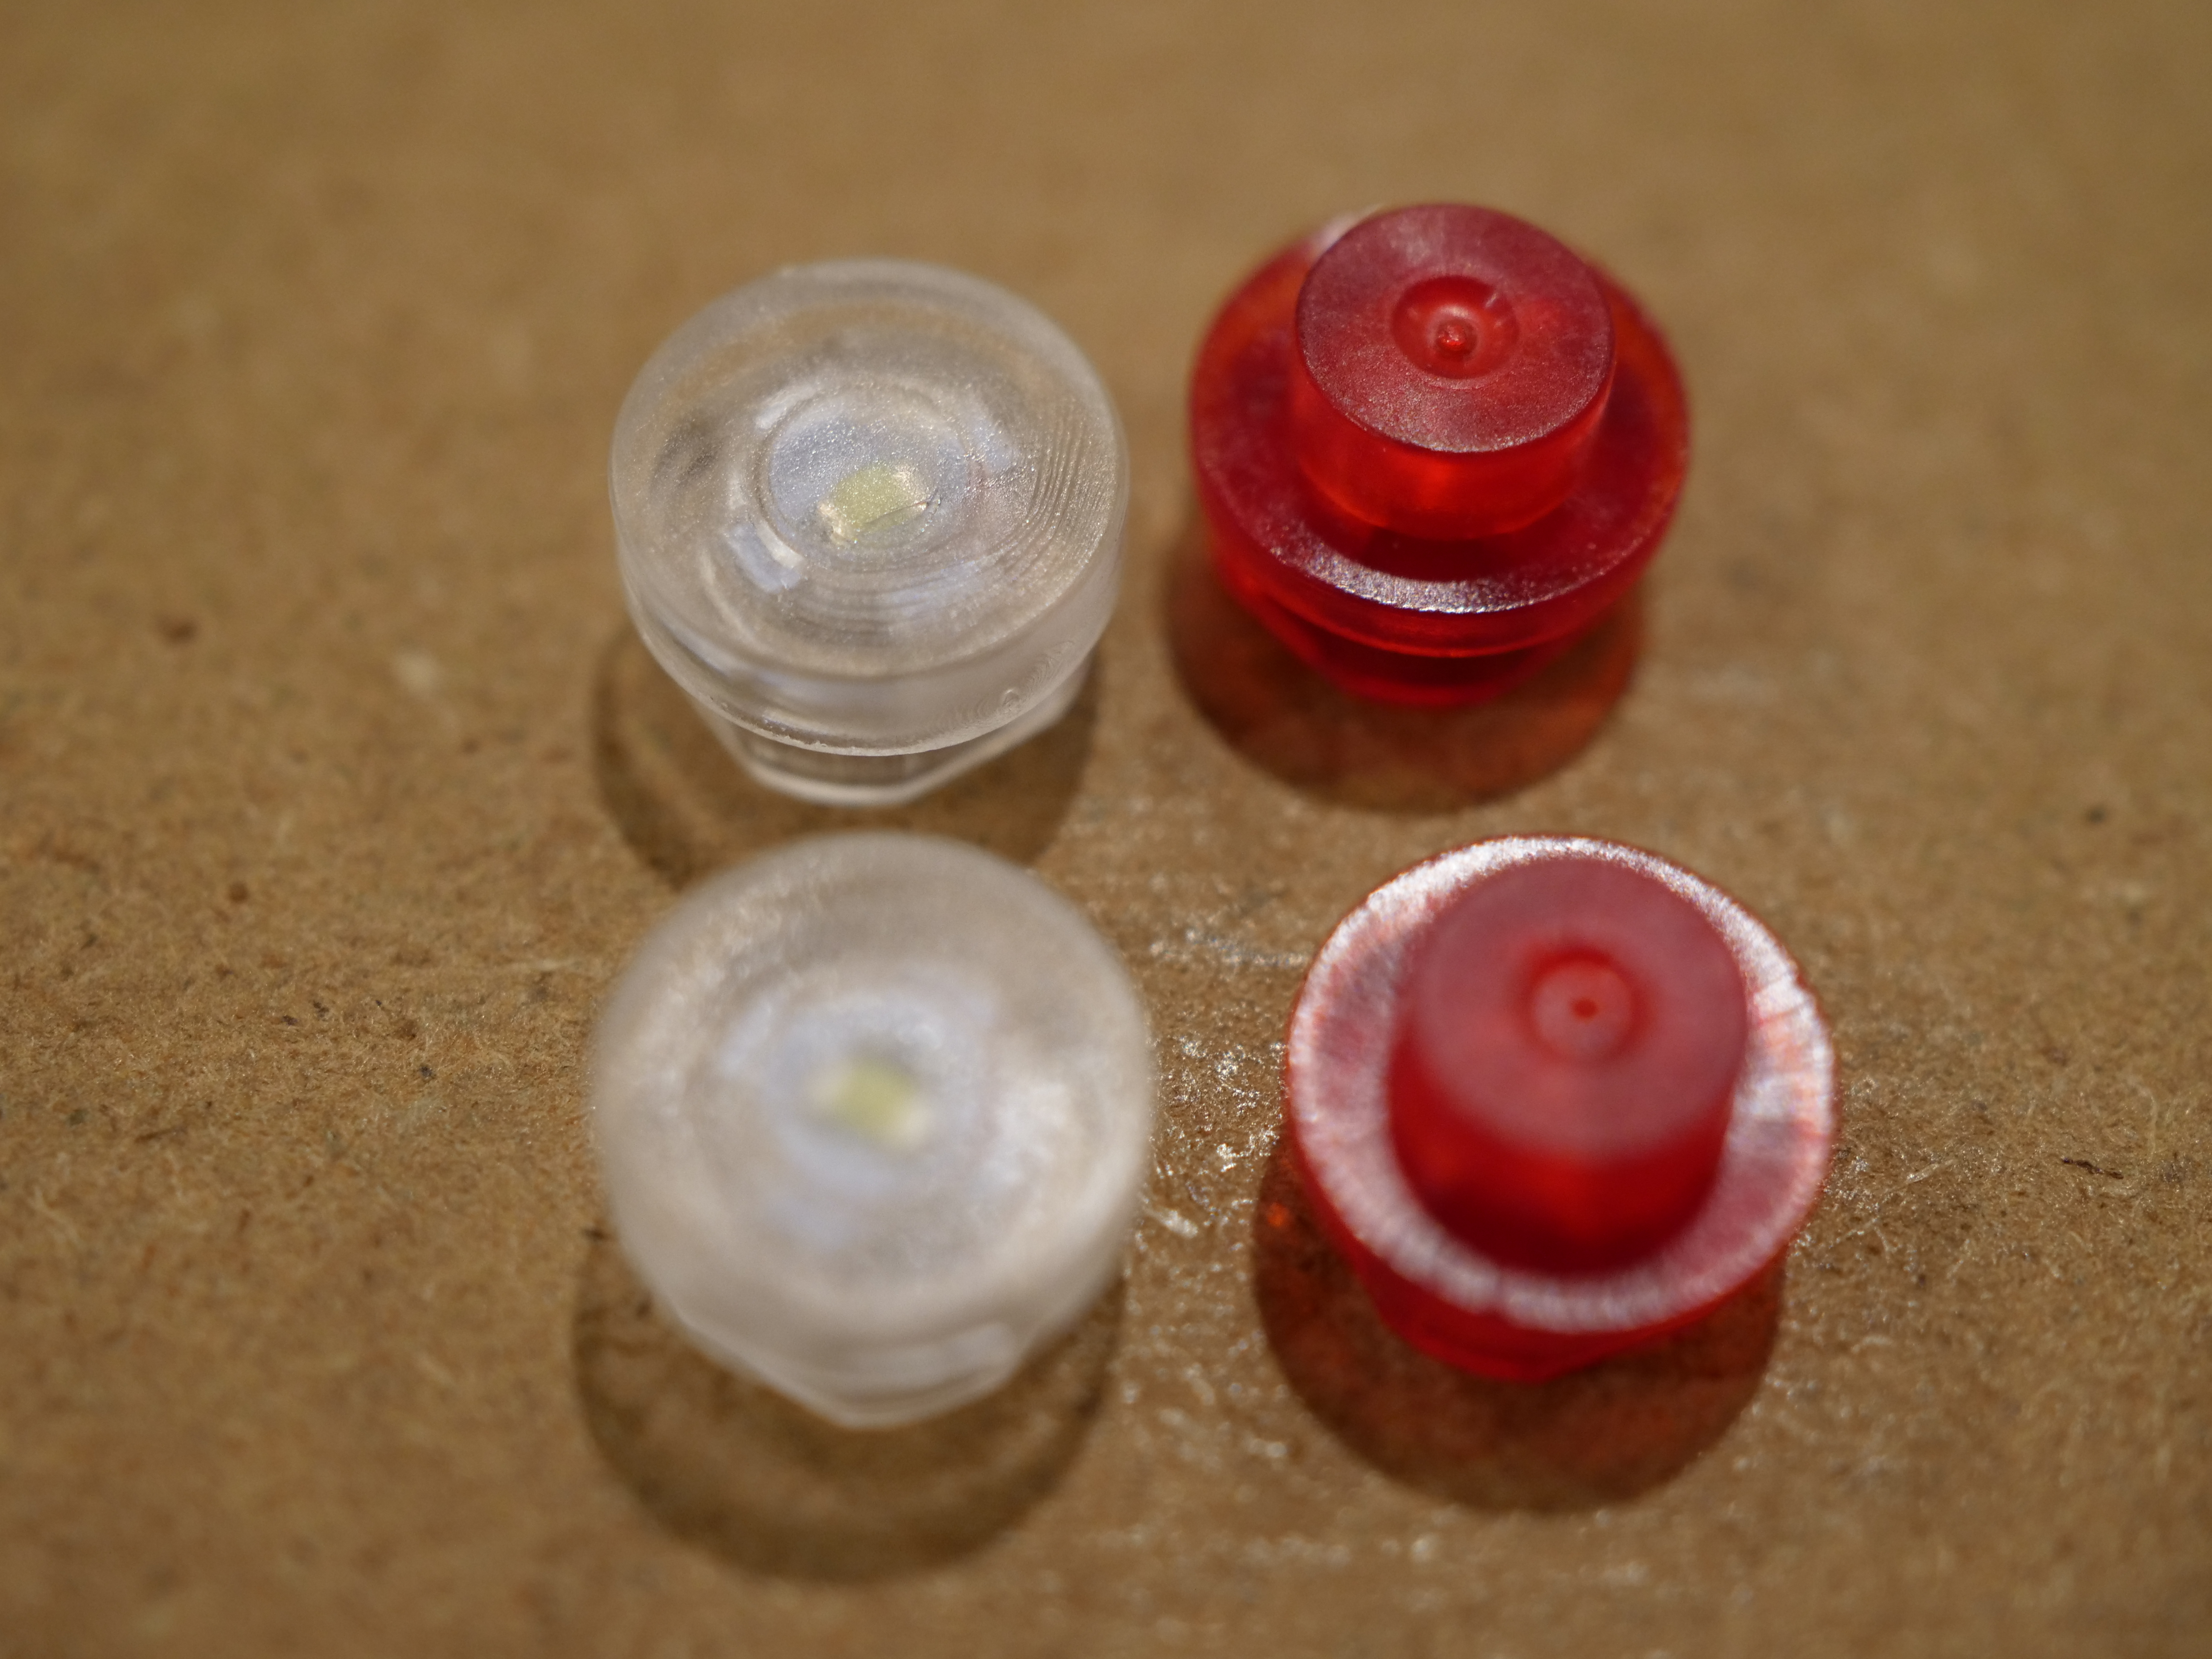
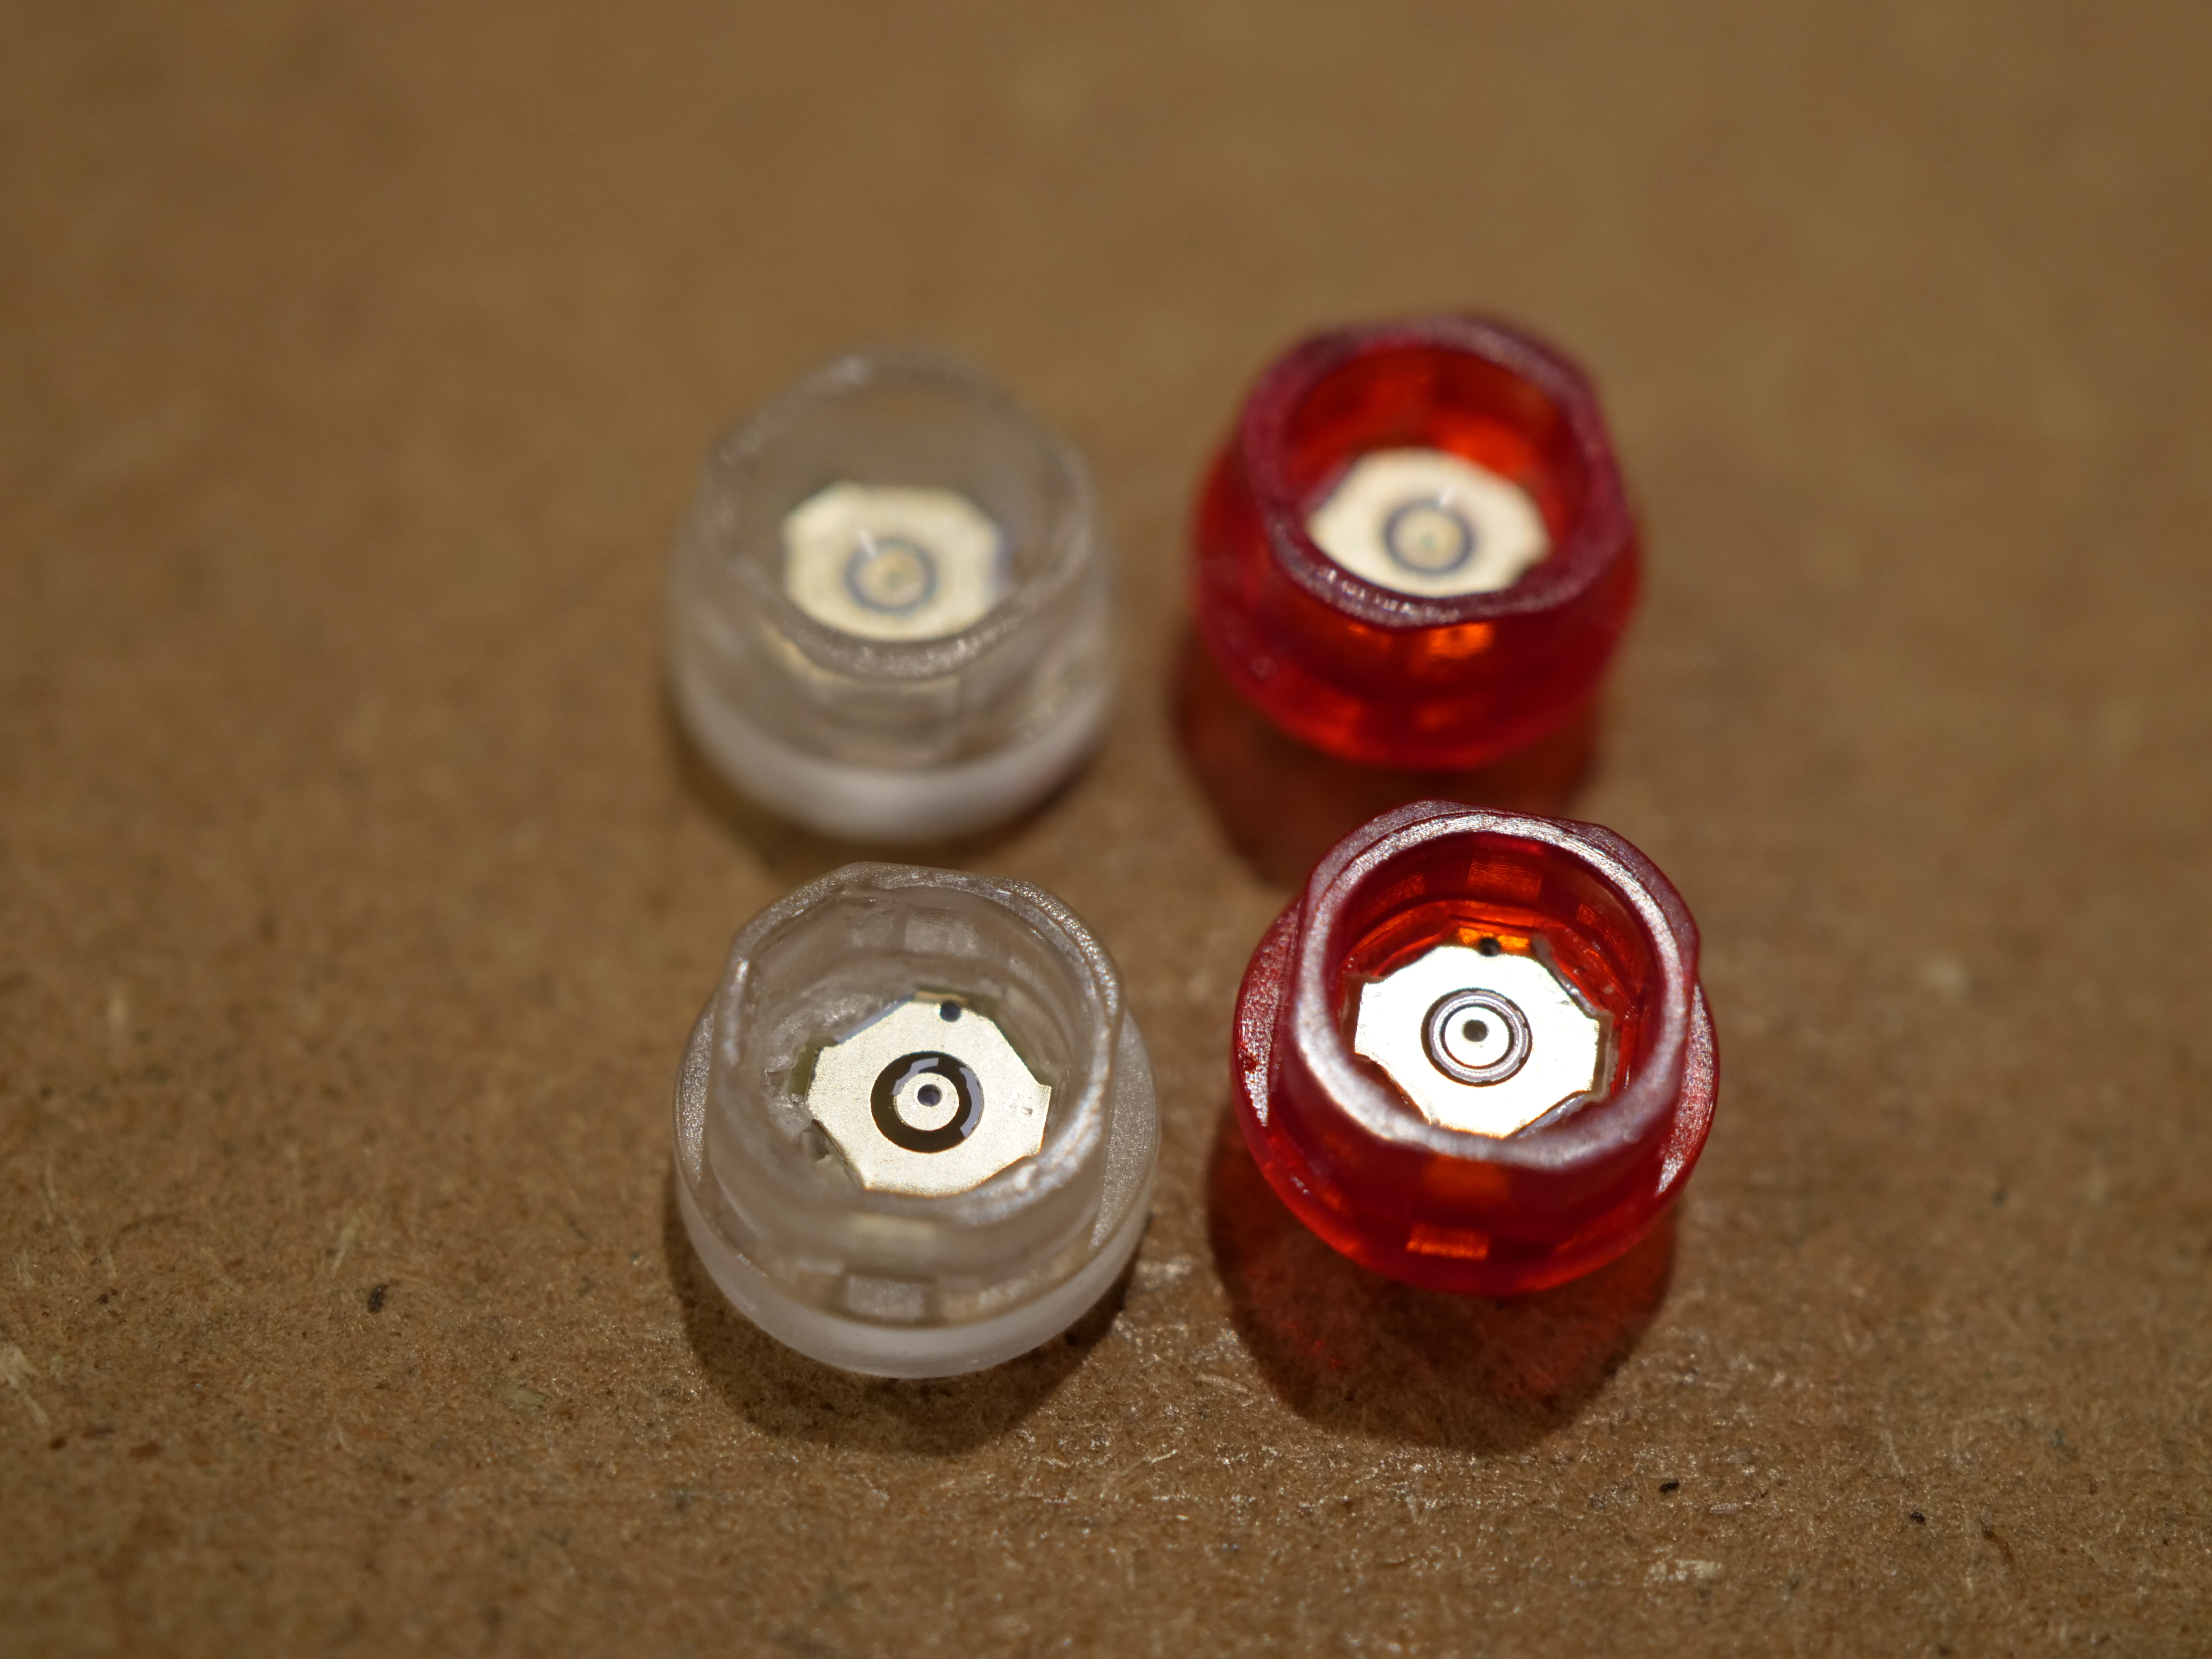
A sound brick:
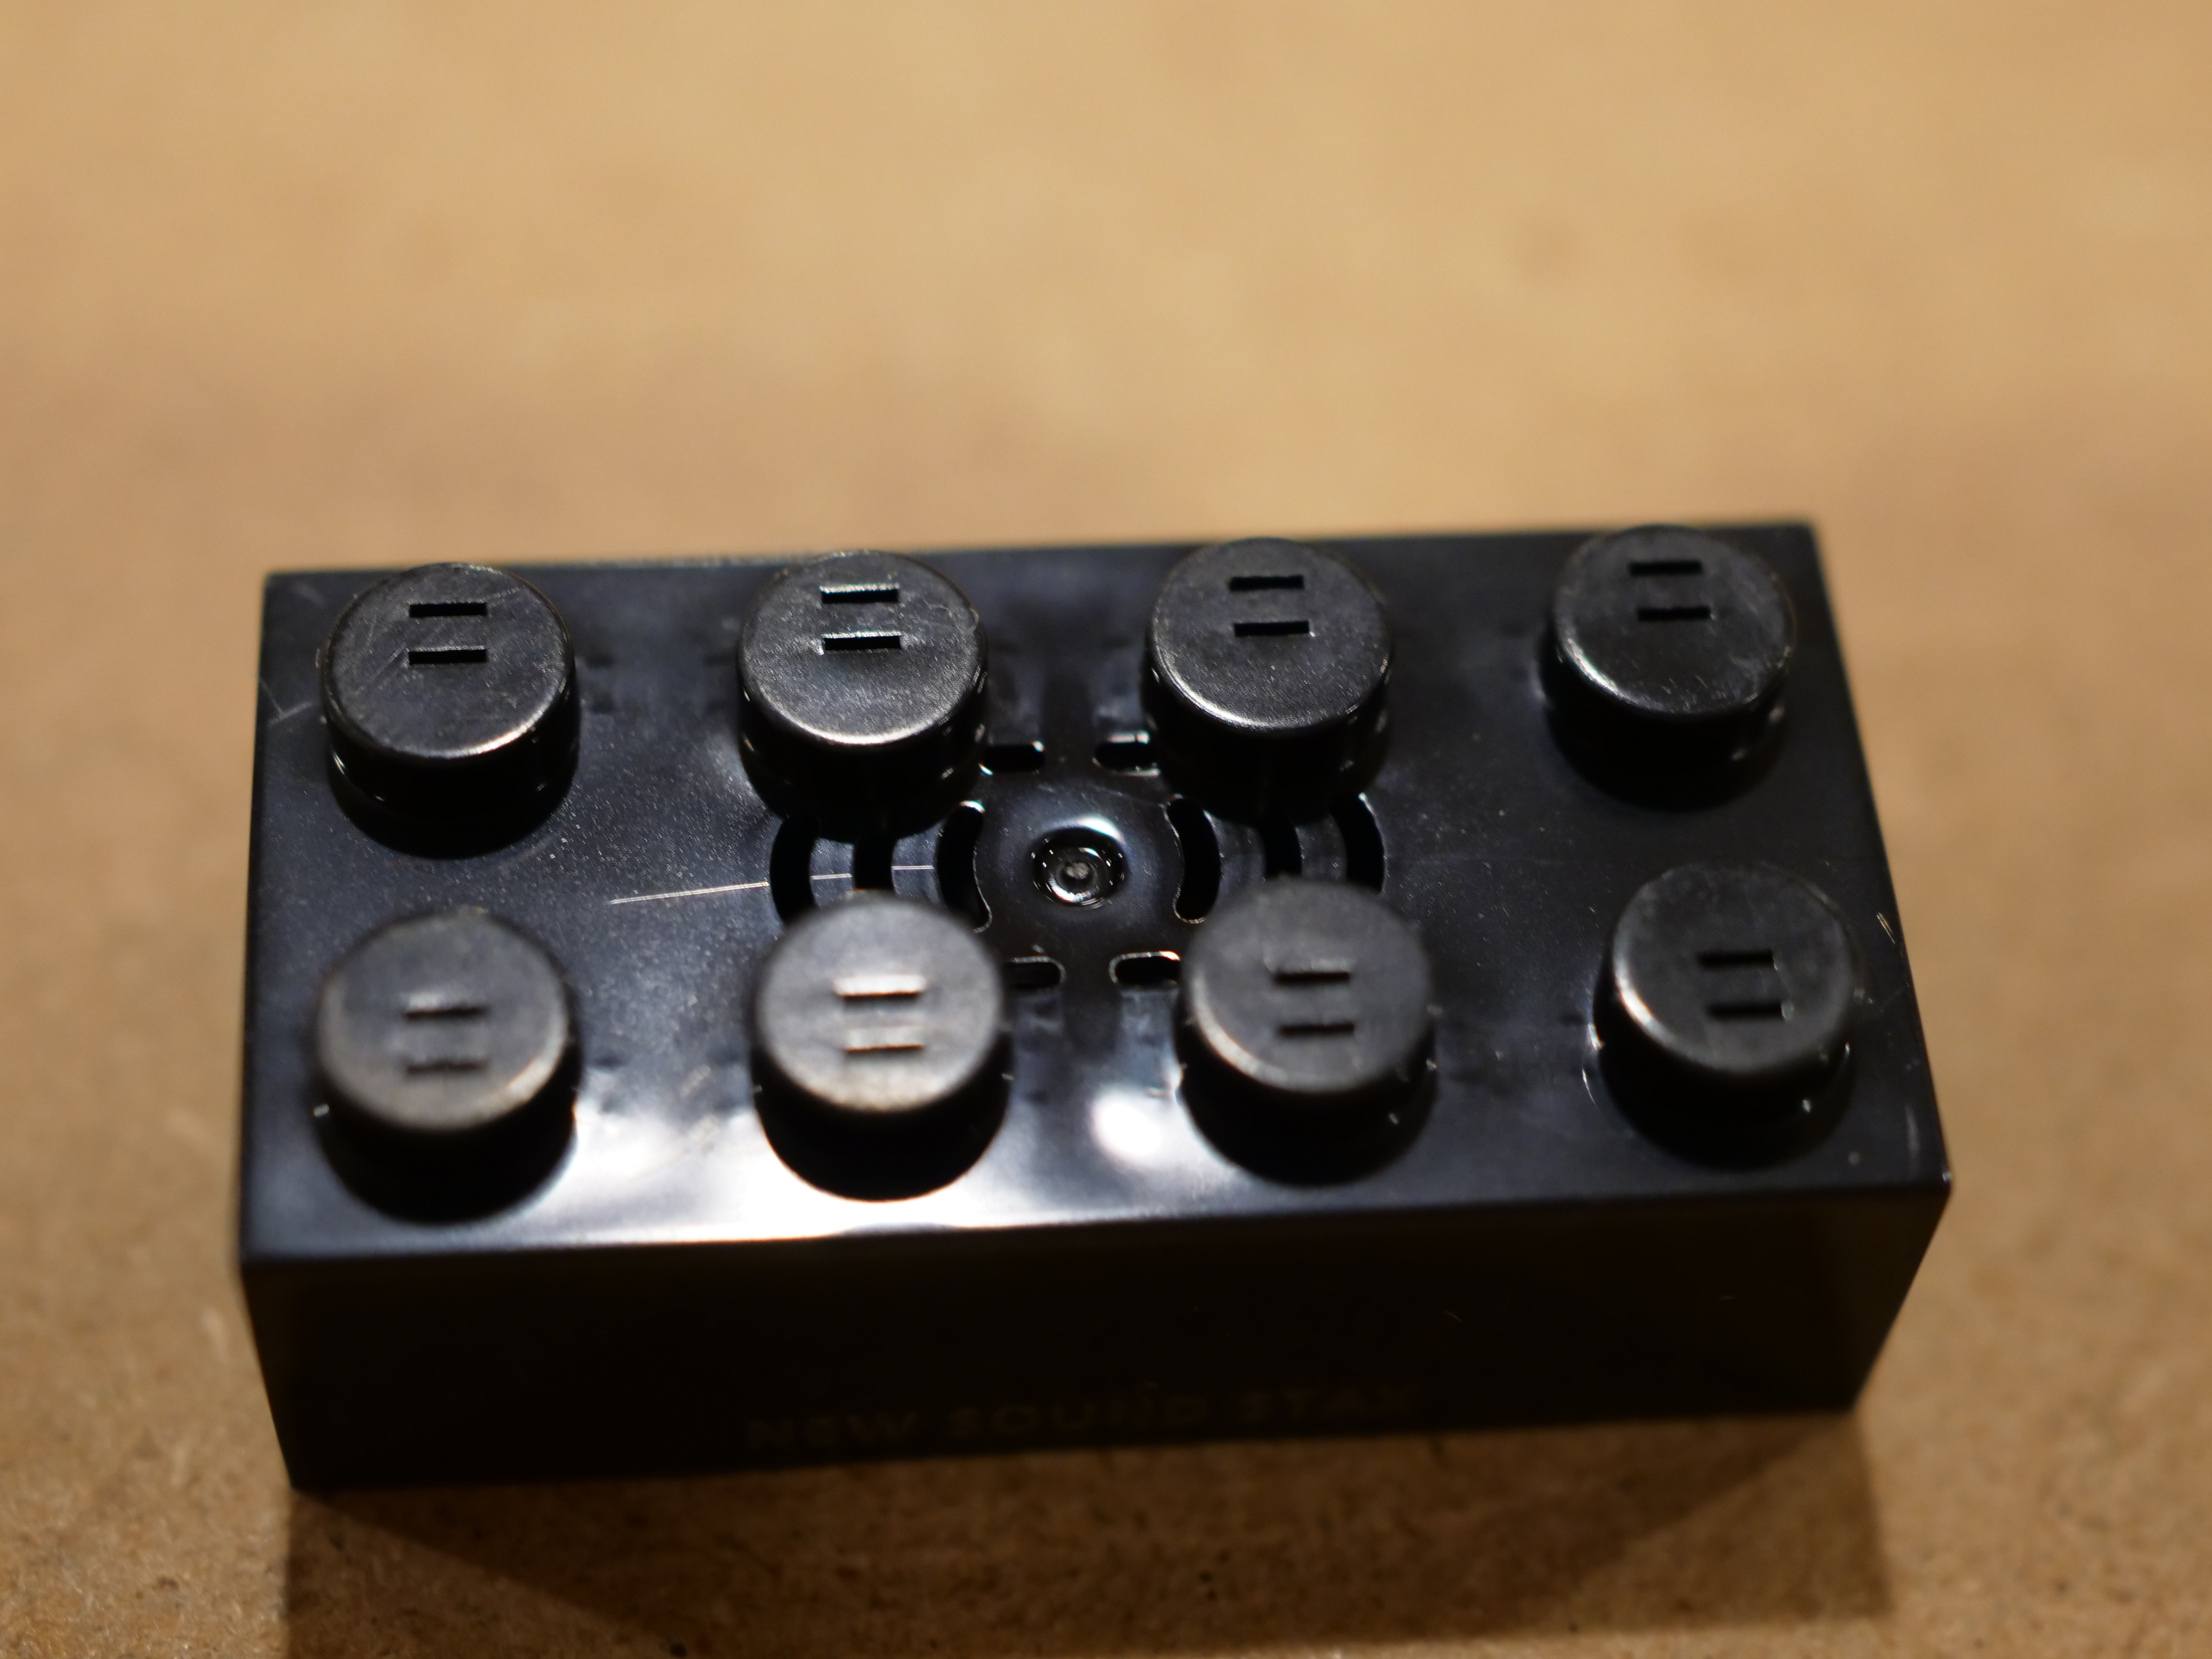
And the base module:
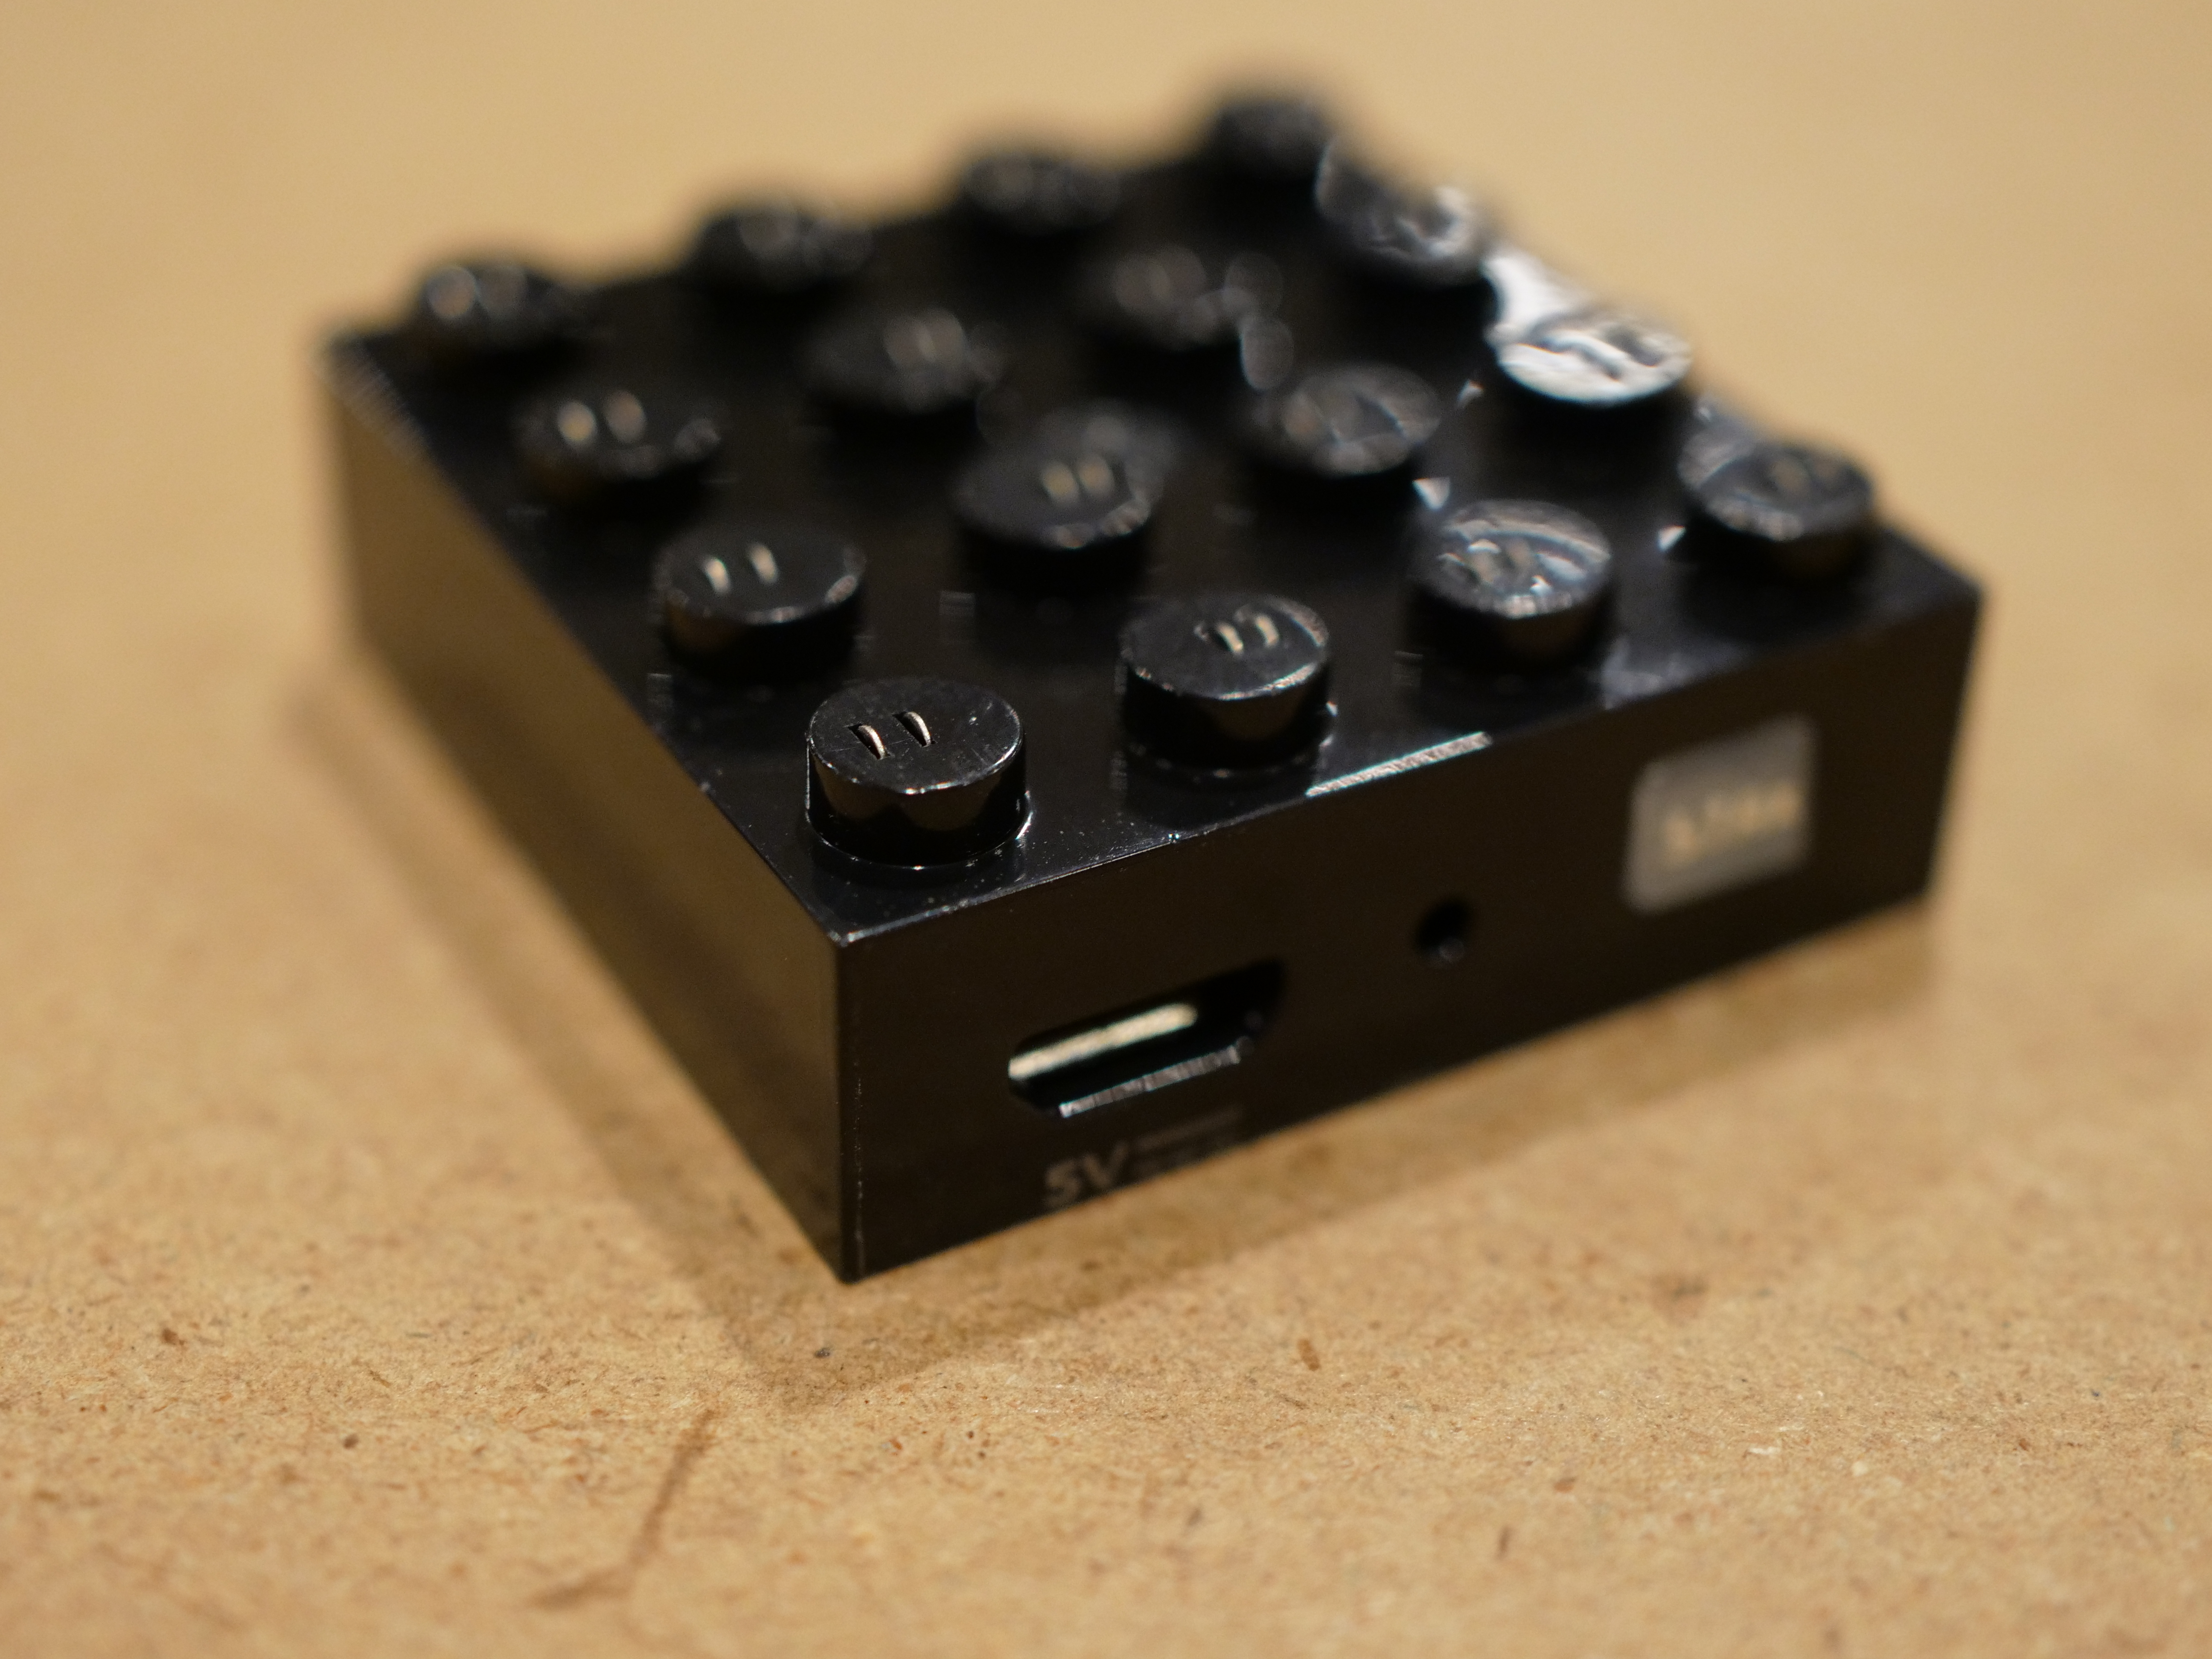
This was my biggest disappointment with the model: the lights and sound are not powered by the track. Instead you need to plug in a battery module. The sound and lights are sound-activated. I built this at night, and initially thought it was activated by motion. Then a truck drove by and the sounds started playing while the train just sat there. The lights arenice, but I found the sound grating.
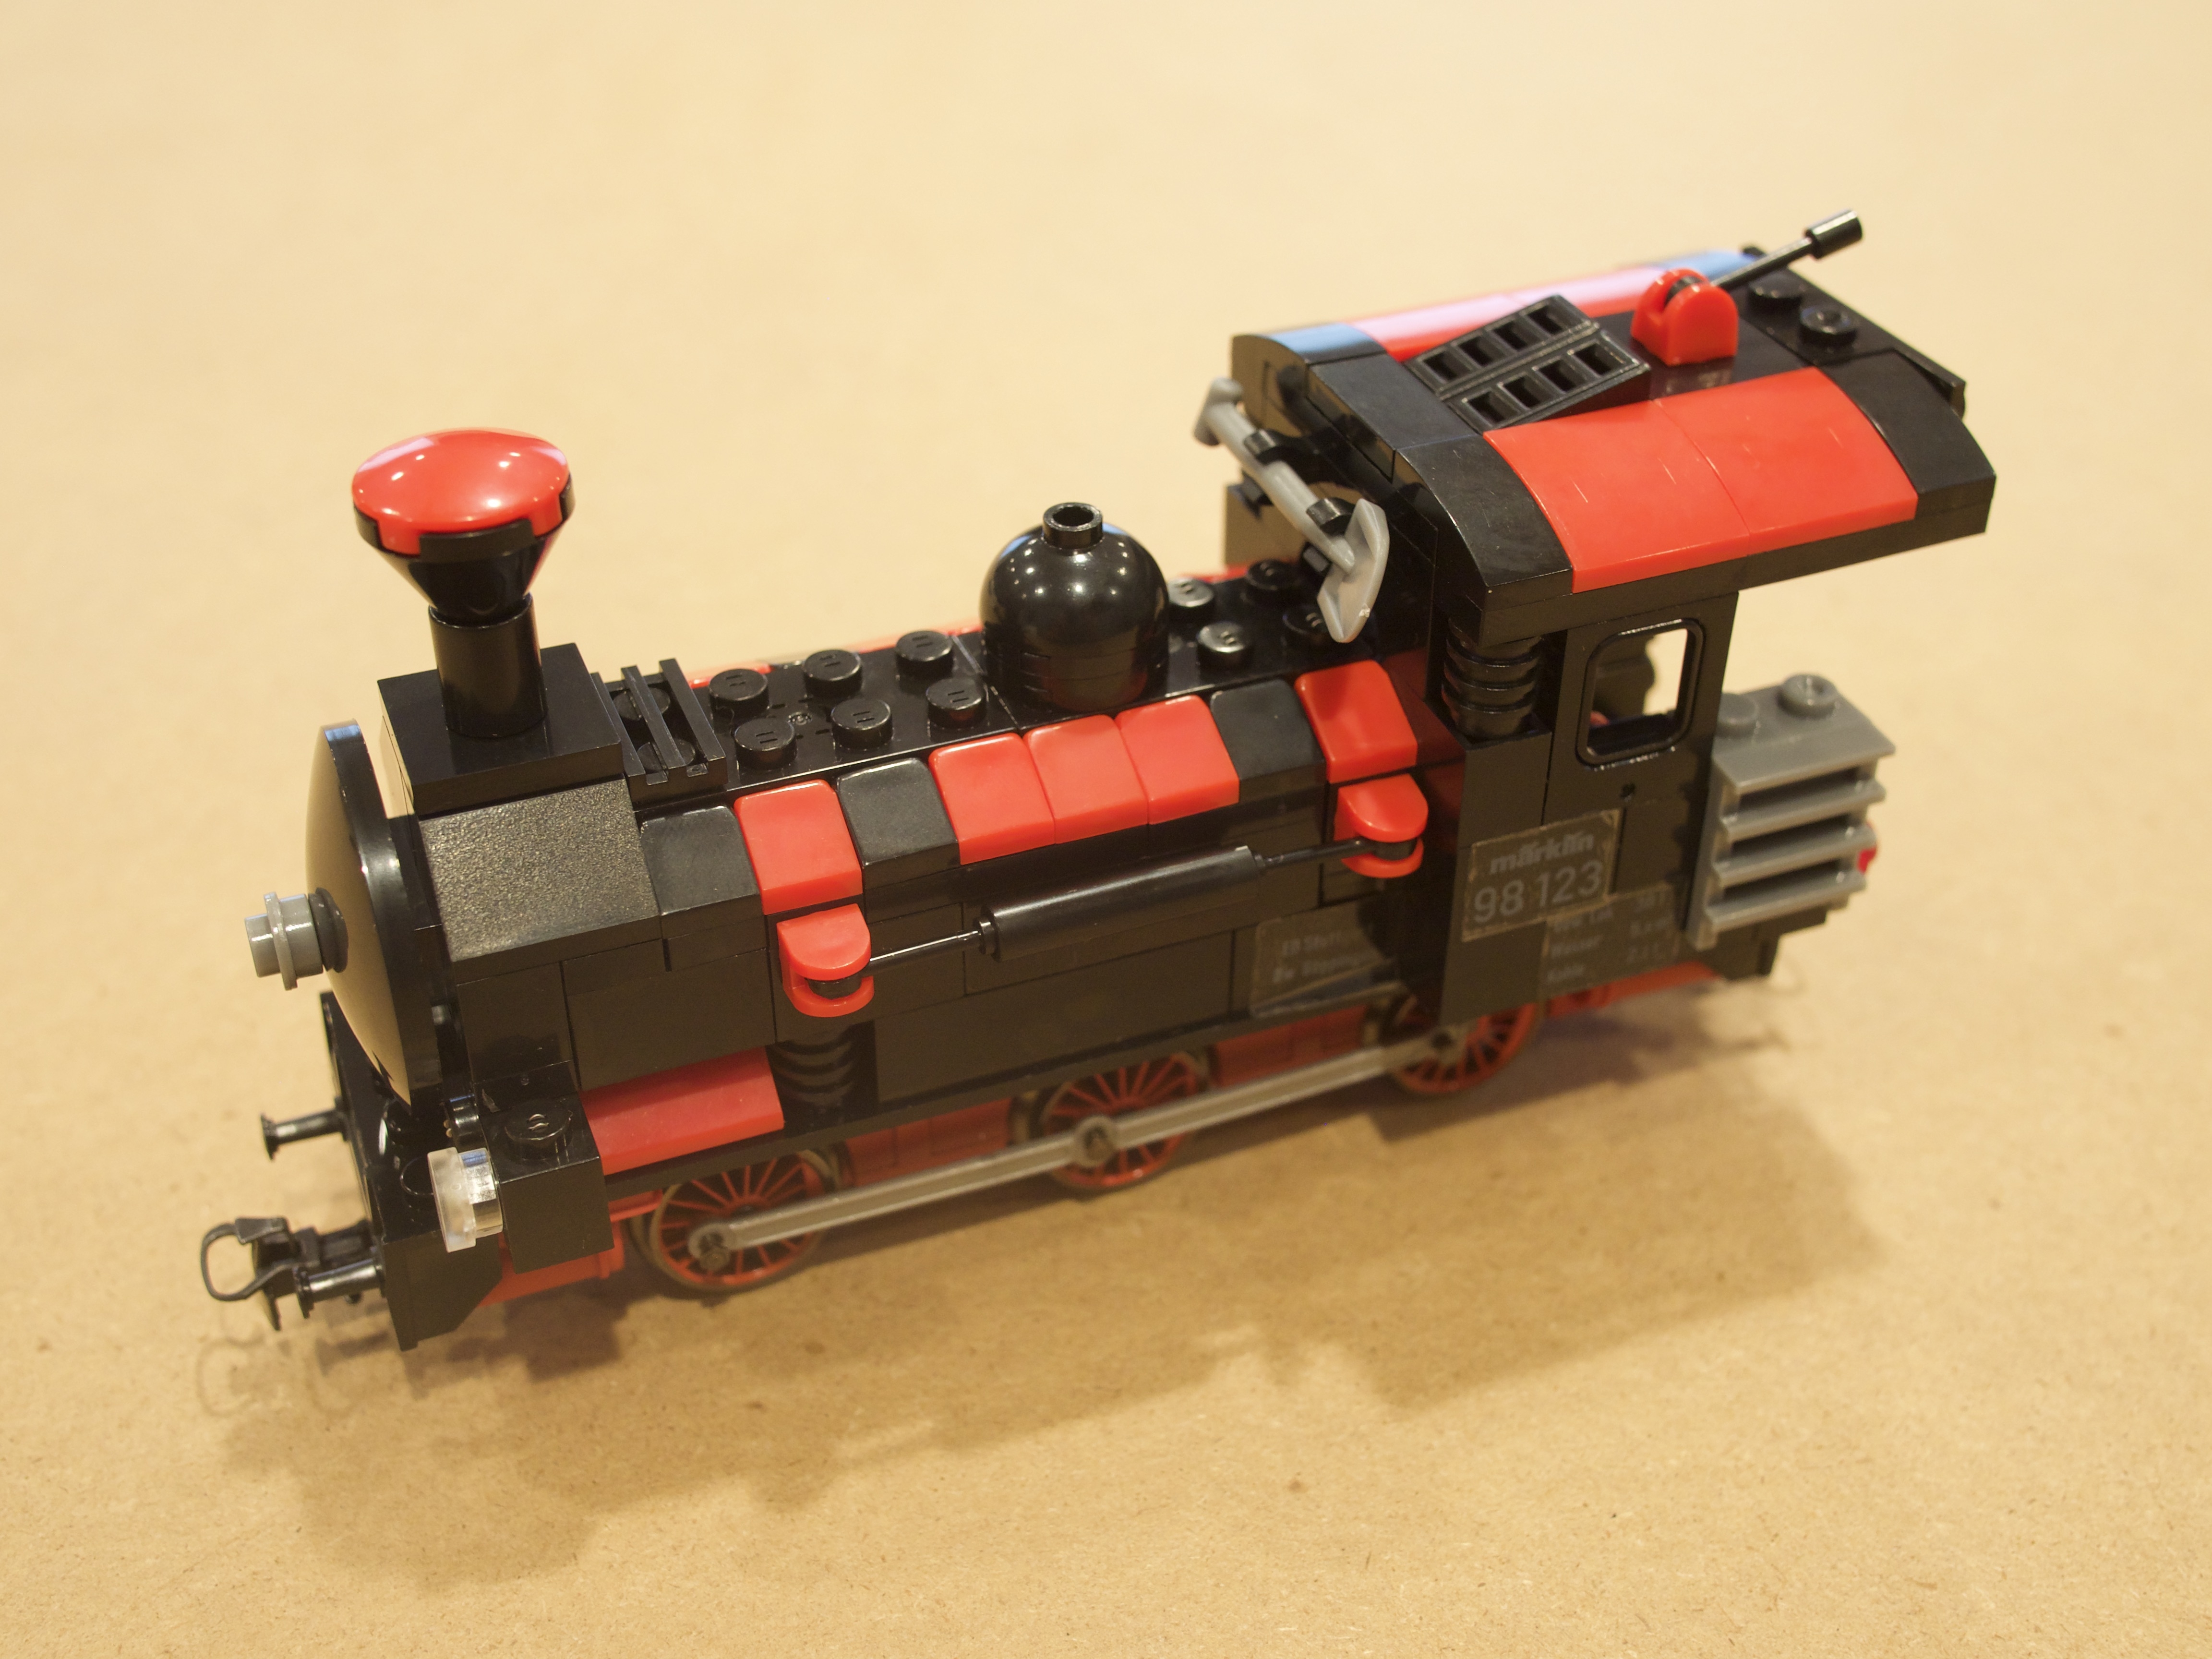
The engine was a fun build:

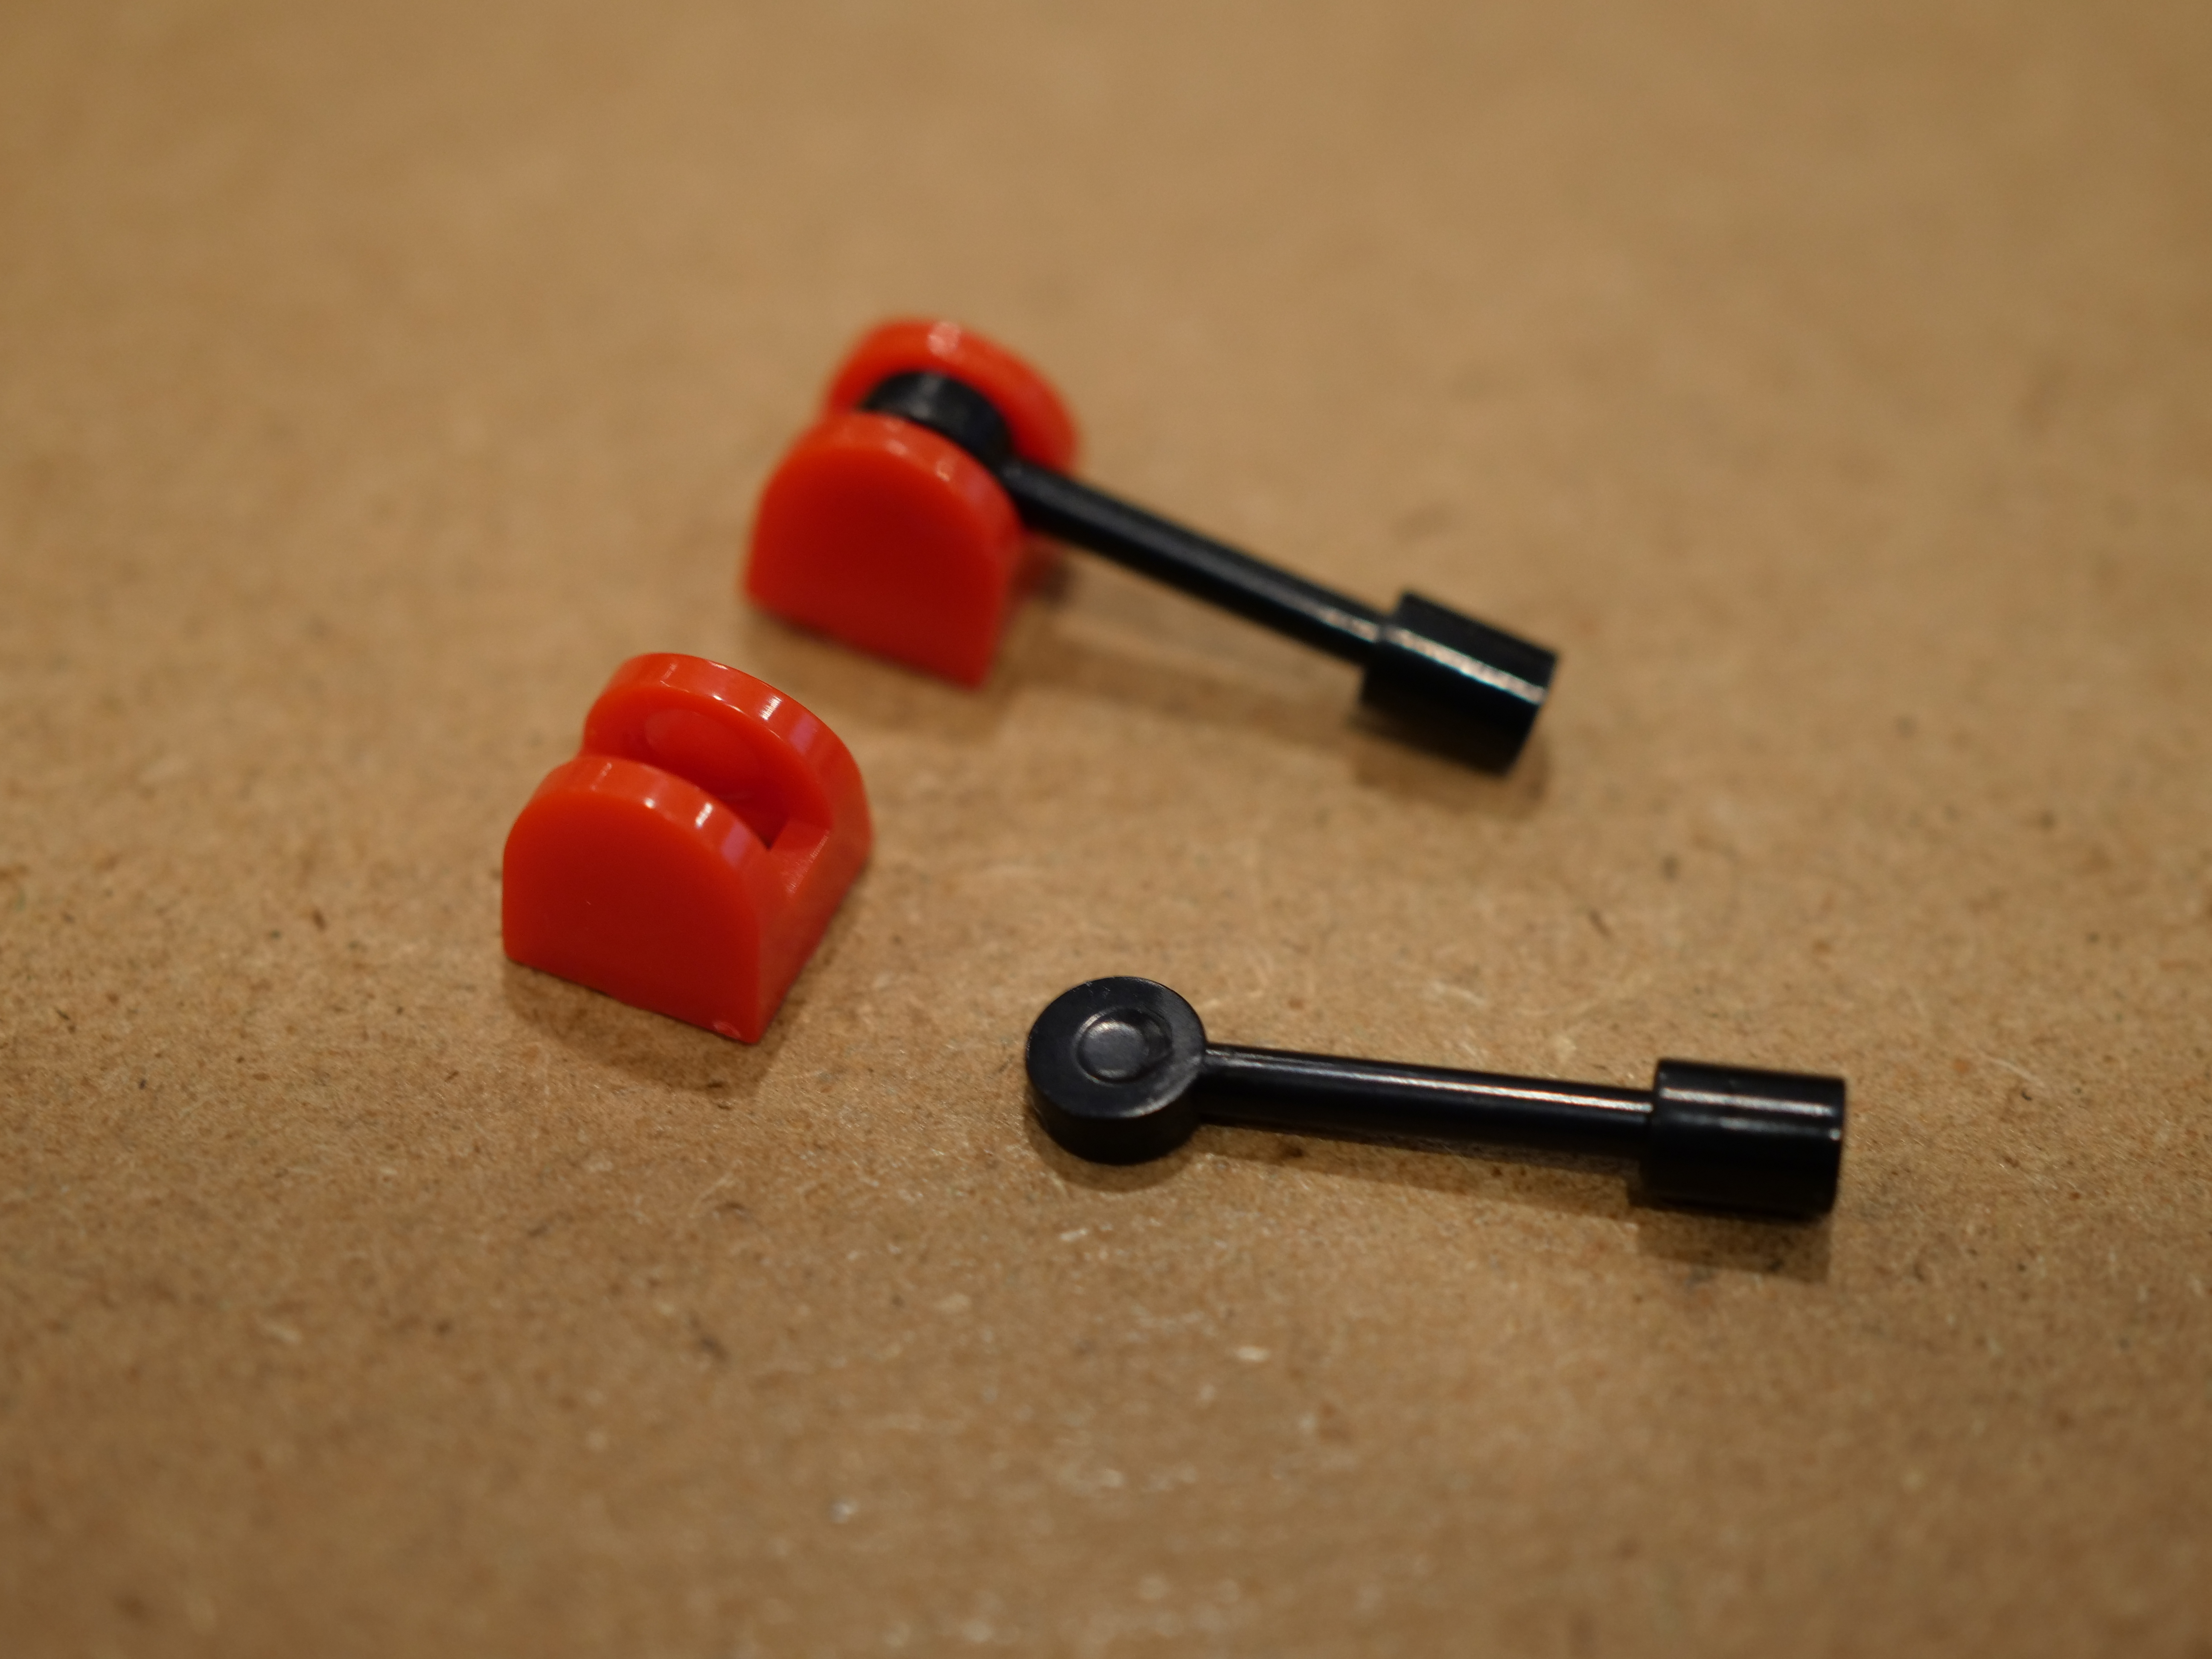
One other thing I liked is that the levers look more like levers than the antennas that TLG typically uses:
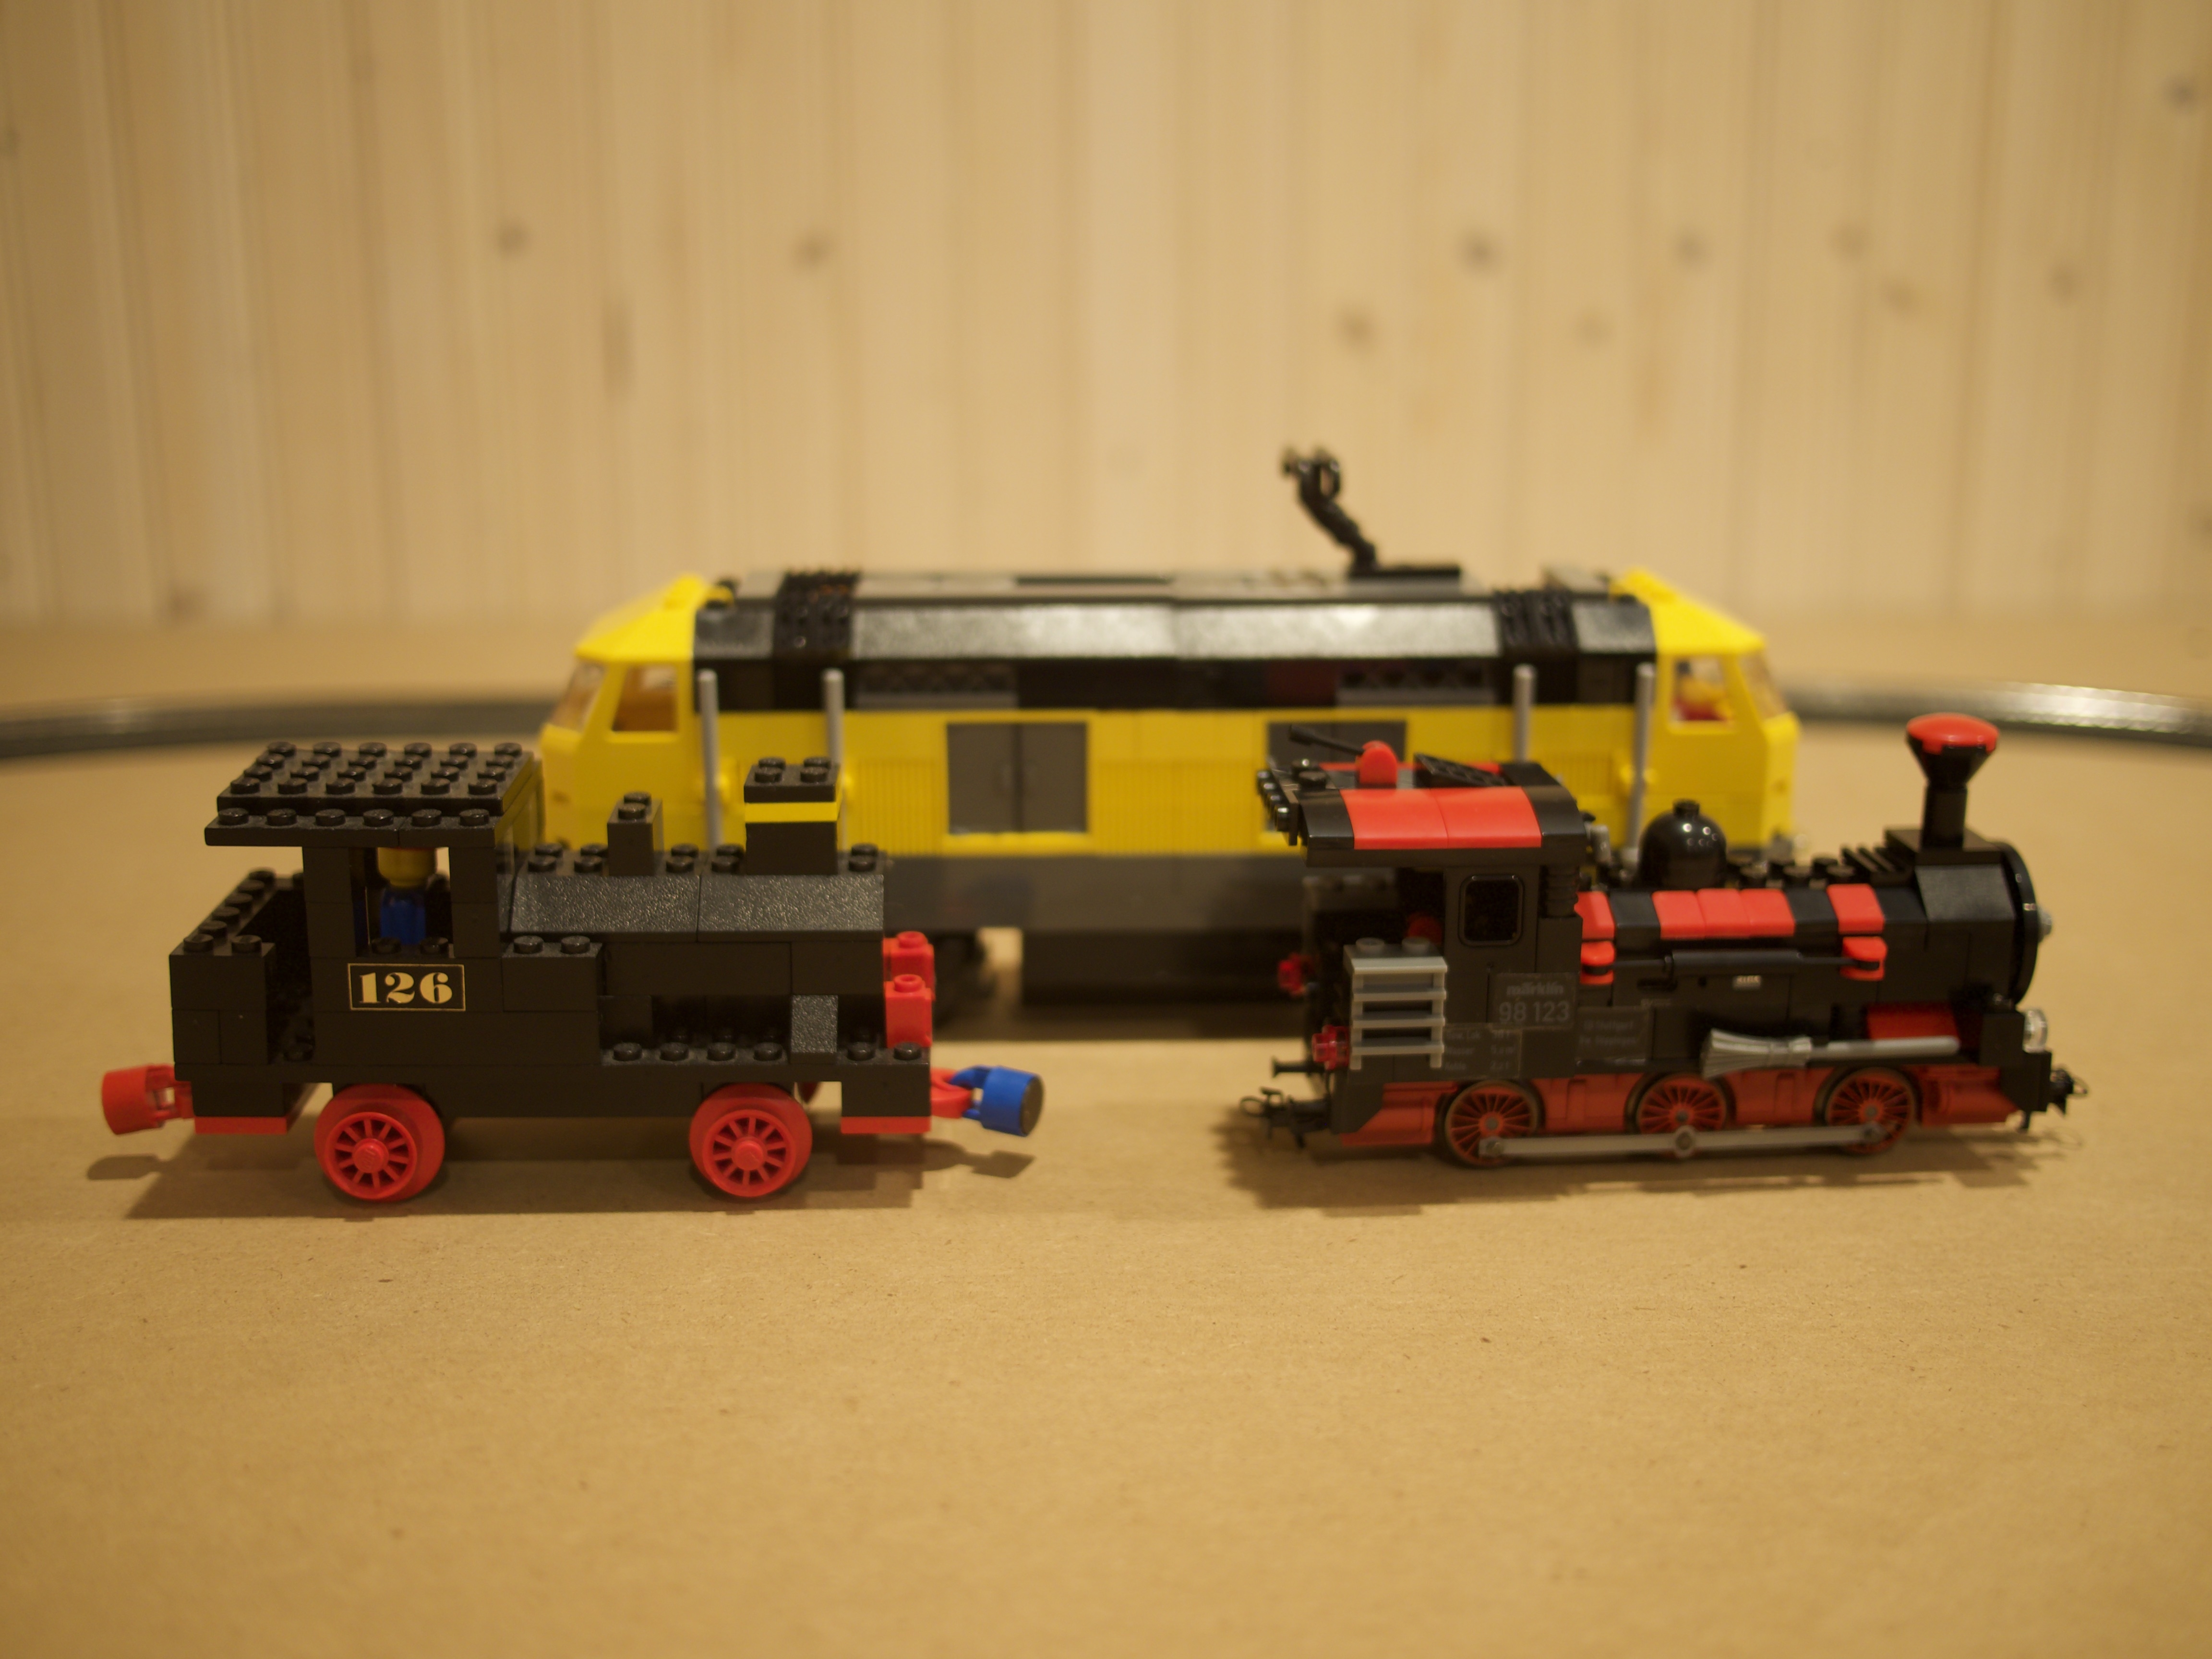
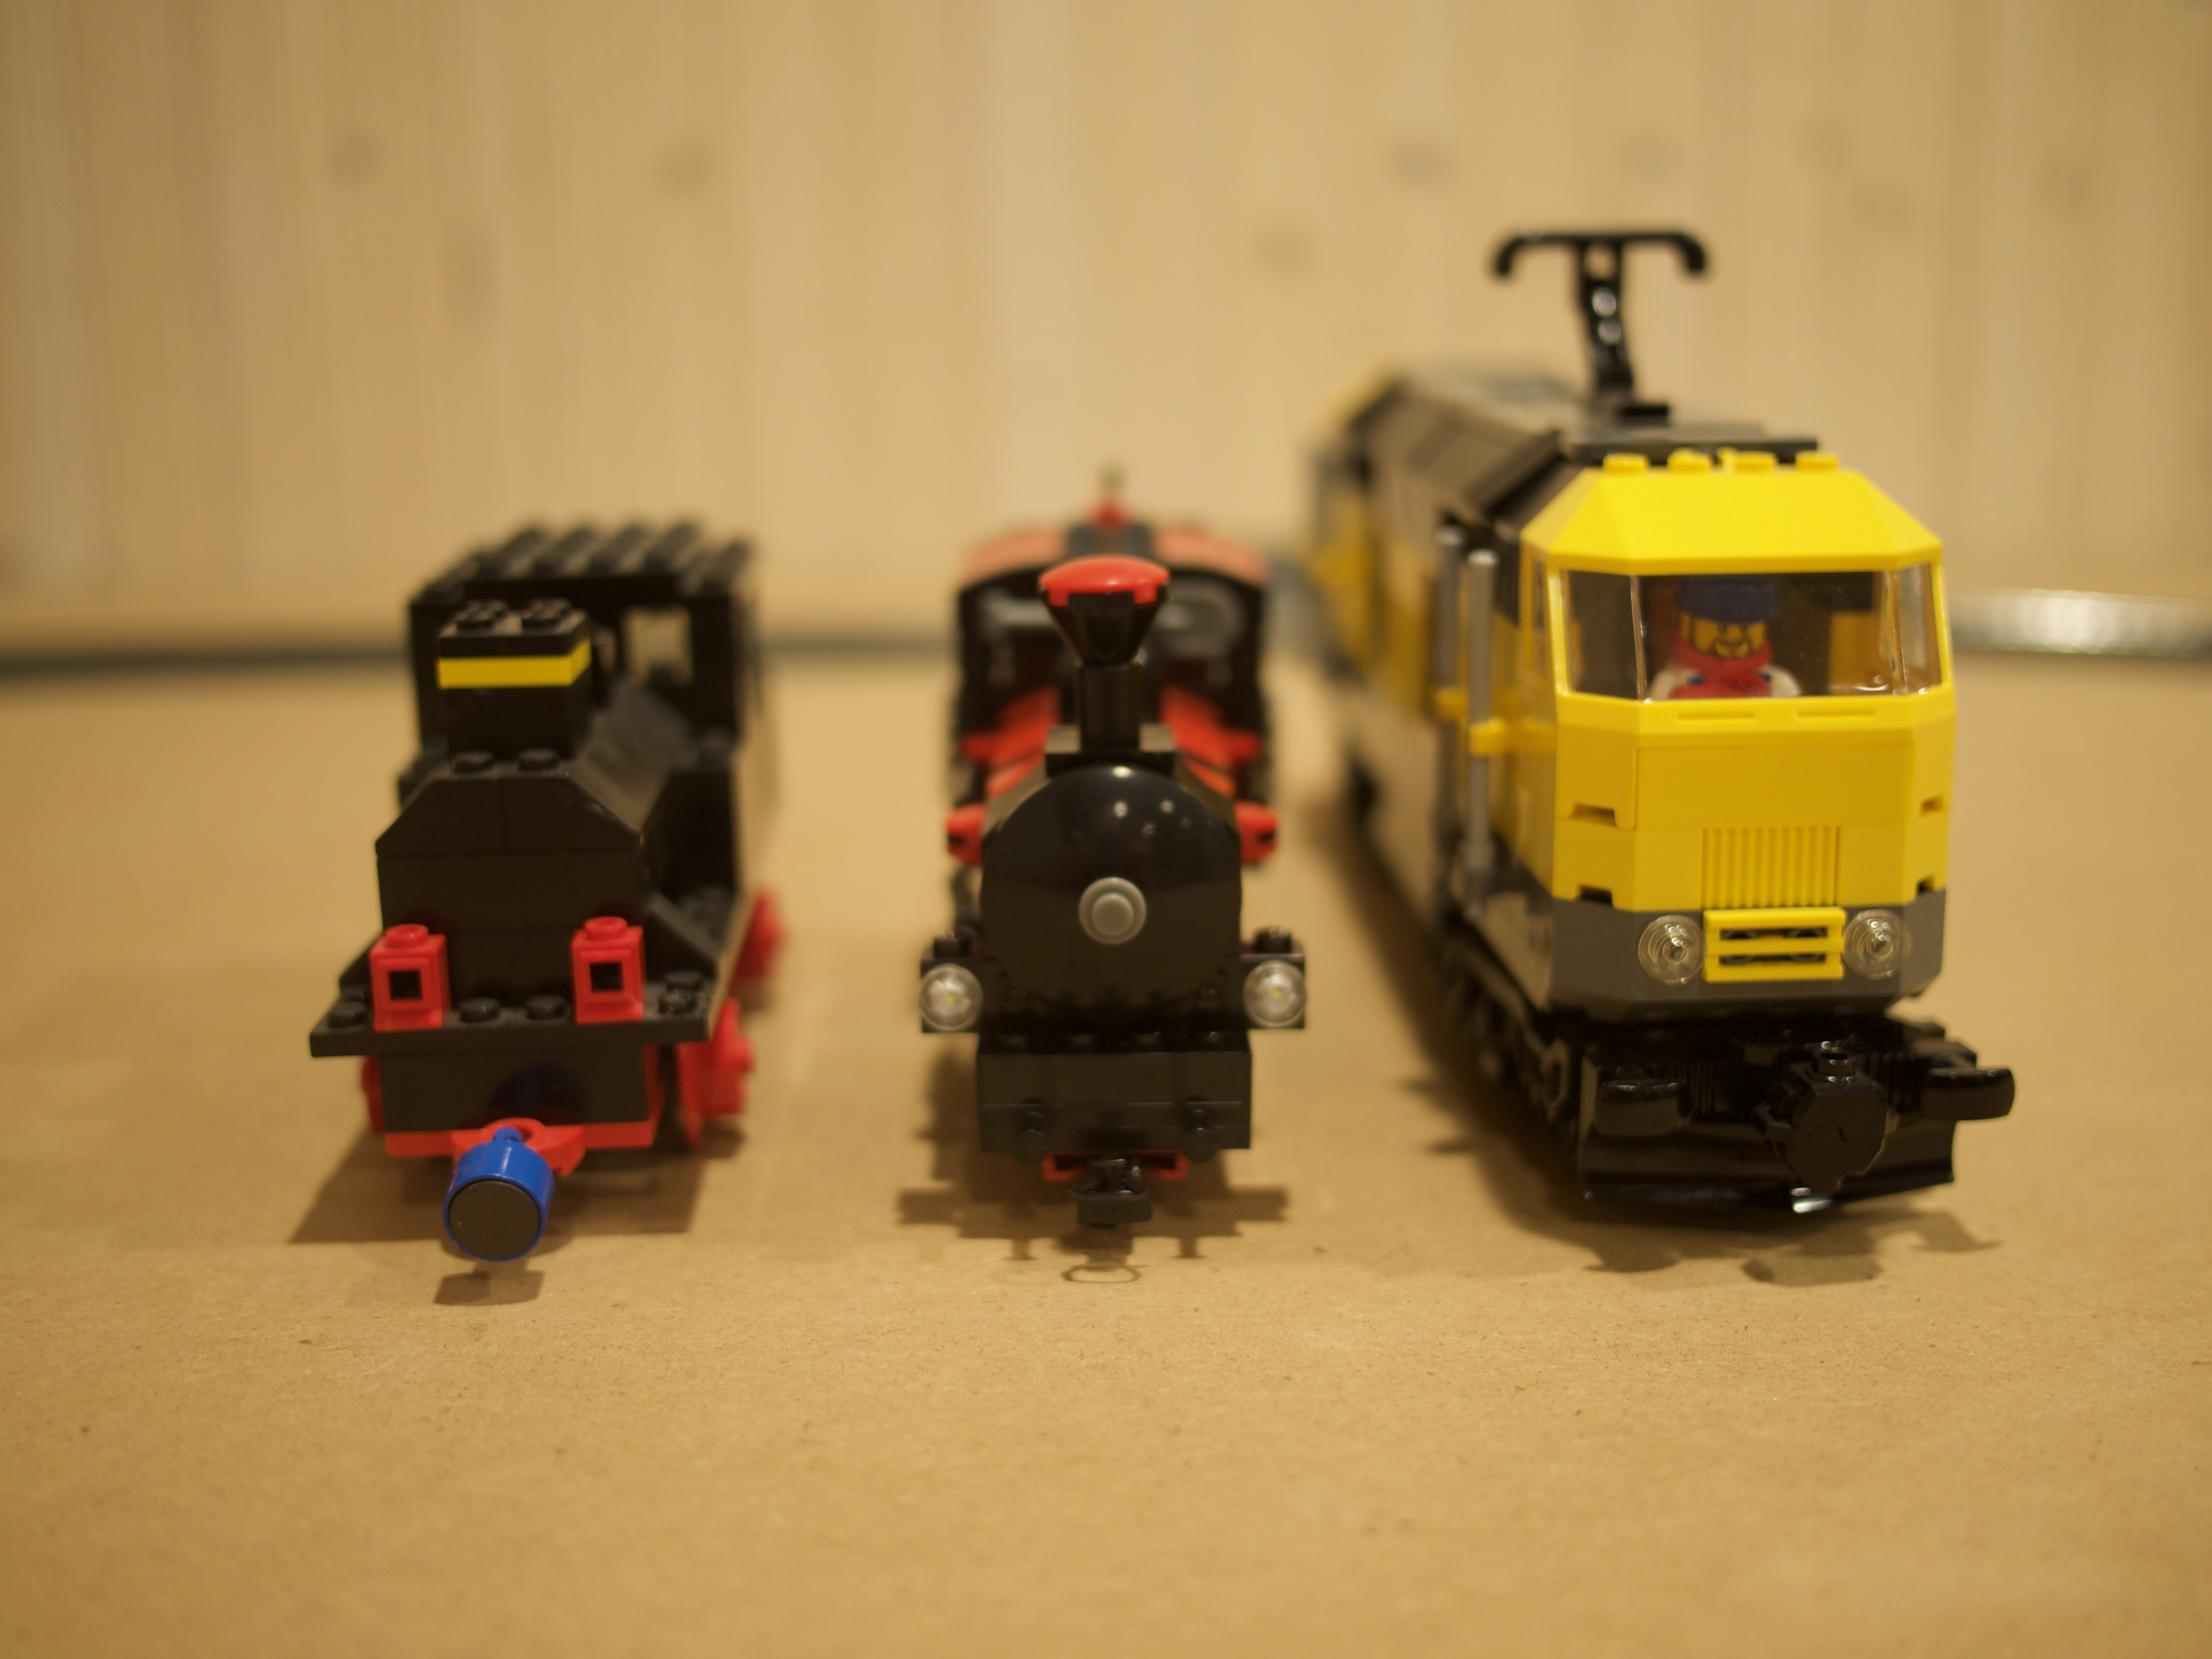
The scale isn't so far off that it couldn't work with minifigs:
It would probably be more fun, though, to integrate this into a 1960's style H0 layout:
Märklin markets this as part of their "Start Up" line, aimed at children. I think this is marketed to grandparents: Is your grandson obsessed with plastic toy bricks? Is it time for him to start playing with model trains, like a mature, responsible adult? This is the perfect Christmas present to gently nudge him in that direction.