3.5" hard drive on laptop/Mac Mini internal IDE
Want a cheap way to add storage and speed to a stationary laptop that might not have Firewire or USB 2.0? Disappointed that your Mac mini uses a puny little laptop hard drive? If you've got a desktop hard drive that you'd like to connect to either of these, it's possible with a little work. I did this with a stripped-down graphite iBook that I've been using as a server, and had all kinds of trouble finding information until I realized that the process would be very similar for a Mac mini and started searching for that.
There are two different obstacles to connecting a 3.5" desktop hard drive to a computer designed for a 2.5" laptop hard drive. Getting data across is the relatively easy, but meeting the higher power requirements of the larger drive can be a bit more difficult.
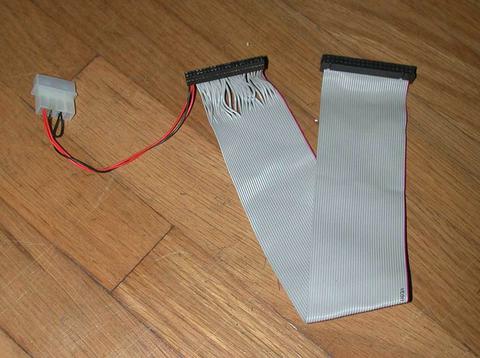
Data is simple because the first 40 pins of the 44-pin, 2mm pitch connectors used for 2.5" drives have the same pinout as the 40-pin, 2.54mm pitch connectors used for 3.5" drives. All you need is an adapter that changes the pitch of these pins. Such adapters are quite common, as they are used to attach 2.5" drives to the 40-pin connectors in desktop PCs. These adapters are available with both male and female 40-pin connectors. If you get an adapter with a male 40-pin connector, you will need a standard IDE ribbon cable, which has the potential to connect multiple drives (assuming the IDE controller can handle this, I haven't tried it). If you get one with a female 40-pin connector, it will connect directly to the 3.5" drive.
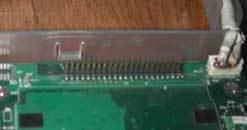
They will generally have a female 44-pin connector to connect directly to the 2.5" drive, but the Mac mini needs a male one. The only one that I've seen with a male 44-pin connector is Adam Eberbach's adapter specifically designed for the Mac mini. See his article for more information. This adapter is a custom PCB that converts a male 40-pin connector to a male 44-pin connector, which is necessary to connect to the Mac mini's female 44-pin connector. Printing custom PCBs isn't cheap, but since the adapter was so small he was able to make a bunch of them and sell the extras for $23. Personally, I would have just used a 44-pin gender changer and a standard adapter.[thumb:10855 right hspace=5 vspace=5] The problem with this is that a standard 44-pin gender changer will reverse the even- and odd-numbered pins (pin 1 becomes pin 2 and vice versa, etc.). Adam gave up on them at that point, but a proper gender changer can be constructed with two of these and a short length of 44-pin IDE ribbon cable for about $13 according to Froogle, less if you're a keen eBay buyer. Of course, if you're working with a laptop that has a male 44-pin connector on the board, you can use the female connector on the adapter and not worry about any of this.
Powering the drive is a bit trickier. These adapters commonly have a molex connector wired to the last 4 pins of the 44-pin side to power a 2.5" drive from the power supply in a PC, but you're converting in the other direction. A 2.5" drive has two +5 VDC pins (one for logic, one for the motor) and two ground pins, but 3.5" drives use 12-volt motors.
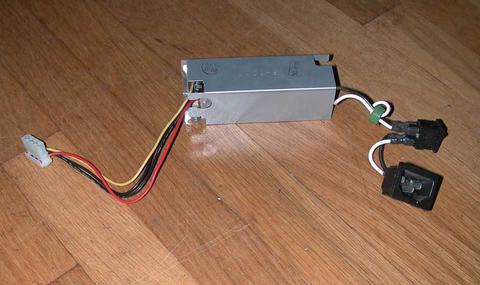
Theoretically, you could use the 5 volts intended for the laptop drive for logic and steal 12 volts from elsewhere in your laptop/Mac mini to power the motor, but I wouldn't recommend it. Instead, you can use a separate power supply with a molex connector. This can be a standard PC power supply (which will usually need a jumper on the motherboard connector to work, search for information about using your specific power supply as a secondary one for instructions) or you can use a single-device power supply from an external drive as I did. I pulled one out of an old SCSI CD-ROM drive, but you can also use one from a hard drive enclosure. In fact, keeping the drive inside an enclosure might be a good idea.
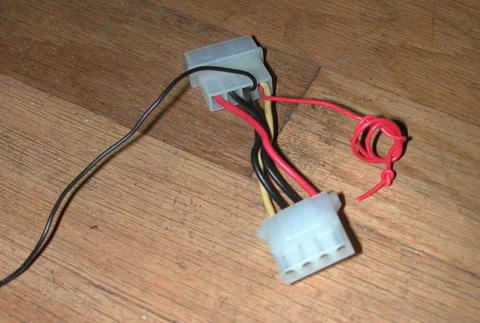
However you power your drive, you should make sure that it shares a ground connection with the logic board. I'm not sure I entirely understand the purpose of this, but all of the guides for using parallel power supplies say that Very Bad Things (tm) can happen if you don't, so I didn't want to tempt fate. I connected my drive's power through a short extension that had extra wires for powering a CPU fan, and connected the ground wire to the adapter's ground pins.
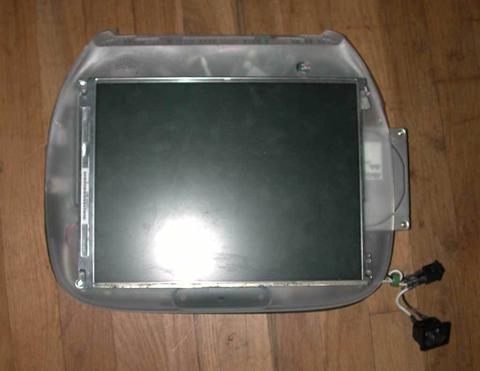
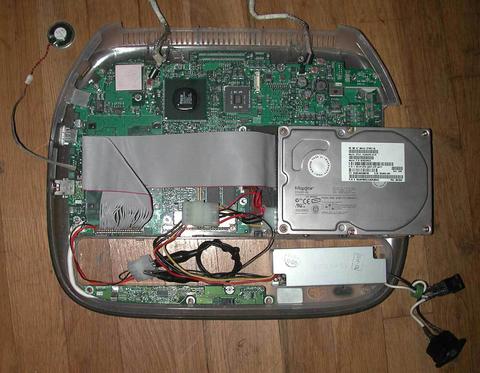
Now your drive is powered and able to talk to the logic board. All that's left to do is figure out where you want to put your new 3.5" drive, as it probably won't fit where the 2.5" one was. This is an exercise for the reader, because your specific hardware will determine your options. In my case, I cut off a small piece of my clamshell iBook's case to allow it to sit in the space where the optical drive is supposed to go and put the power supply in the battery compartment, since both of these components were non-working and had already been removed.
| Attachment | Size |
|---|---|
| 3.17 KB |

