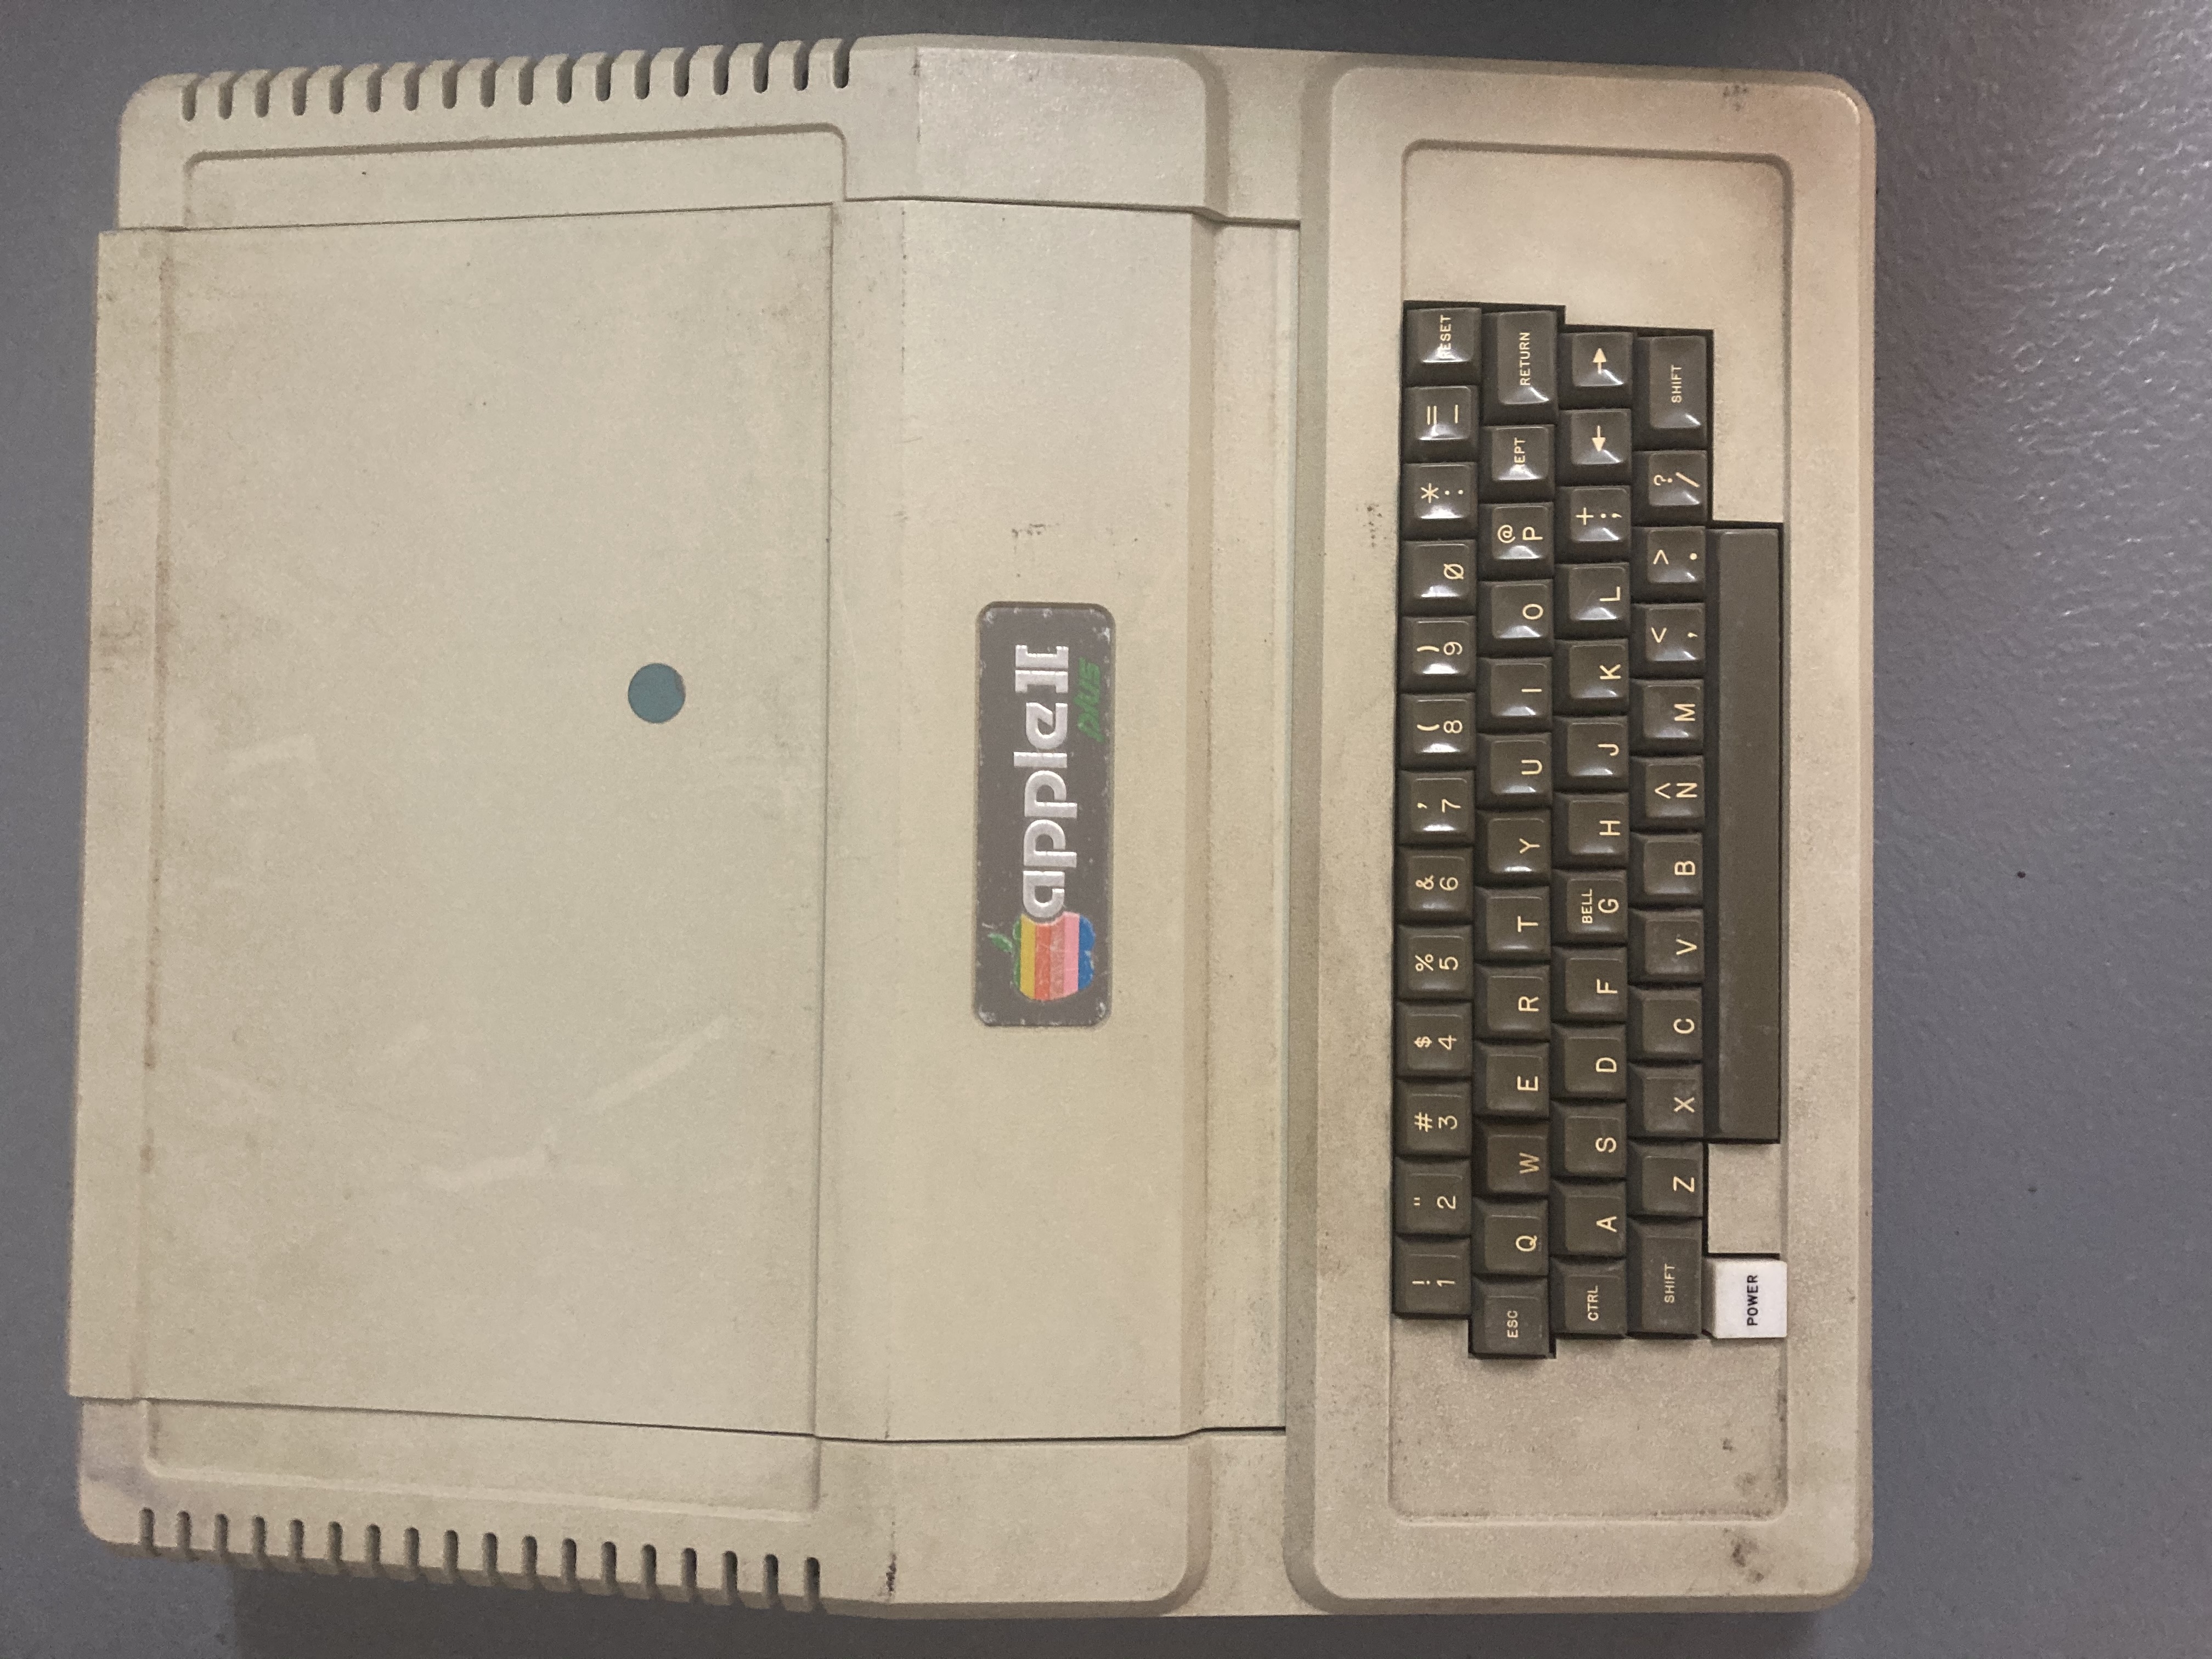
So this is the old Apple ][ from my younger years. Found it stashed away under house at my Parents.
I reckon its been hidden there for about 30 years. Am trying to resurrect it as a project and Nostalgia trip. I've already had some great advice here on the forum regarding the power supply.
Not in great shape. Dirt, spills and critters have visited it in that time. I found 3 cards for it which I have questions about later. I found the disk ][ drive but it had been completely dissassembled. I have managed to buy a second hand one from a guy down south. I have found all the old floppys and I hope they are still readable. Will be a while before I know about that.
Have already purchased a Floppy Emu and I have the RomX on my shopping list. No pressure Dean ;)
I just love these new bits of kit being developed for these old machines.
Also grabbed a second hand commodore CRT which is definately nicer than what we used to use.
So this is what it looked like when I found it
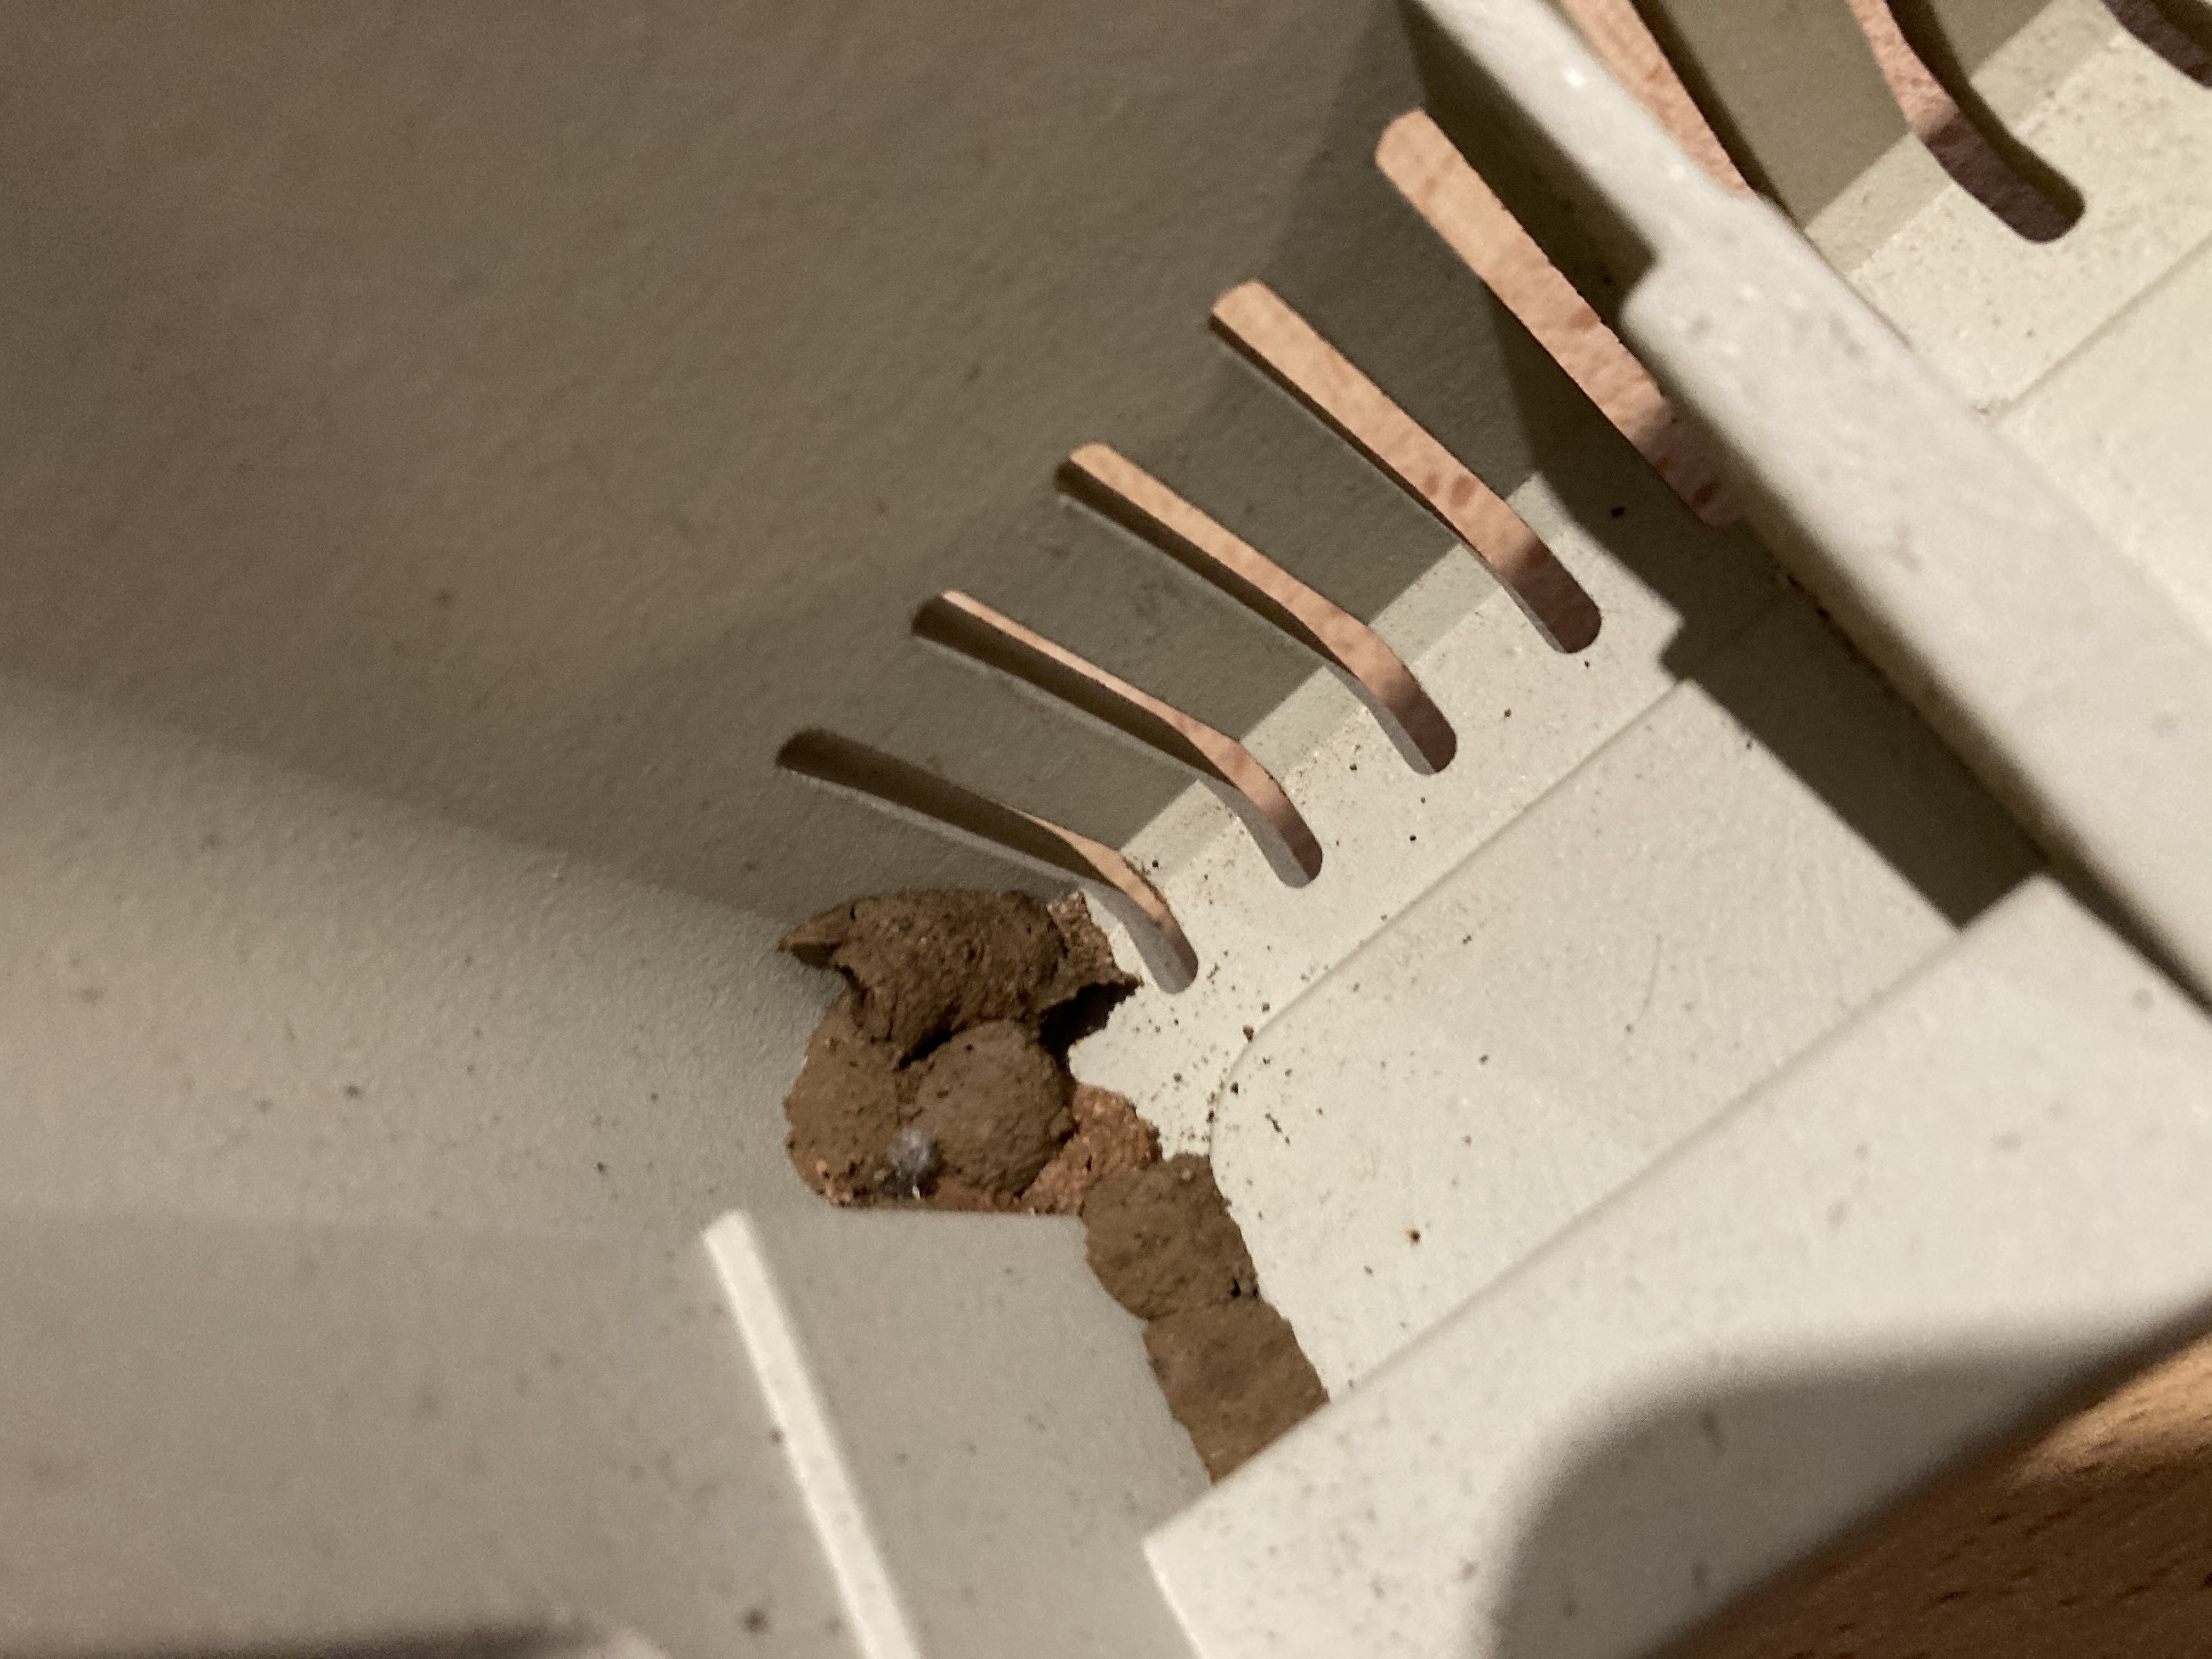
Some mud wasps called it home for a while.
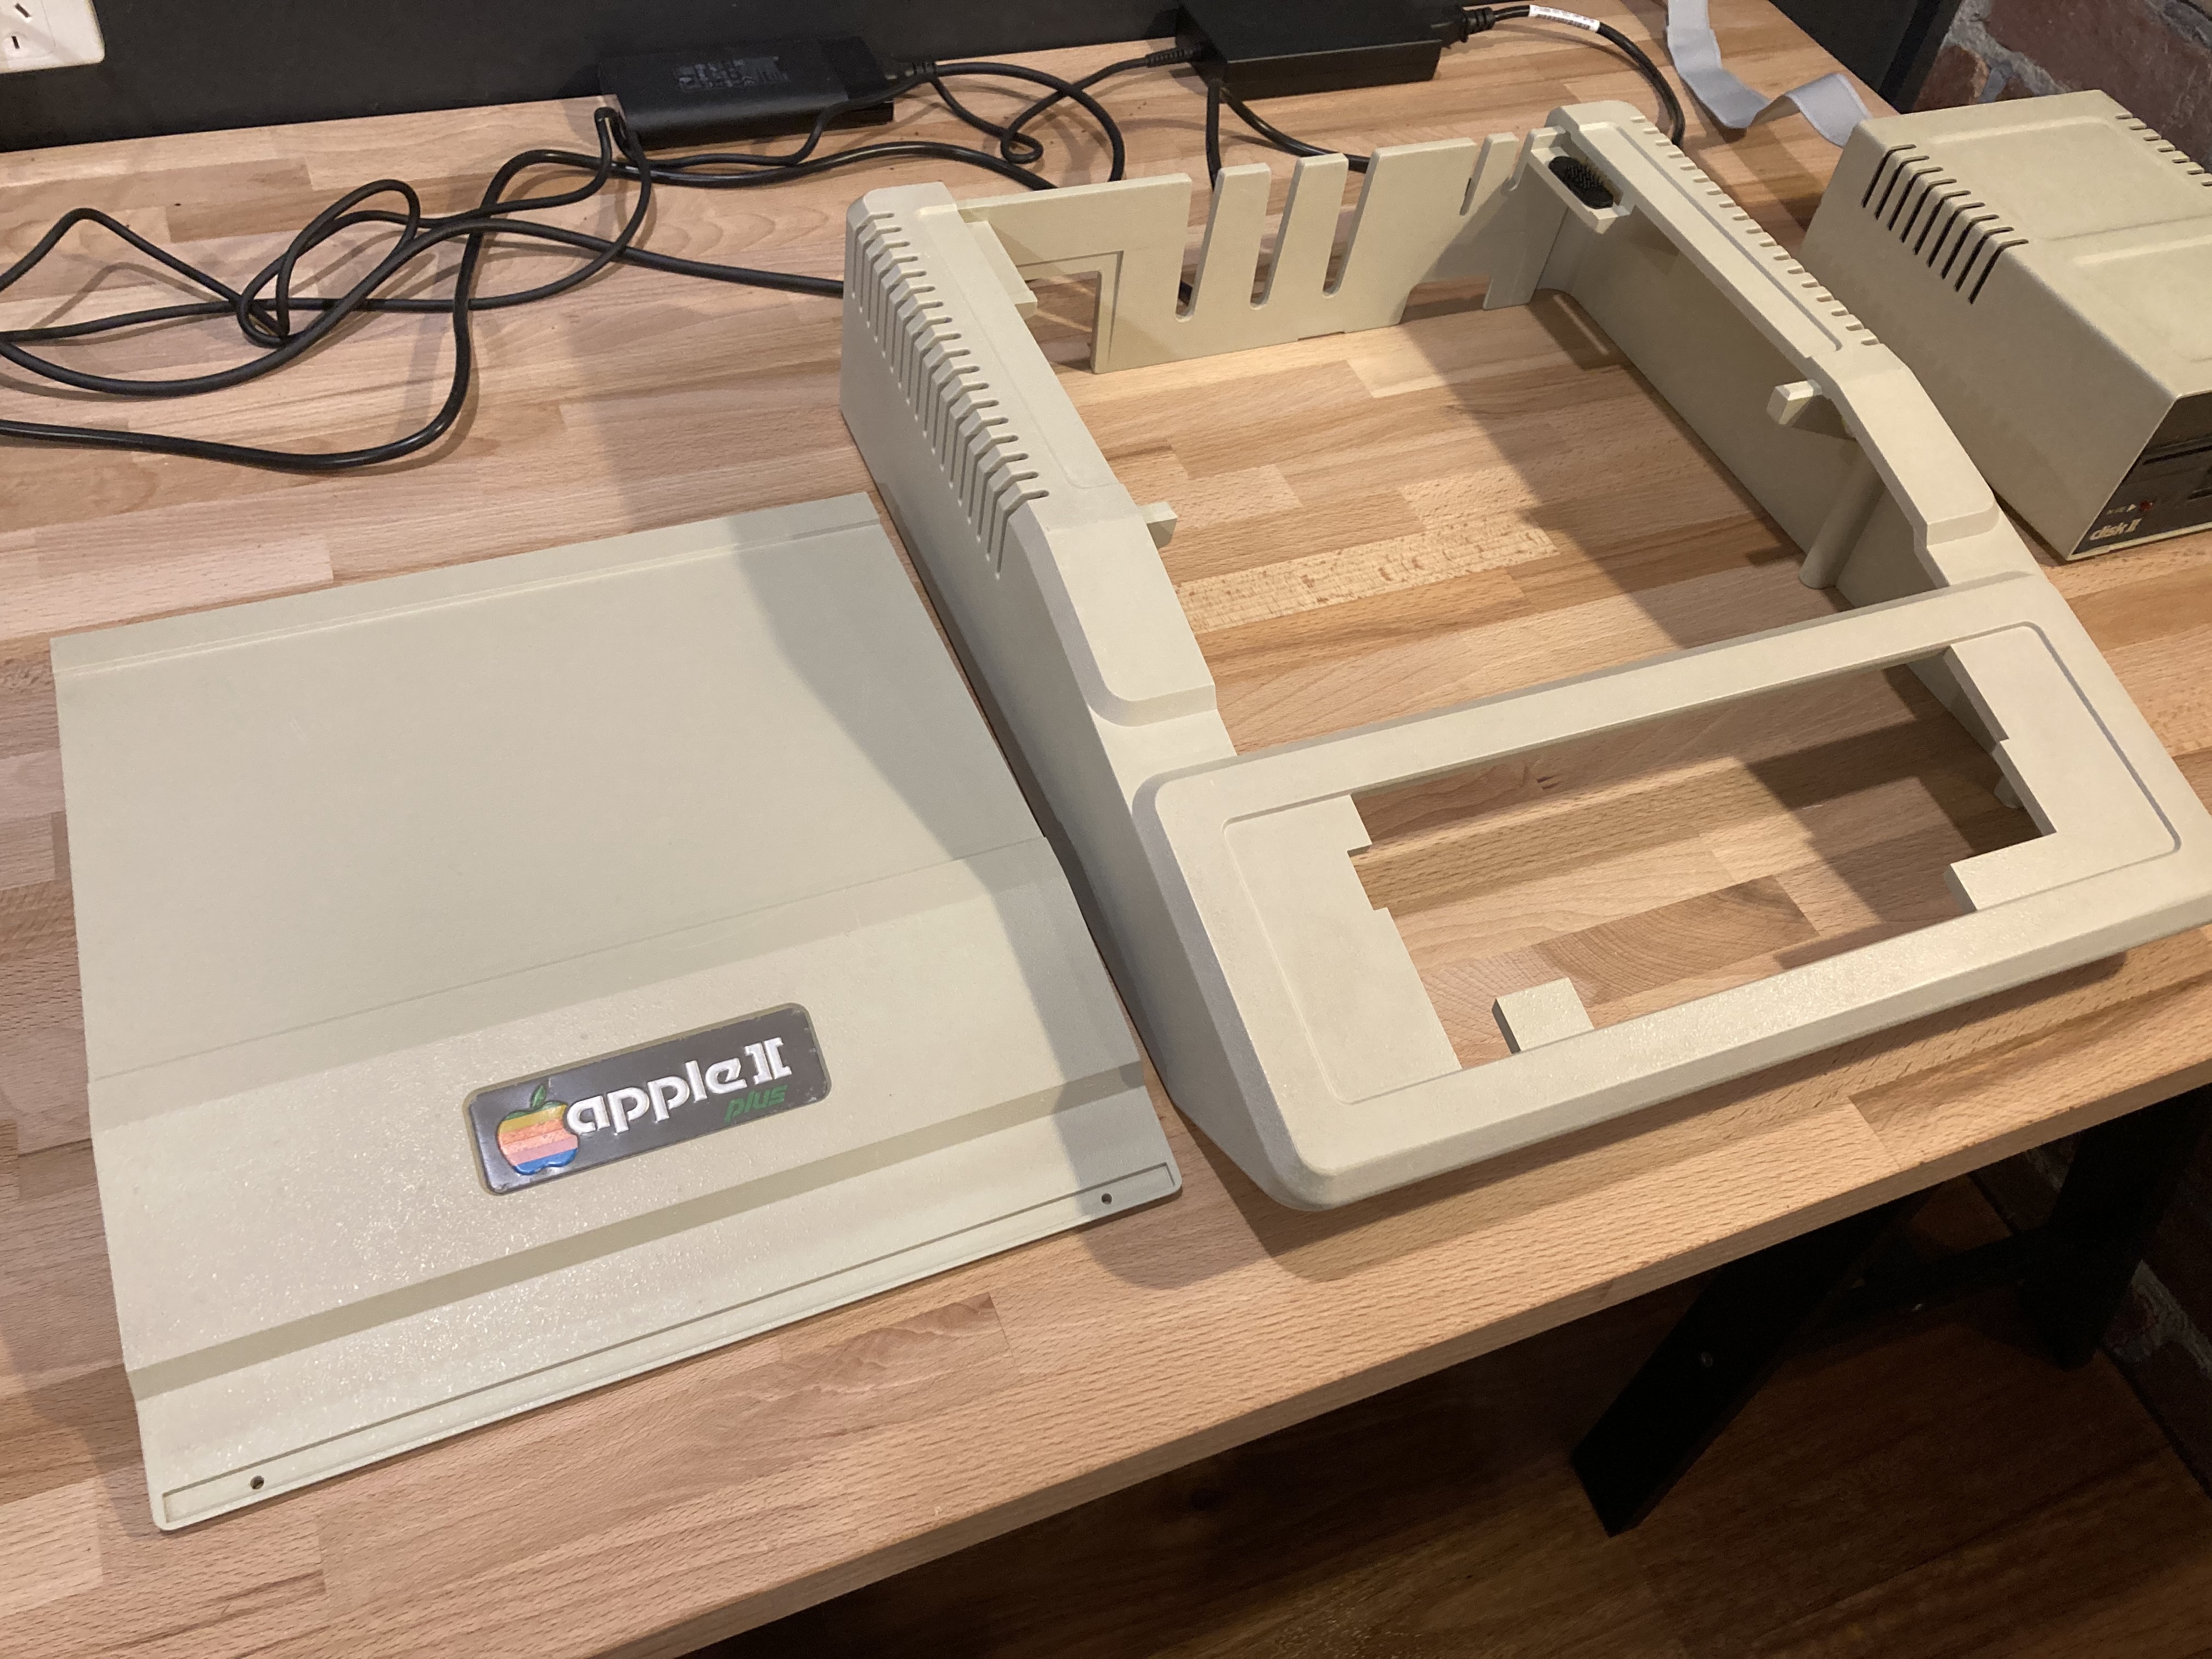
Case cleaned up alright, Badge could be better, but I want to keep original.
Next post... The baseplate.....


The Baseplate...
This couldnt stay the way it was. Scratches and corrosion. The underside has this nice texture which I think is called dragdown and is the same as on the upper plastic case. As such I was limited as to what I could do to that without destroying the texture. The inside was smooth so I just gave that a light sand before respray. The outside corroded areas were just selectively tidied up. The speaker was attached with silicon which must have been an old repair and was holding very well. I scraped off as much silicon as I could but didnt get carried away with its removal as I will re-attach the speaker with silicon again as it seemed to be working so well and you wont see it. The speaker doesnt look great, but I'll keep it original unless it doesnt work. Cleaned that as well as I could as well.
This was the base plate condition once disassembled.
Case__Base_Inside.jpeg
Case_Base_Outside.jpeg
Respray_Inside.jpeg
Respray_Outside.jpeg
Motherboard clean next...
I think the motherboard is in pretty good shape but the chips are not. Some are unscathed but many have pretty decent corrosion and on removal there were some pins left behind in the sockets. I was as careful as I could be but some chip legs had rotted right off and many were quite weak. I cleaned the chip legs with isopropyl and left it for a day then cleaned each one again before chip removal. stored them all in antistatic foam for now.
I've never done this before, but I washed the motherboard as per what others have. Went over it all with very soft toothbrush in sink and then flushed with de-mineralised water. Used compressed canned air to help dry. Ater it had dried a few days I went over the whole thing with Isopropyl and cotton buds. Looked like new :)
Dirty.jpeg
Bad_Shape.jpeg
So_thats_what_colour.jpeg
After cleanup, I check all the chips for missing legs and went to corresponding point on motherboard. About 1/3 were easy to remove with side cutters as I could carefully grip with that and pull out. Some needed to be worked out with fine needle and that was very tedious. Some had corroded to red grit completely. After removal of all broken pins, isopropyl again and went around the board with other cheap IC's checking could succesfully insert and rempve cleanly into each socket. I'm surprised the sockets appear to have held up better than the chips themselves.
IC_Pins_Extracted_From_Board.jpeg
IC_Storage.jpeg
Looks nice now... hope its ok. Someone has done repairs in the distant past.
Old_Repairs.jpeg
CLEAN !!!
Clean.jpeg
Next the Chips.....
The Chips.
So this is where I'm at now. Any chips that still appear to be physically sound are getting a light sand of the legs with very fine grit wet and dry sandpaper then more Isopropyl before being socketted.
I made a little jig to support legs while sanding, and its all gently gently.
Outside of legs....
IC_Jig_Outside.jpeg
Inside of Legs....
IC_Jig_Inside.jpeg
After these are done I'll look at repairing or replacing the damaged chips......
Its all going slow but its progressing ....
Fantastic thread, thank you!
Washing with water in a sink is always restoring the board to a great state. I used some fluid normally used for ultrasonic cleaner which is designed to clean PCB's. It has the added advantage of removing oxidation and I can definitely recommend it - even though it's not super-cheap for just one use.
SWAS Safewash Super - Electrolube
It reminds me that I would like to make my own thread with my restoration journey! Watch this space!
Thanks Tony. I'm kind of using the thread as a baseline for all my upcoming questions. Was looking at the blog option but thats a one sided conversation.
Even though I've found a lot of information already, theres always more questions and I'll be looking for thoughts from those who've already gone through it. Great info for me already on the power supply from folks here.
Cheers
Dave
P.S. I'm not gonna lie. I felt weird dropping it into the sink.
ahah yes, it's weird when you sink a PCB board into a bucket of water or when you shower it in the end with a garden hose! :D You just hope you're not going to destroy your 40-y old very precious computer!
Looking forward to seeing how the restoring goes!
I would also feel awful, doing that, but that seems to be a limited opinion.
Hahaha, I also know what you mean. I had a machine from a heavy smoker, the PCB covered in a sticky brownish layer. I had it completely disassembled and eventually also put the PCB in the bathtub... I remember how I hesistated before dipping it. :-) Rinsed with alcohol afterwards. Result was perfect though - still works perfectly and the smell is gone.
Yes, when restoring a Redstone Apple //e clone a couple of years back, I remember feeling odd having to:
I videoed my particular "adventure" here.
It feels counter intuitive when doing it, but as long as it's done right, and everything is allowed to dry adequately, it works!
FYI: the Redstone is still working and looking as good as when I shot the video.
I would not use a dishwasher for that task to be honest - number one because I don't want to put lead in something I use to wash my dishes! Number two because I feel you can get the same result with a toothbrush which will give you more control and won't keep the PCB wet for 60 minutes. Also, I would never wash - neither in a dishwasher nor in any solution - objects like the keyboard where water can get trapped into objects like the keys.
I know you and others may disagree with me, no problems :)
Great video BTW! Mine was nowhere near that filthiness. It must have been a great feeling to see it coming back to life sparkling new!
Yeah, I probably would not recommend putting the keyboard through the dishwasher, as it may have contributed to me having to repair a few of the keyswitches later. I really can't say for sure though, as it was so filthy the dirt may have already been present inside the switches. But there is a good chance the water actually pushed the dirt into the switches.
Both keyboard and motherboard were left to dry in the hot Australian summer sun for several days, so the chances of any water remaining was fairly low in my case, but yes this was an extreme case. I have never felt the need to give any other computer components the same treatment, as I have never had anything so filty before or since.
The use of dishwashers for motherboards seems to be a controversial topic, but in my case I was certainly happy with the result. Whilst I had cleaned it with both water and Isopropyl alcohol, and this had made a drastic improvement, the further dishwasher treatment literally transformed it from being reasonably good to looking like it was brand new. So I won't recommend or disuade people from trying it - I will leave it up to them to decide.
And yes, it was very rewarding after many weeks of work to see the Redstone come back to life and looking in reasonable condition. Hell, it's never going to win any beauty contests, but it is functional. :-)
It is now my main test machine, as I have found it a very compatible clone (I have yet to find any //e software that it doesn't run).
Yes, I do feel that the filth you found in the keys may have been the residues from the dishwasher cycle rather than dirt that made its way in the switch itself. But who knows.
I would not recommend washing moving parts (switches) anyways unless you plan to open them all and lubricate them. The water residues may also impair the conductivity of the plates.
Re. the PCB, I know I sound like an Electrolube representative :) but I feel that if you used the fluid I mentioned - and a small ESD safe brush - you would have got to the same result without the dishwasher. But you're right, let's not make a fuss about it! And I do envy your Australian sun - I write from the UK! :)
Just watched Polymorphs video in full. Great work and very comprehensive vid.
Lotsa good stuff in there. Thanks for the link.
Wish I had known that vinegar trick earlier. I reckon I will try it on parts of the keyboard down the track.
Very nice job !
My my….. time has gotten away from me. So long since my last post on this. I’ve got a bit of documenting to do. I have questions I want to ask but want to bring the build log up to date first. ;)
So basically I spent a lot of time carefully cleaning the chip legs. The rust on some was so bad. It really did seem that the harder the chip was to find a replacement for, the worse condition it was in.
The Rom chips were particularly bad and must have been the type of metal in the legs with many dropping off at the shoulder.
RomLegs.jpeg
And below is my attempted repair of another. Will figure out a way to test it in future.
I didn’t want to use machine pins based on comments from others regarding socket damage to motherboard.
Basically used a dual wipe socket and inserted another unwanted 24 pin chip overhanging the side.
I then cut the body of the unwanted chip free and soldered to exposed metal on the rom.
This configuration created a kind of ‘Y’ shaped valley between old and new legs which is where the solder was applied.
Note the corrosion on old pin shoulders isn’t indicative as to what was soldered to. It's just I stopped as cleaning those shoulders appeared to do more harm than good.
repair.jpg
So that’s the story with the existingROMs
As far as the other chips go…any other chips that can still be bought, I am buying new so as to avoid as many possible points of failure as I can.
I also started a spreadsheet to track the status of repairs as I was going along.
This is a map of the chip chaos on the board at a certain point in time.
spreadsheet.png
The rom chips were a major problem. They were introducing too many possible points of failure in the restoration. I scouted around for replacement AppleSoft roms but those things are rare as or very expensive.
The timing of Dean and Jeff’s RomX could not have been better.
Next Post…. RomX to the rescue ;)
FWIW, 2716 EPROMs will also work (with slight modification) and might be closer to "authentic".
However, if funcitonality is your goal the ROMx is easiest.
Thanks for tip. 2716 Eproms look interesting and I may look at that in the future just as an interest thing for a play. But yes as far as functionality goes, the RomX has been very handy so far. One day I'll track down some Applesoft roms to have for completeness. But thats not high on the list at the moment.
Soooo after reality set in that the roms were pretty well toast, I got in touch with Dean about the RomX version that suited my Rev04 Motherboard. Got that installed and crossed my fingers and hit the power.
IMG_0955.jpeg
Power light came on and the pattern in image above. I never expected it to go first pop, but you always hope.
Chatting with Dean he told me to pull the recovery jumper on the RomX and try again.Did that and the system let out 2 beeps. Further advice from Dean indicated the beep code flagged which ram chip in lower bank was faulty. This was such a big help at this stage of the game for me with no working video or keyboard. A really great feature of the RomX IMHO.
So with that knowledge in hand got to work on the ram.
There were quite a few emails back and forth and a lot of progress made and I started swapping chips out with new ones wherever I could.
IMG_0987.jpeg
Around this time the 2513 romx board set became ready and I purchased that as well. I was pretty sure the character Rom was ok, but I was keen to get the full Romx setup.
Luckily for me Dean lives in same city I do and I went round and he gave the apple ii a real good going over and ruled out quite a few probs, but it still wasn't springing to life.
Back home had an another email from Dean where Jeff had recommended populating the second row of Ram. And it booted !
This was fantastic. :)
The image was distorted and I thought it was an apple composite signal problem.
IMG_1049.jpeg
Though i had a teensy lcd monitor from another project and that had a perfectly straight image.
IMG_1062.jpeg
Decided to tackle that skew problem later and move onto the keyboard.
The keyboard.
The keyboard was only half functional. The encoder board was ok as some keys were working, but pretty much half were not.
The mystery spill had gotten into a few of the switches and some were jammed solid.Iso freed them up temporarily but then they just set solid again.
I tried injecting isopropyl into each keyswitch and cycling the key many times but the results were not great. Some keys started working but repeating, some that were working started playing up. By pure luck I had a second keyboard and between the 2 of them I was able to salvage enough working keys to make one complete keyboard. I had to use one or 2 twitchy repeater ones but I was now able to get every key to work.
IMG_1279.jpeg
Again the RomX was helpful in this restoration with the diagnostics option. I hadn't been able to use that up until this point as the D key wasn't working. Well... not effectively...I had been shorting the matrix connectors to get what ever key I wanted but that was pretty painful.
Those datanetic keyboards are a pleasure to work on and easy to solder and desolder individual keys. Its such a shame those keyswitches are no longer available, but I guess thats one of the things that makes these old machines that more special.
As part of all my keyboard work the power light stopped working... corroded lead snapped off in the socket. Very difficult to find a cheap bulb of the right spec without insane shipping costs. Ended up my cheapest option for 1 bulb was to buy 100 from China... go figure.
Went back to the monitor and Dean suggested (Correctly) all it needed was a Yoke adjustment. I'm not comfortable with mains voltage gear and found a CRT repair guy nearby who fixed it and aligned as many things as he could. Very happy with the work he did as it is now perfectly straight.
If only I could get color.... but that will be a future post ;)
Next Post Floppy Disk.... Thanks Floppy Emu.... So good ;)