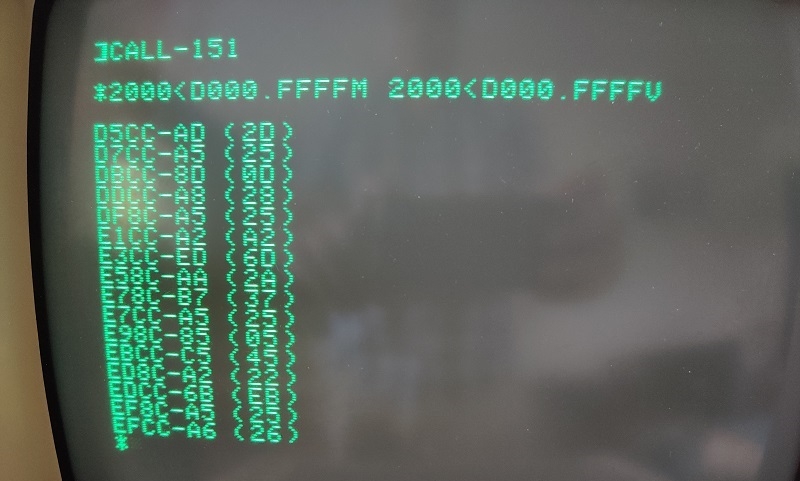
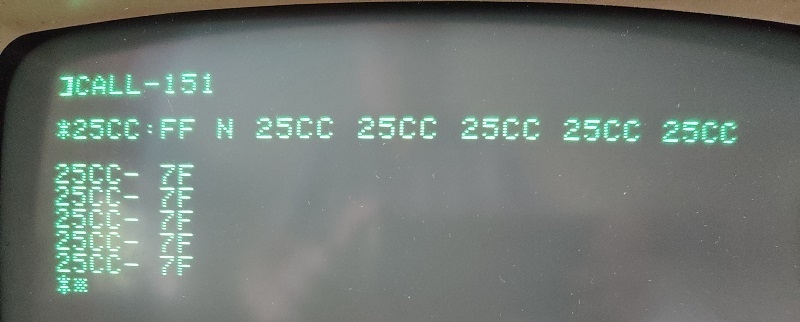
Hi, I have an unenhanced (I think) IIe with ram problems.
Booting with Closed Apple key pressed only shows "RAM:".
Shouldn't it display some numbers after RAM?
Using the monitor to test ram it seems that only addresses ending in 8C or CC are affected.
With further testing it seems that the high bit can't decide if it wants to be 0 or 1.
On a II or II+ I would just replace the ram ICs (because they are in sockets) until I found the one that causes problems.
Unfortunately on this IIe they are soldered directly to the main board.
So before I go crazy with soldering, which ram ic corresponds to the high bit?
And could it be something else (besides ram ic) that affects the data/address bus?
Thanks for any insights you can provide.


By using the piggyback method I found that when placing another 4264 on top of the F10 ram, all errors went away.
But the selftest still only shows "RAM:" and nothing else. Is that normal?
It is either going to be the leftmost or rightmost one for the high bit, I don't know offhand which. Is one chip noticably hotter or cooler than the others? Have you tried the old trick of piggybacking a good chip over the top of the chips and seeing if behavior changes?
Yes, there are other chips that can cause memory problems...
I'd recommend checking out the books on repairing your //e or the understanding your //e book by Sather to figure out which RAM chip is the problem. You can find those books here:
https://commodore.bombjack.org/apple/apple-books.htm
Anyway, it isn't too bad to desolder a chip and put in a socket. I usually do it the easy way by clipping all the legs off the chip from the top side and then they are easy to extract one at a time with just a little heat on the bottom and pulling the leg out with needle nose. Then just a little desolder wick to suck out extra solder and clean the holes and it is ready to solder in a socket.
Now that I have soldered in a new ram chip at F10, the selftest now shows KERNEL OK.
With the piggyback method the ram seemed to work perfectly but the selftest must have been able to detect something bad anyway.
But now all is good, at least it seems so.
Glad to hear you got it working!