
| Attachment | Size |
|---|---|
| 1.43 MB | |
| 2.14 MB | |
| 2.07 MB | |
| 1.12 MB | |
| 1.82 MB | |
| 1.71 MB |
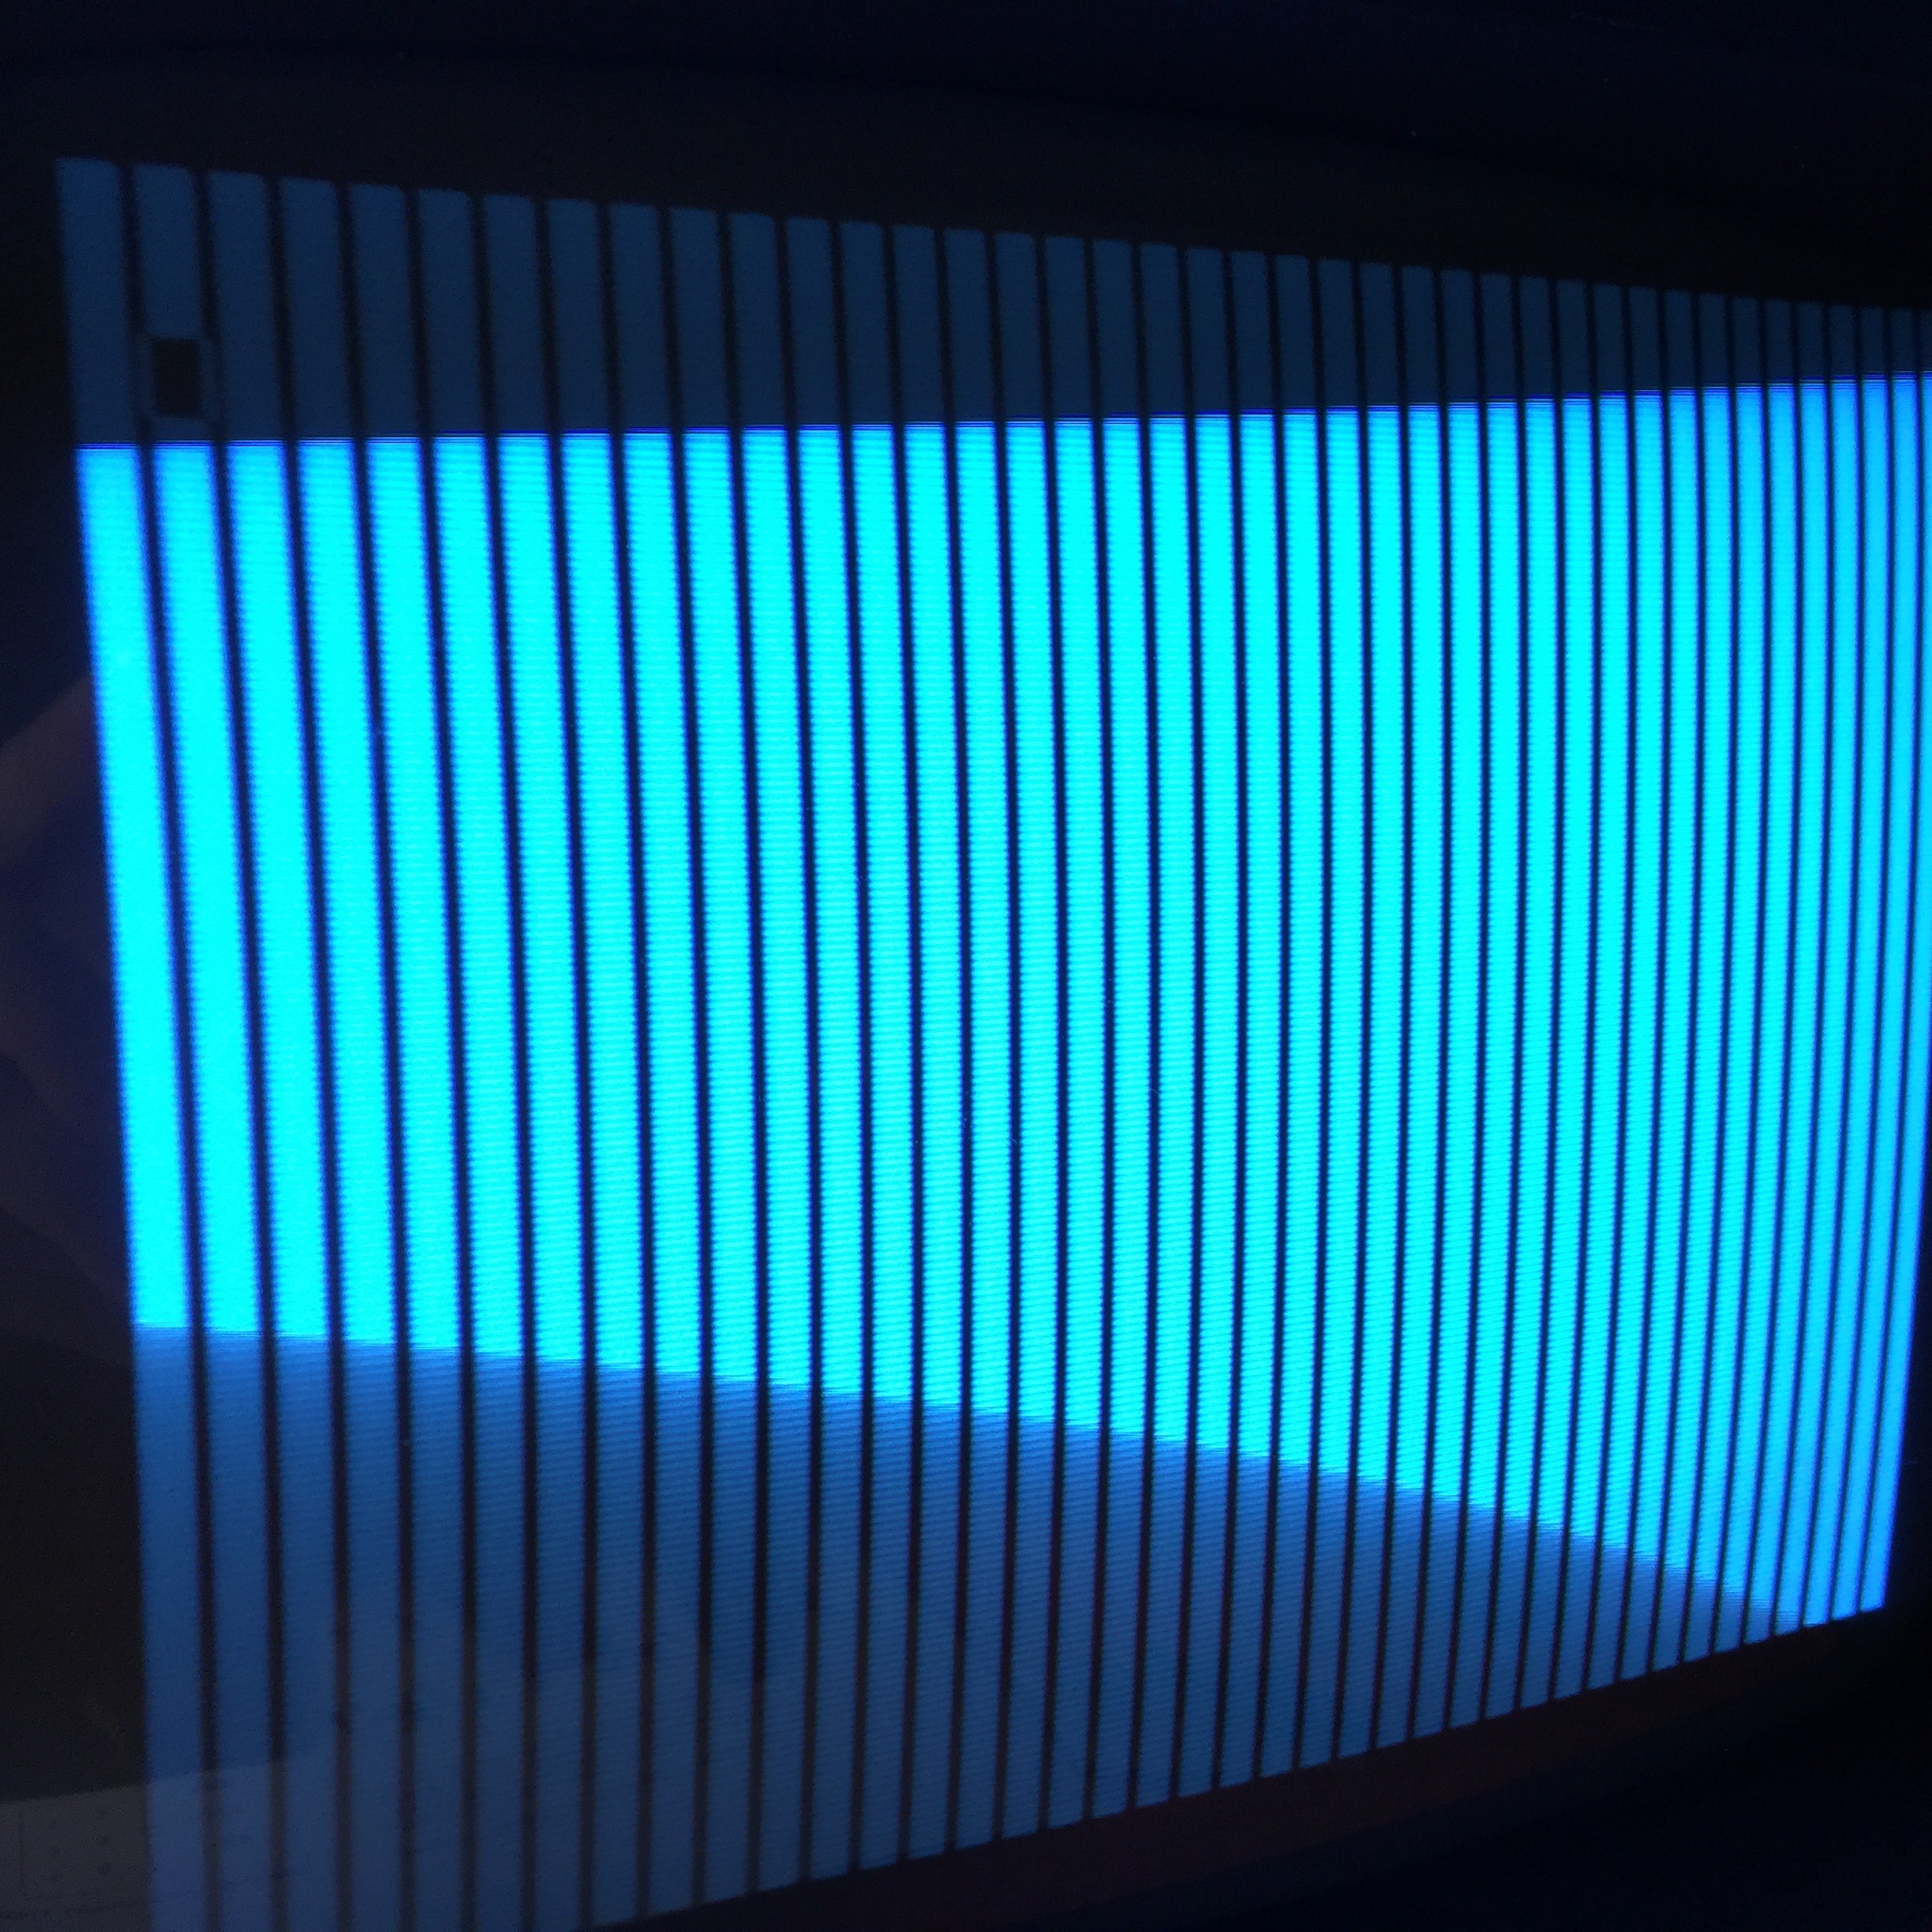
So my dumpster Apple is acting up (already) and when I power it up it beeps and then I get solid vertical lines (bars really).
If I press the reset key it beeps and moves the cursor to the bottom of the screen, but the lines are still there and won't go away.
I searched the forums but I didn't see anything directly related to this on an Apple II+.
Help!!
Figured out how to post a pic!!
Jennifer
Show a picture, please...
Would love to post a pic, but cannot for the life of me figure out how to do so.... Sigh. It's been one of those days.
Jennifer
Hi Jennifer,
This symptom has been covered many times. It could be bad RAM, bad IC, ...
Here are some pointers :
- http://www.applefritter.com/content/rev-0-apple-ii-troubleshooting
- http://www.applefritter.com/content/faulty-ii-plus-motherboard-wont-boot-garbage-or-nothing-screen
- http://www.applefritter.com/content/apple-ii-europlus-restoration-what-next
- On Mike Willegal website
Good luck and report back here your question and progression.
Hi Jennifer,
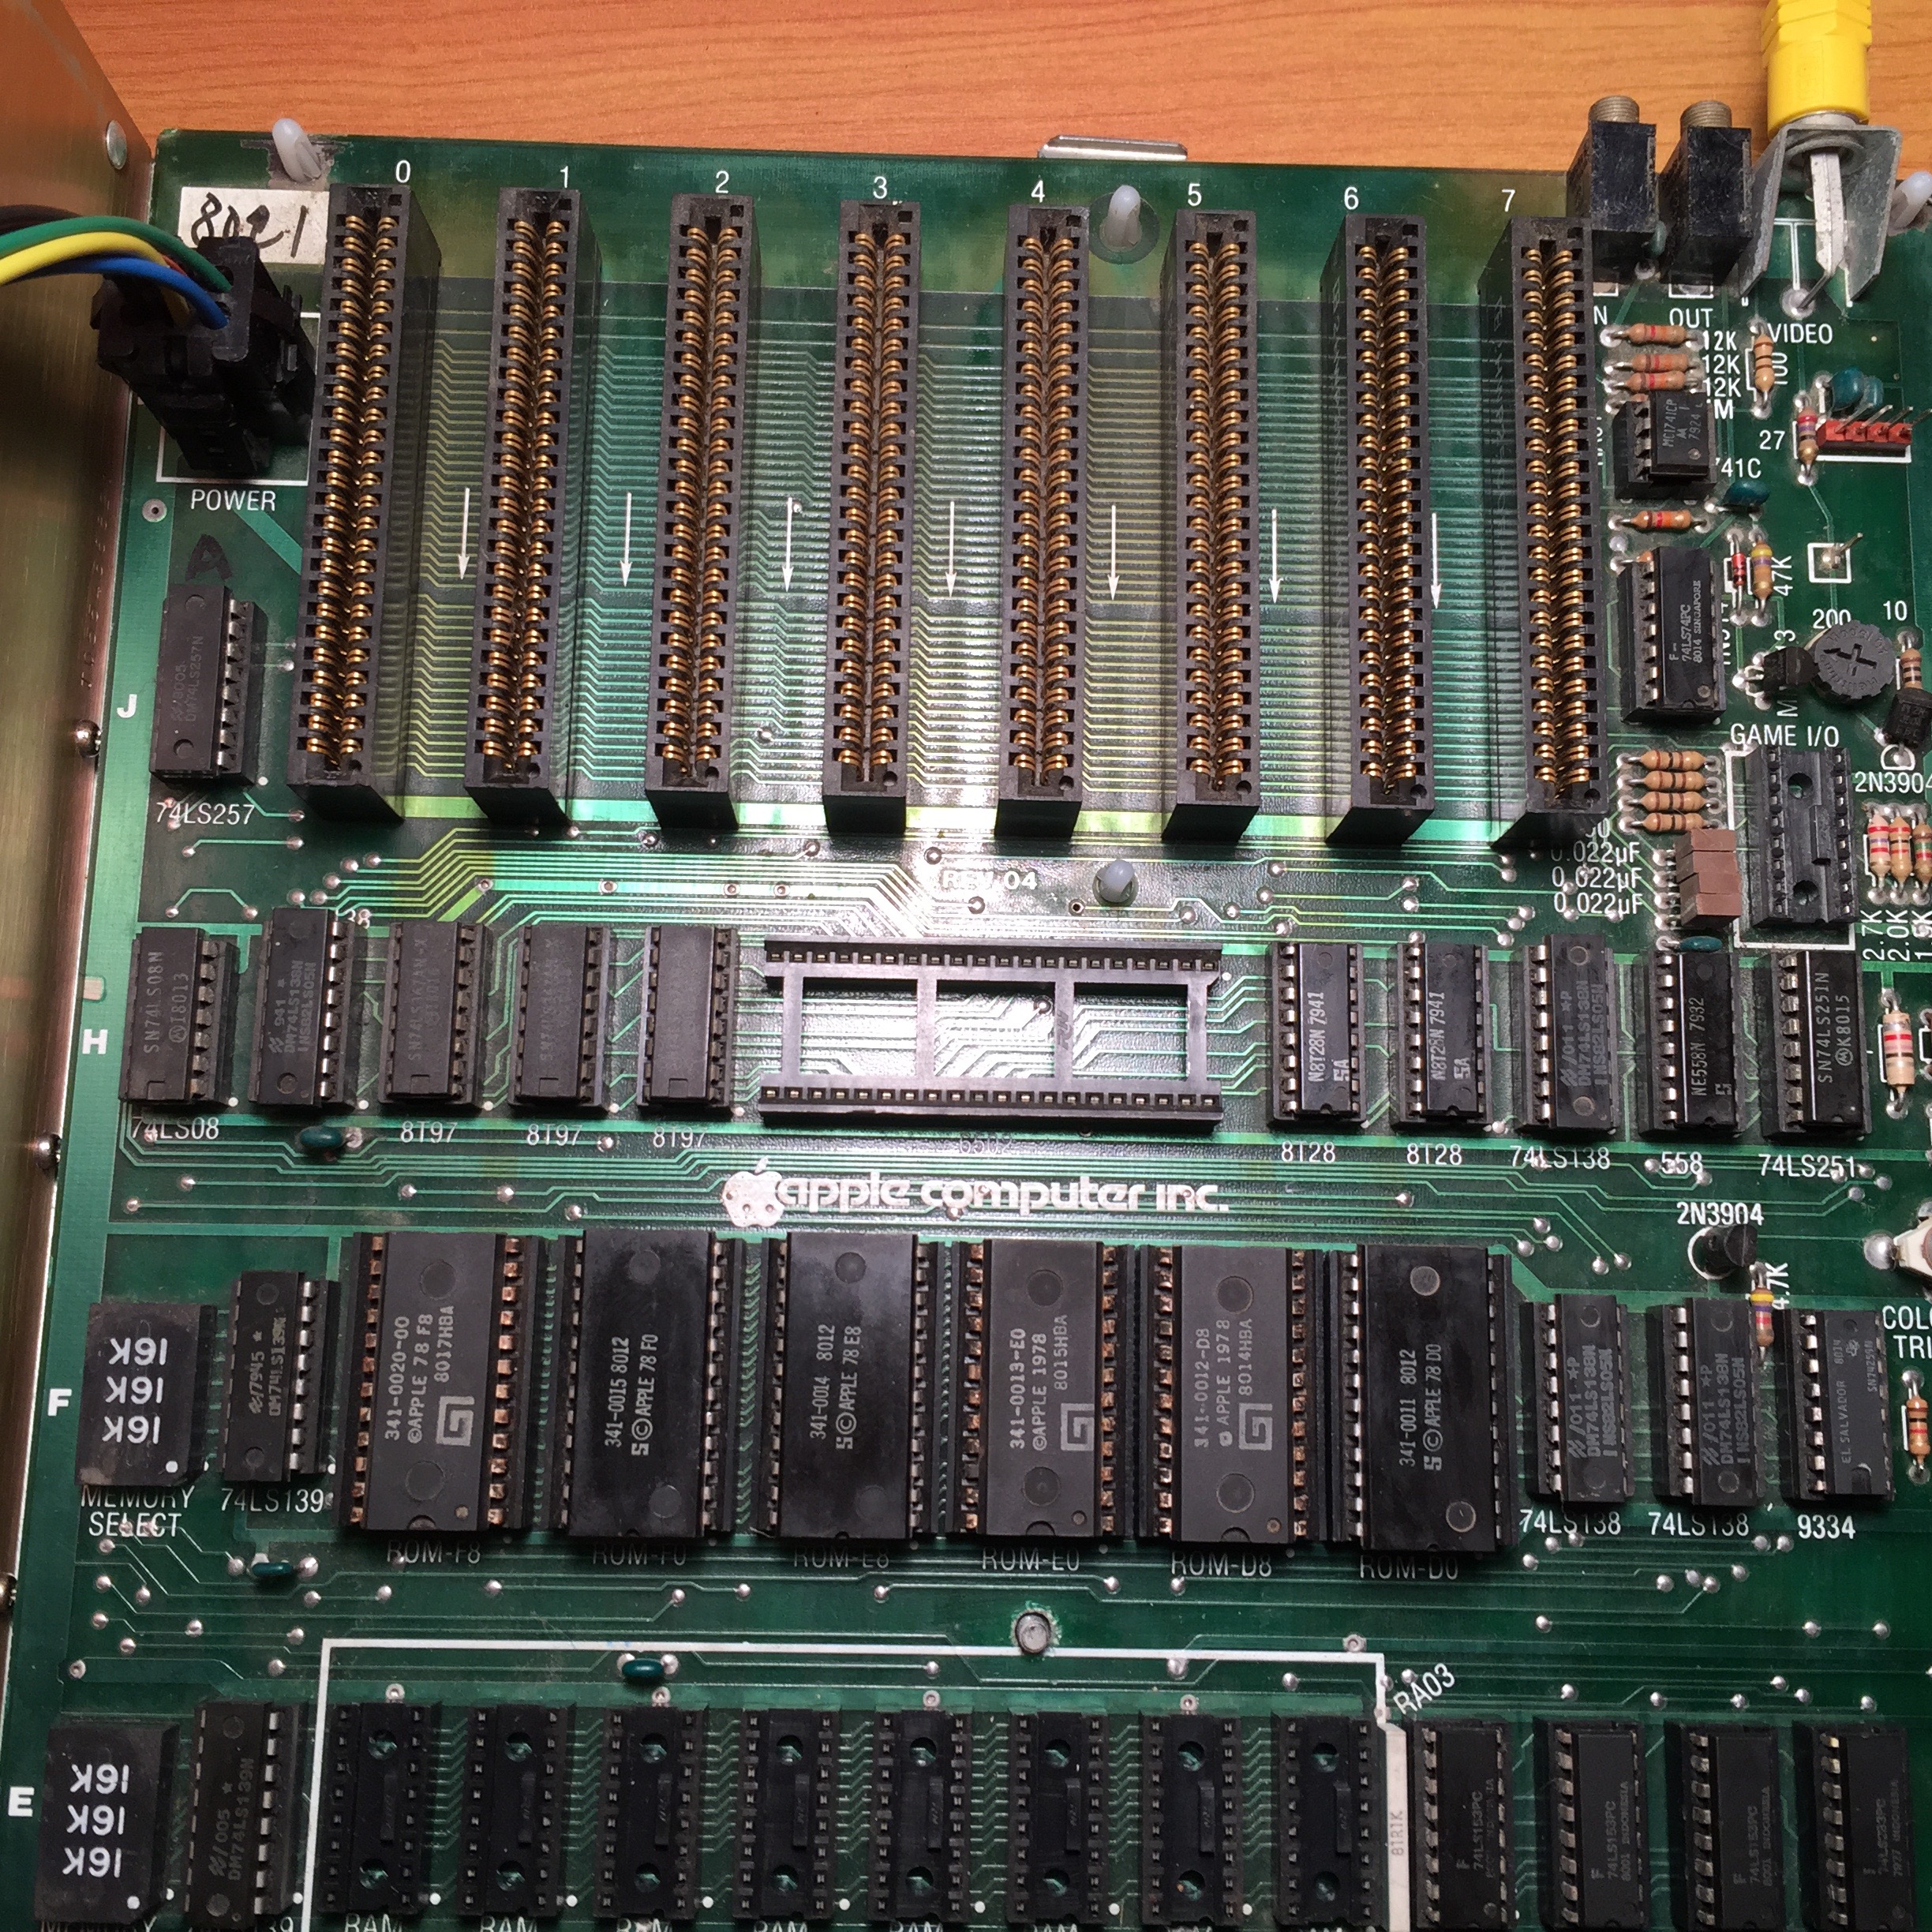
it would be usefull to add up few good pictures from your mainboard, to see which revision it is
and to inspect the condition ( oxydation of pins, dirt on mainboard, missing chips ....)
sincerely speedyG
Hi SpeedyG.
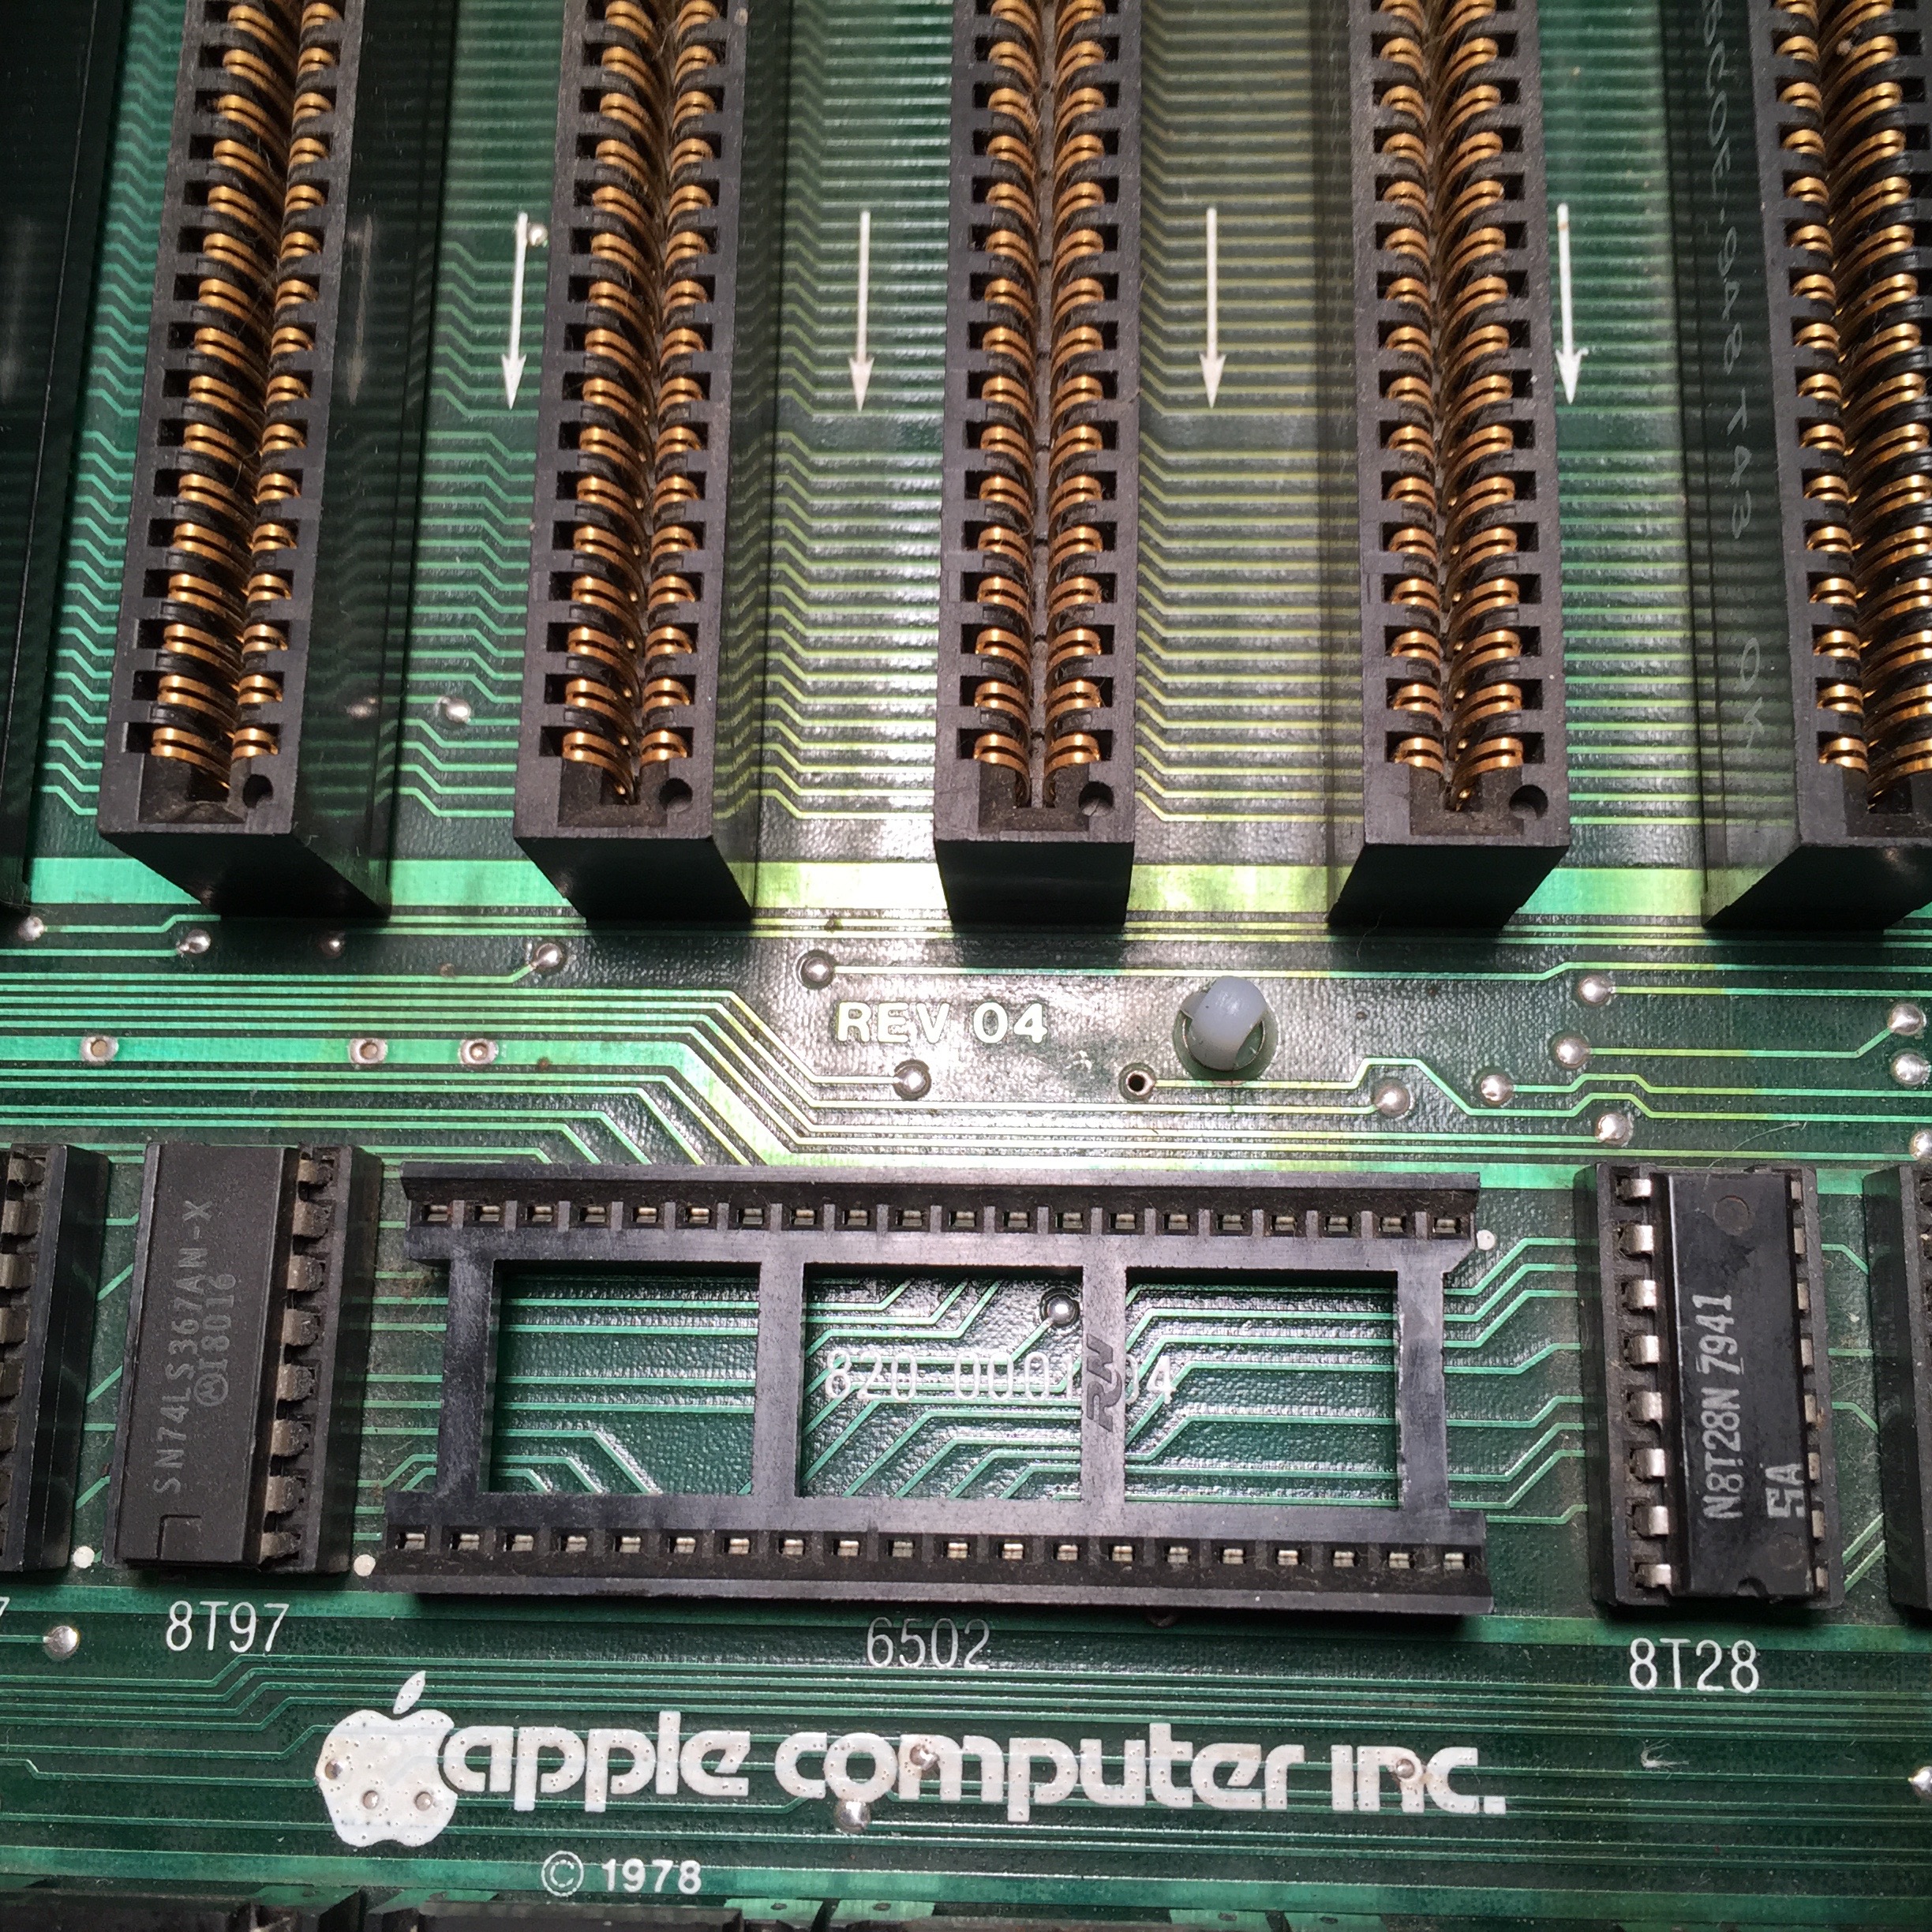
I posted pics of beneath the CPU, it is a Rev 4 board. Also posted a clear photo of the front and rear of the motherboard as well. (See first post in this thread for images)
I removed all 3 banks of RAM and swapped in a new set for row #1 (see pics). Also reseated all of the chips but seeing the same behavior. (When cold boot all I get is the beep and then those solid vertical lines).
All cards have been removed as well, same issue.
This motherboard was fairly dirty when I started, but it was carefully cleaned with Isopropyl Alcohol and allowed to dry before attempting to power on.
This WAS booting fine, but there was a lower case conversion installed that I removed (d'oh!) and now it doesn't boot properly. (yes I tried putting it back but still no go)
The conversion had a custom chip in the 2513 socket and a wire to another chip with a standoff in row B. I've verified that all of the chips in row B are correct, and also tried 2 different Char ROMs (2513) with same result.
All chips appear to be correctly inserted.
Any thoughts?
Jennifer
Hello Jennifer,
well first of all you mentioned a modification at the character ROM
that has been removed. This kind of mods have been very common in
that days. In general it had the purpose to ad small ( non-capital )
letters or an alternate foreign Characterset.In general this was
performed by replacing the original Char ROM with a 2716 or 2732 Eprom. In
such cases ( depending to the used EPROM 2716 or 2732 it was recommended
to also change some adressing lines. Sometimes legs have just been bent
up and soldered outside of the socket. But sometimes also changes have been
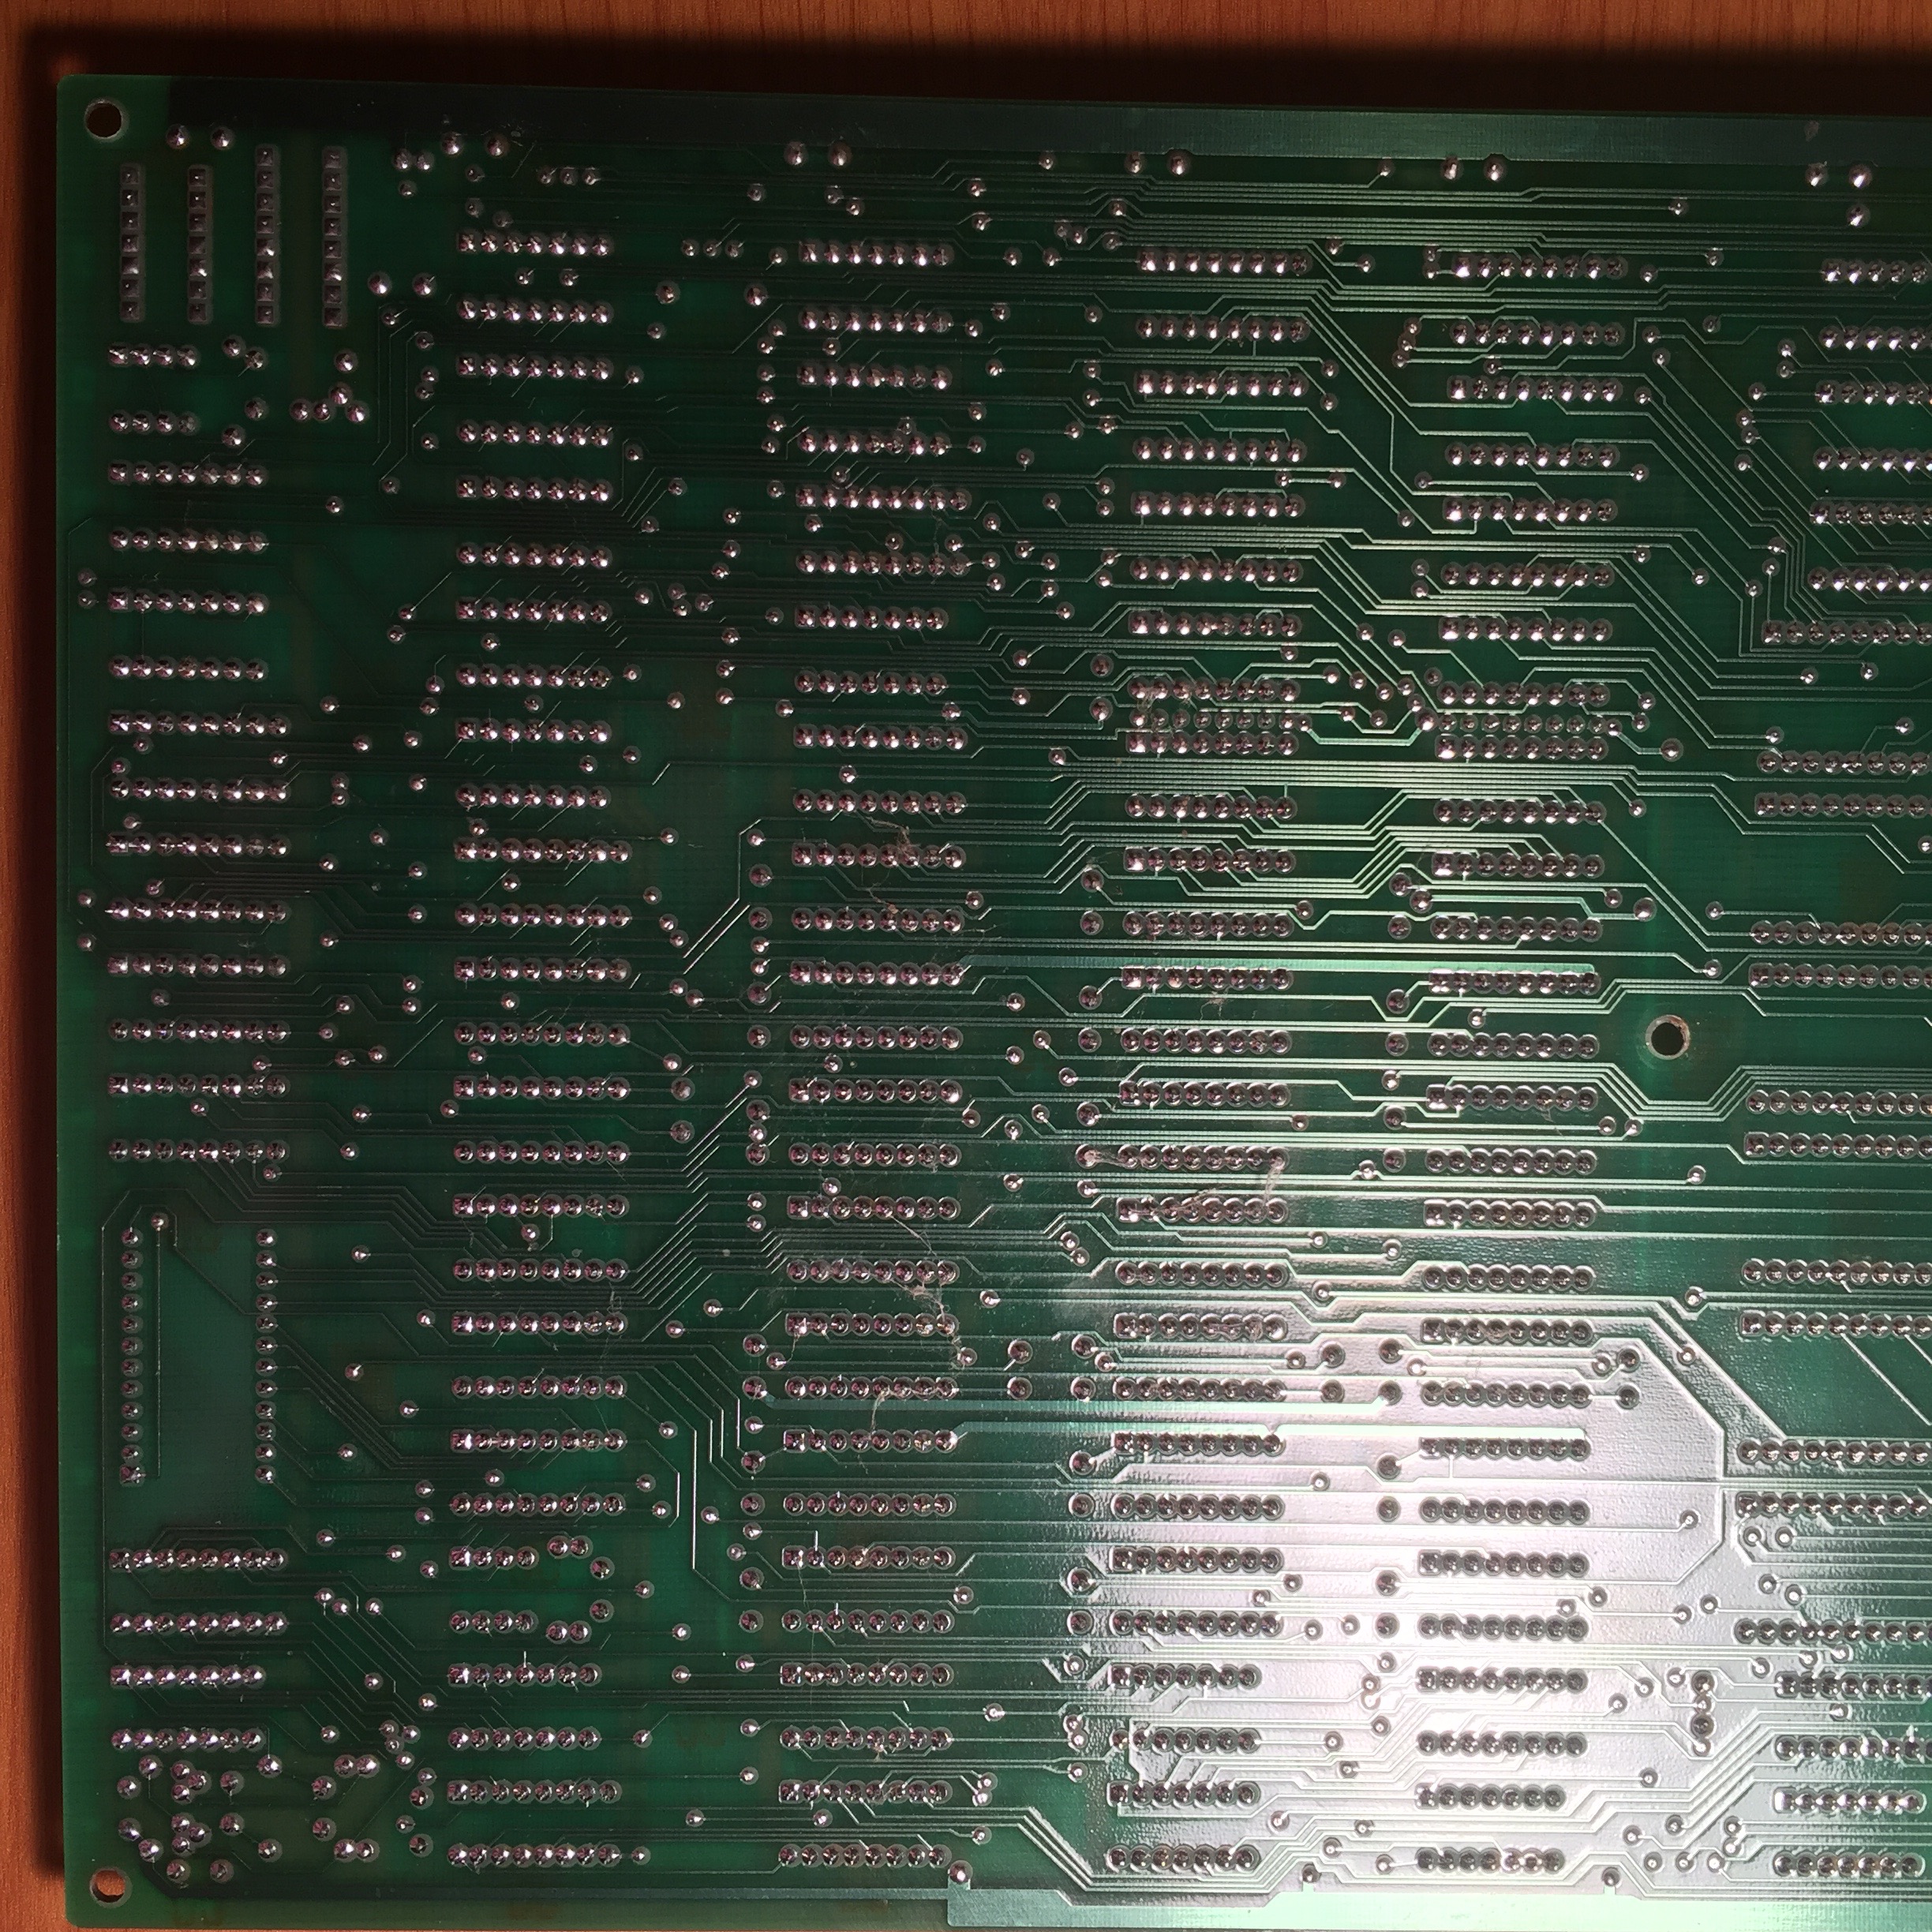
made to traces at the solderside of the mainboard. Therefor i would
ask to add a picture of the solderside from the front area to be inspected.
The pictures you have uploaded ( or linked ) are perfect.
I have added at several points shading of violett and marked that points
by numbers according to the text in this posting. Not every point is
direct related to your current problem - but some may also cause later
problems - so it´s quite good idea to keep eye on that points too.
Lets go in the order of numbers:
1: The 74LS166 has very progressive oxydation at it´s pinlegs.
It´s recommended to carefully clean off that dirt with wet-sanding
paper or with cleaning block ( i will add at end of this posting info about such a block )
After cleaning carefully reinsert the chip and be aware that the pins slip
into their socket holes and don´t bend slipping below the chip !
2: The 74S86 is rather important and sometimes critical for clocking signals
of the entire mainboard. Same procedure like at 1. Maybe you will have
later to change this chip with same chip from other board to check
performance and results.
3. Dirt nesting - clean off that space and make sure that no dirt or rusty
dirt causes creeping from one connection to neighboring trace.
4: This is not a real 74S195 ! It´s a replacement chip that may cause trouble !
It´s recommended to replace by correct 74 S 195 chip ! The timing of this
replacement chip might become out of tolerance !
5: This is not a correct 4116 RAM chip ! Some 8116 RAM chips only use + 5 Volt.
and have other refresh handling!
This might cause trouble in interaction with the other RAM chips in the row
( 4116 ).
Replace this chip with a real 4116 RAM chip. If possible try to use one with same
or at least similar timing. The other chips in the row indicate by -3 that
they are determined to operate at 300 nanoSeconds. So replace with a chip marked
by -3 or -25 ( for 250 nanoSeconds ).
6: In general it´s a good idea to keep the set of 74LS161 as a set from same manufacturer
to keep good behaviour ( this might effect later the display of the video and
output of the color ). The marked chip has been replaced some time ago to replace
a damaged chip. If you have a chip different from the rest of the bunch it´s
a good idea to swap it to the left or right end of the row of 4 and not in the middle.
7: This is also a swapped replacement chip! It´s good idea to replace this chip with
a known to be good 74LS00 ! This chip is also related together with the 74S86 to the
basical clocking signals of the entire mainboard.
no marking no.8....
9: The 74LS367 are the so called "bus transcievers" that handle the adressing between
the 6502 CPU and the entire rest of the mainboard. They have also progresive oxydation.
clean all 3 chips like explained in point 1.
10: The ROMs marked by color also have very heavy oxydatition at their legs and should
also be cleaned carefully like explained in point 1 !
Of course i assume that you perform tests with inserted CPU...
Explenation to "cleaning block" ( mentioned at point 1 ):
Depending to the area you are living at it might be required to perform some search for
similar cleaning tool.... this block is manufactured by German company SENO.
Here in Germany this block is advertized like this:
http://www.conrad.de/ce/de/product/529419/Polibloc-SENO-2003
the block is used for cleaning the surface of copperboards before
apply of spray-chemicals to top for lighting process of PCB´s..
But it of course is excellent by removing any kind of oxydation from
any kind of surface ( like IC-pins too ) and its more gentle than
wet sanding paper without use of water or any other fluid.
It is also offered ( far more expensive ) by Amazon ( which will give
offer to order it from anywhere in the world ):
http://www.amazon.de/POLIBLOC-SENO-2003/dp/B006GEFHE8
good luck awaiting your feedback....
sincerely speedyG
Hi SpeedyG!
Thank you for the detailed instructions. So far I've done everything except clean the pins you pointed out which were oxidized. That cleaning block is surprisingly hard to find here in the US, and the supplier you mentioned doesn't ship to the US. So far the only suppliers I've found which stock it and will ship it are in the UK.
Would using DeOxit be sufficient?
Replaced the RAM bank with another matching set entirely.
Same issue at boot. I looked beneath the motherboard and there are no obvious changes, no wires, etc.
Lots of those chips are still available new, but there are a handful which Mouser or Jameco Electronics don't stock. (other than the obvious custom Apple ROMs).
I can pull another set of ROM from a donor system for testing purposes - anything else I should be trying right now?
Thanks again!
Jennifer
Hello Jennifer,
if you work very carefull with wet sanding paper ( finest grade 400 or 600 )
you can use wet sanding paper instead and dry afterwards the pins carefully.
De oxy will work... but it uses chemicals that remain at the surface and after cleanup
that area will very soon start again with oxydation - faster than normal.....
that´s the reason i never use it anymore....
If you have a spare system the next step would be to change point by point the chips
that have been mentioned to be wrong or at least not really fitting replacements...
if you want to locate precisely the damaged chip you should just change one chip, perform test,
and if changes happen give here feedback. After one chip change the system should
perform correct booting.
I´d try to figure out which chips are really damaged and then - after i have a precise list
of not working chips i´d start with ordering correct replacement chips.
The reason i asked for picture from solderside is:
If modification of adressing lines have been made in some cases formerly users
might have made a very small cut in one or other suspected adressing line.
I intended not to hunt for soldered wires - i wanted to hunt for extrem tiny trace cuts....
just besides : how far expanded is your technical experience ?
experience measuring in running system voltages ?
technical equipment for viewing signals with oscilloscope ?
Chance to visit somebody who has such equipment and support you in this task ?
sincerely speedyG
So yes I do test it with CPU present.
I just finished replacing one by one each and every chip from another known good board. No luck.
I also replaced the ROMs from that board - no change. Even tried (as an act of desperation) another power supply, no change their either.
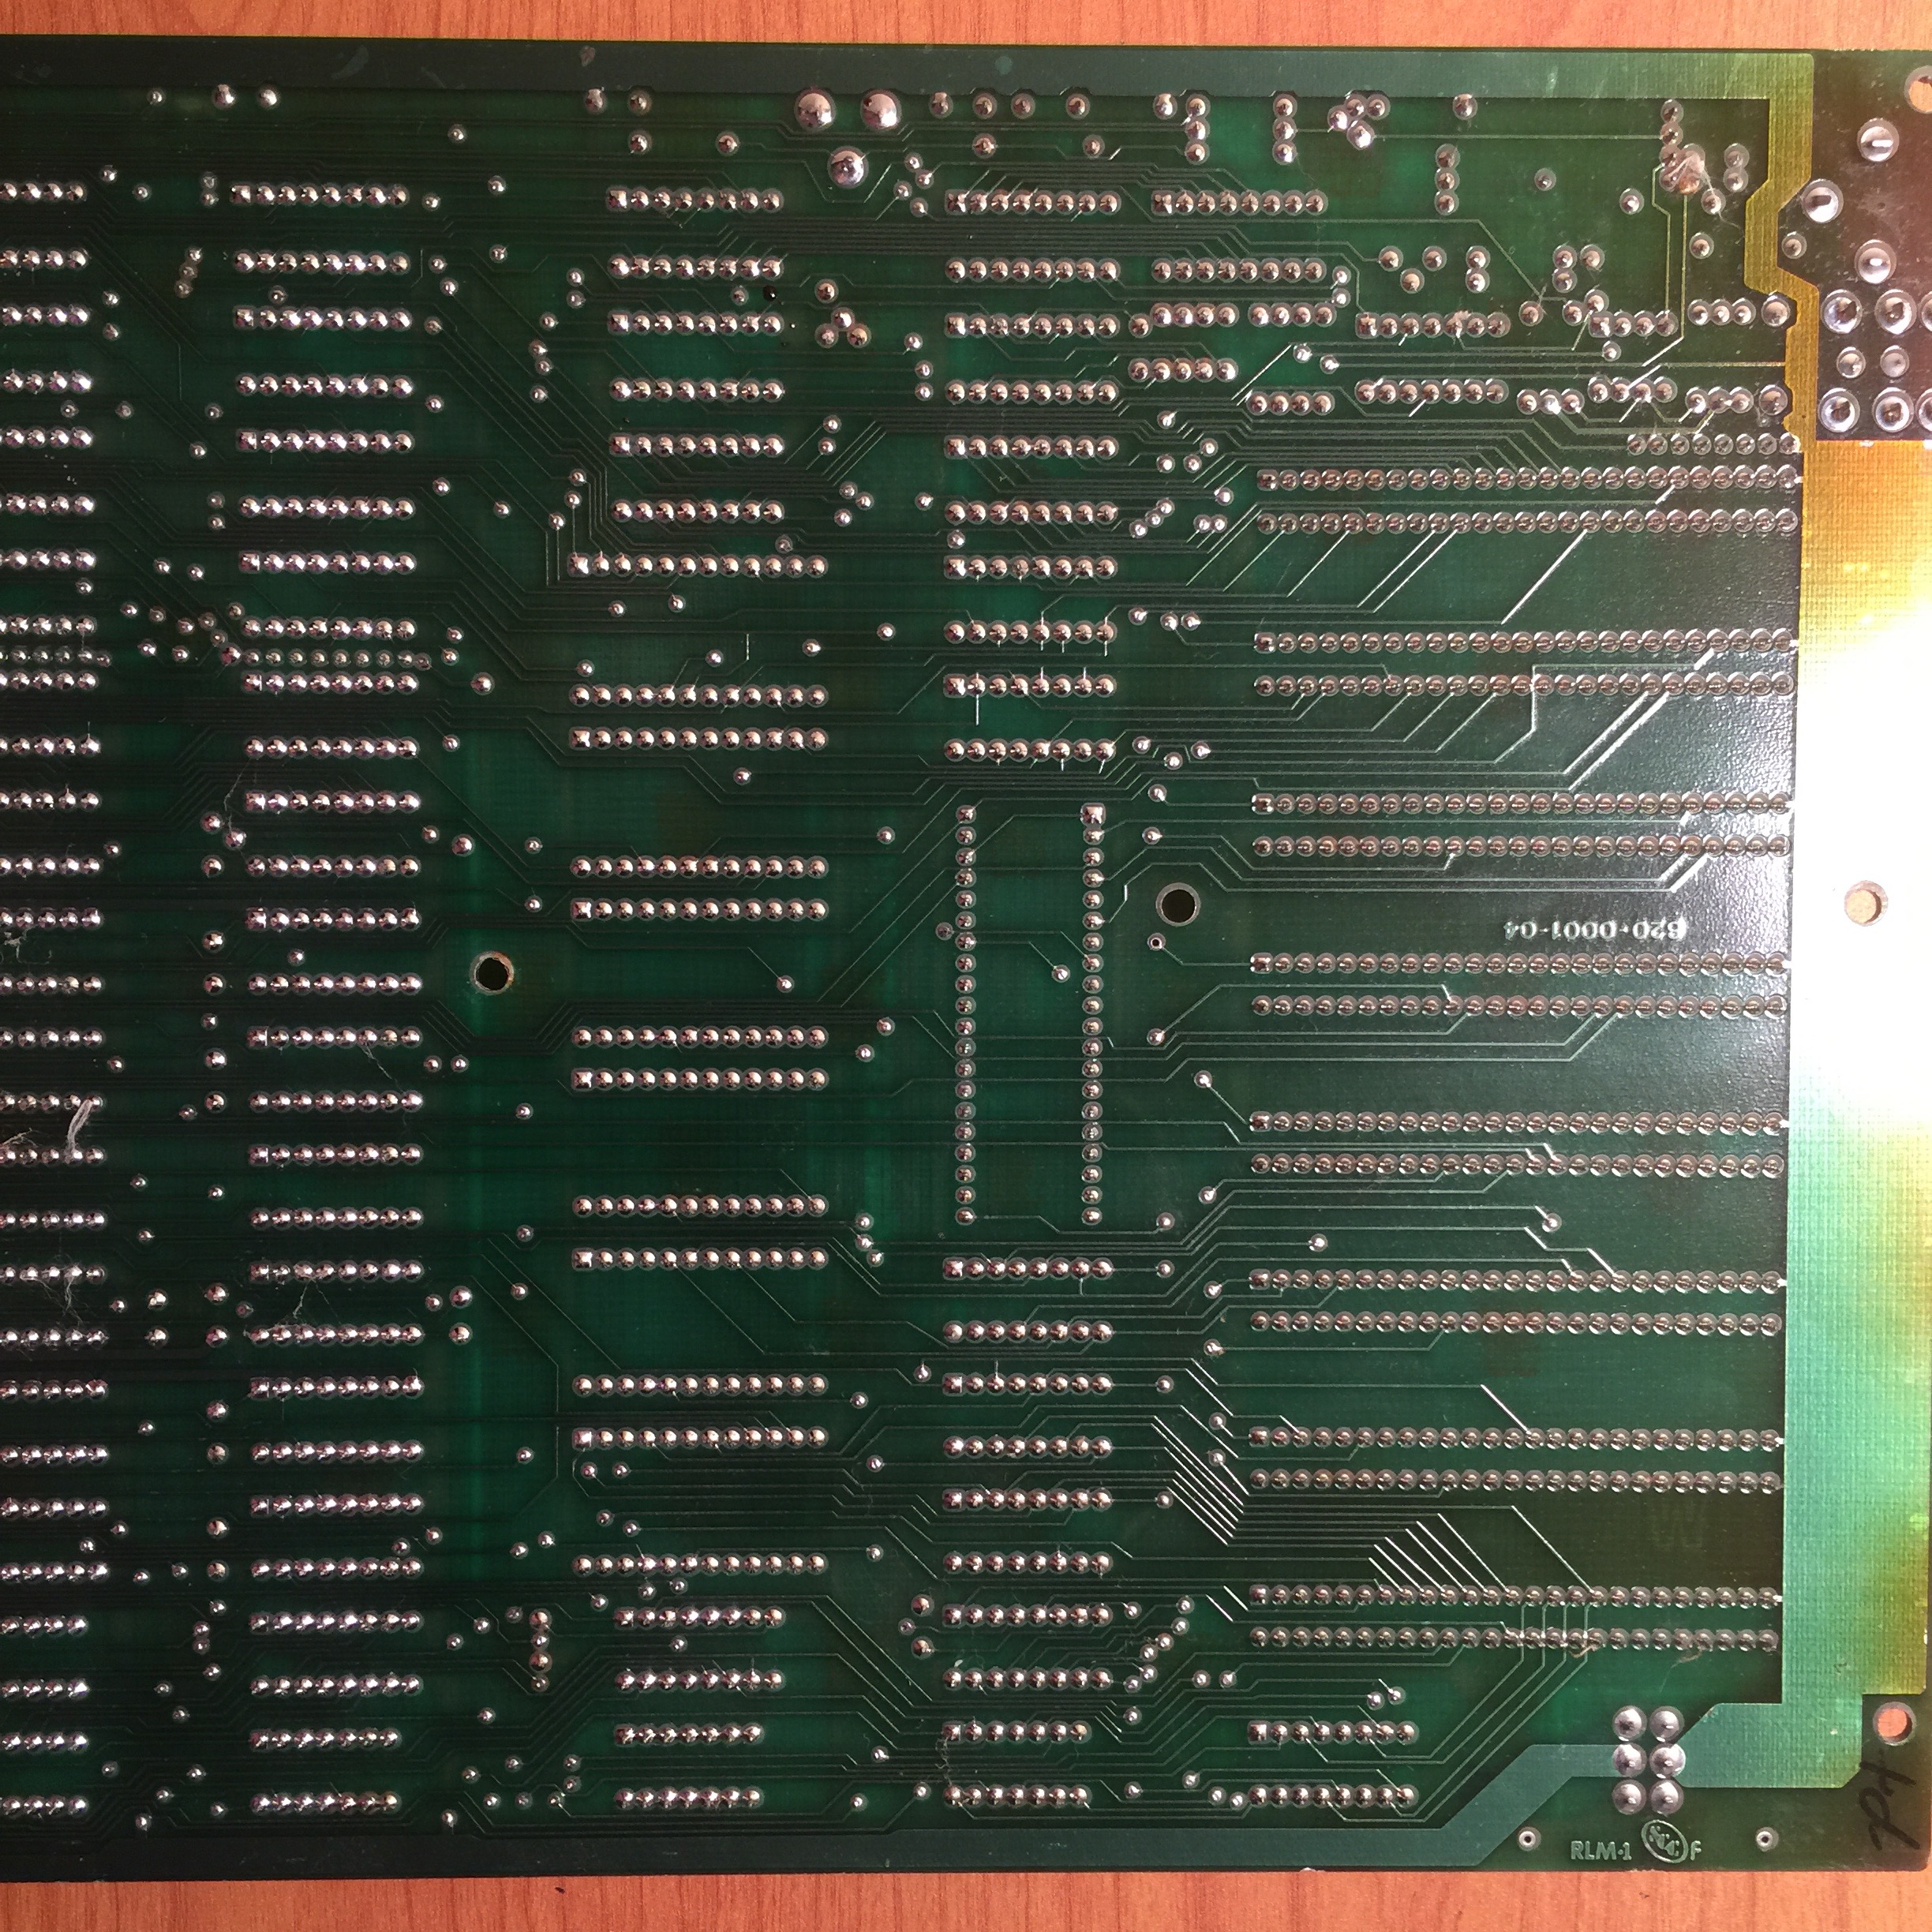
I have taken pics of the solder-side as you asked. Please let me know what else I can do...
I am not an electronics whiz, so have zero skills with an oscilloscope. I don't know of anyone nearby (or at all) who can take a look beyond what we are doing.
Any thoughts?
Jennifer
ps: See first post for additional pics.
Jennifer
The description of the beeping and cursor moving indicates to me that the cup, ram and rom are ok and it is just a video issue.
Is this a post of the same computer with the lowercase conversion http://www.applefritter.com/content/another-ii ?
If so the socket for the 2315 may have been damaged due to the size of the pins on the conversion card.
Large pins can force the socket for each pin wider than normal and don't return to normal position when the pins removed.
If this happens then you might not get correct contact on some pins when character rom is installed and this is the cause of the video issue.
Repairing/replacing the socket maybe required.
GeoffB
Hello ggb,
a real good hint !
Hello Jennifer,
viewing the solderside it seems you have been using a towel to dry up after fluid cleaning of the solderside of the mainboard.
Unfortunatly there are still several spots with remaining fibers of the towel that should by removed with a old toothbrush or
a paintbrush or other similar tool ( not to hard fibers ). I have marked up the spots again with light red shading.
for better orientation i have turned pictures that way, that the rearside towards the slots are on top
and the frontside towards the keyboard are at bottom. So before moving back the mainboard i´d recommend
to "cleanup the site" from fibers.
Then after remounting the mainboard to the bottomplate it´s really a good idea to reinstall the modification and
inspect if you get again a good booting computer with visible display. If it turns out that the suspect from ggb
to become true then next step would be to replace the socket of the 2513 and the 74LS194 that have been damaged
by the carrierpins. If the problem still remains then we´ll inspect next possible sources of trouble after feedback.
Good luck with the examination. Besides if you have to desolder the sockets because the objection of ggb turns out
be true also give short feedback for some tips on correct handling of the desoldering and replacement task of that 2 sockets.
sincerely
speedyG
just a small pic of the mod ggb mentioned:
again thanks for the hint, GeoffB.
speedyG
Ohmigod. I had this thought in the back of my mind the last few days regarding the socket - but I was like "nah, that's not possible..."
Having said that, I put the lower case modification back and powered it back on and lo and behold I have a normal looking screen again!!
So I guess I will live with that lower case modification for now.
Thank you so much Geoff! And SpeedyG too for all of your help!
Jennifer
I told you on Monday to look closer at character ROM...
Yes you did, and I did literally look at it, make sure the legs weren't bent or missing - even tried a replacement chip. Sorry I didn't realize it was the socket!
Thanks George!
Jennifer