| Attachment | Size |
|---|---|
| 24.01 KB | |
| 135.14 KB |
Hi everyone,
While discussing with someone I know about the Apple II+ and a pair of machines I revived earlier last fall, they mentioned that their own II+'s keyboard had "a few" defective keys and that they hadn't been using it much since. I offered to take a look and retrieved the ailing machine a few weeks later.
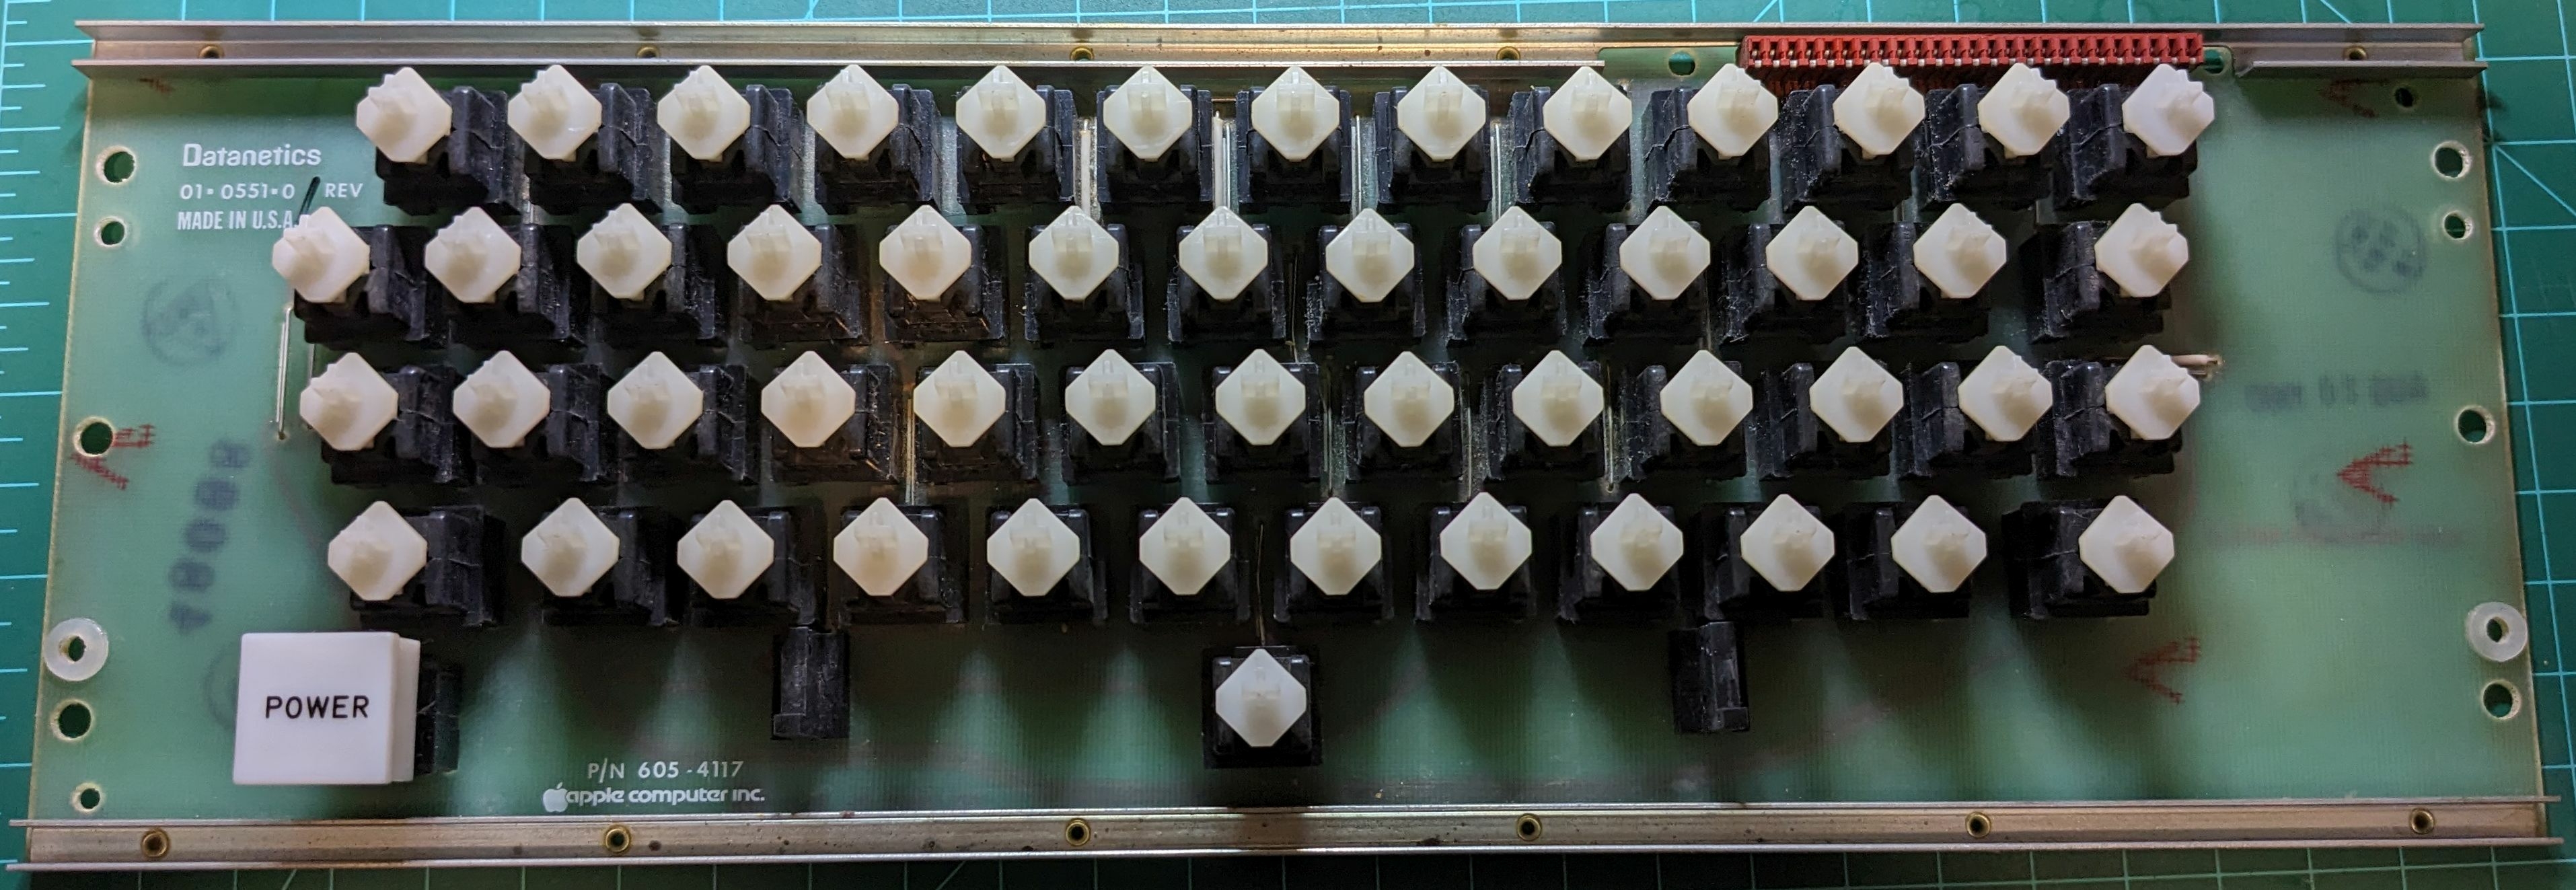
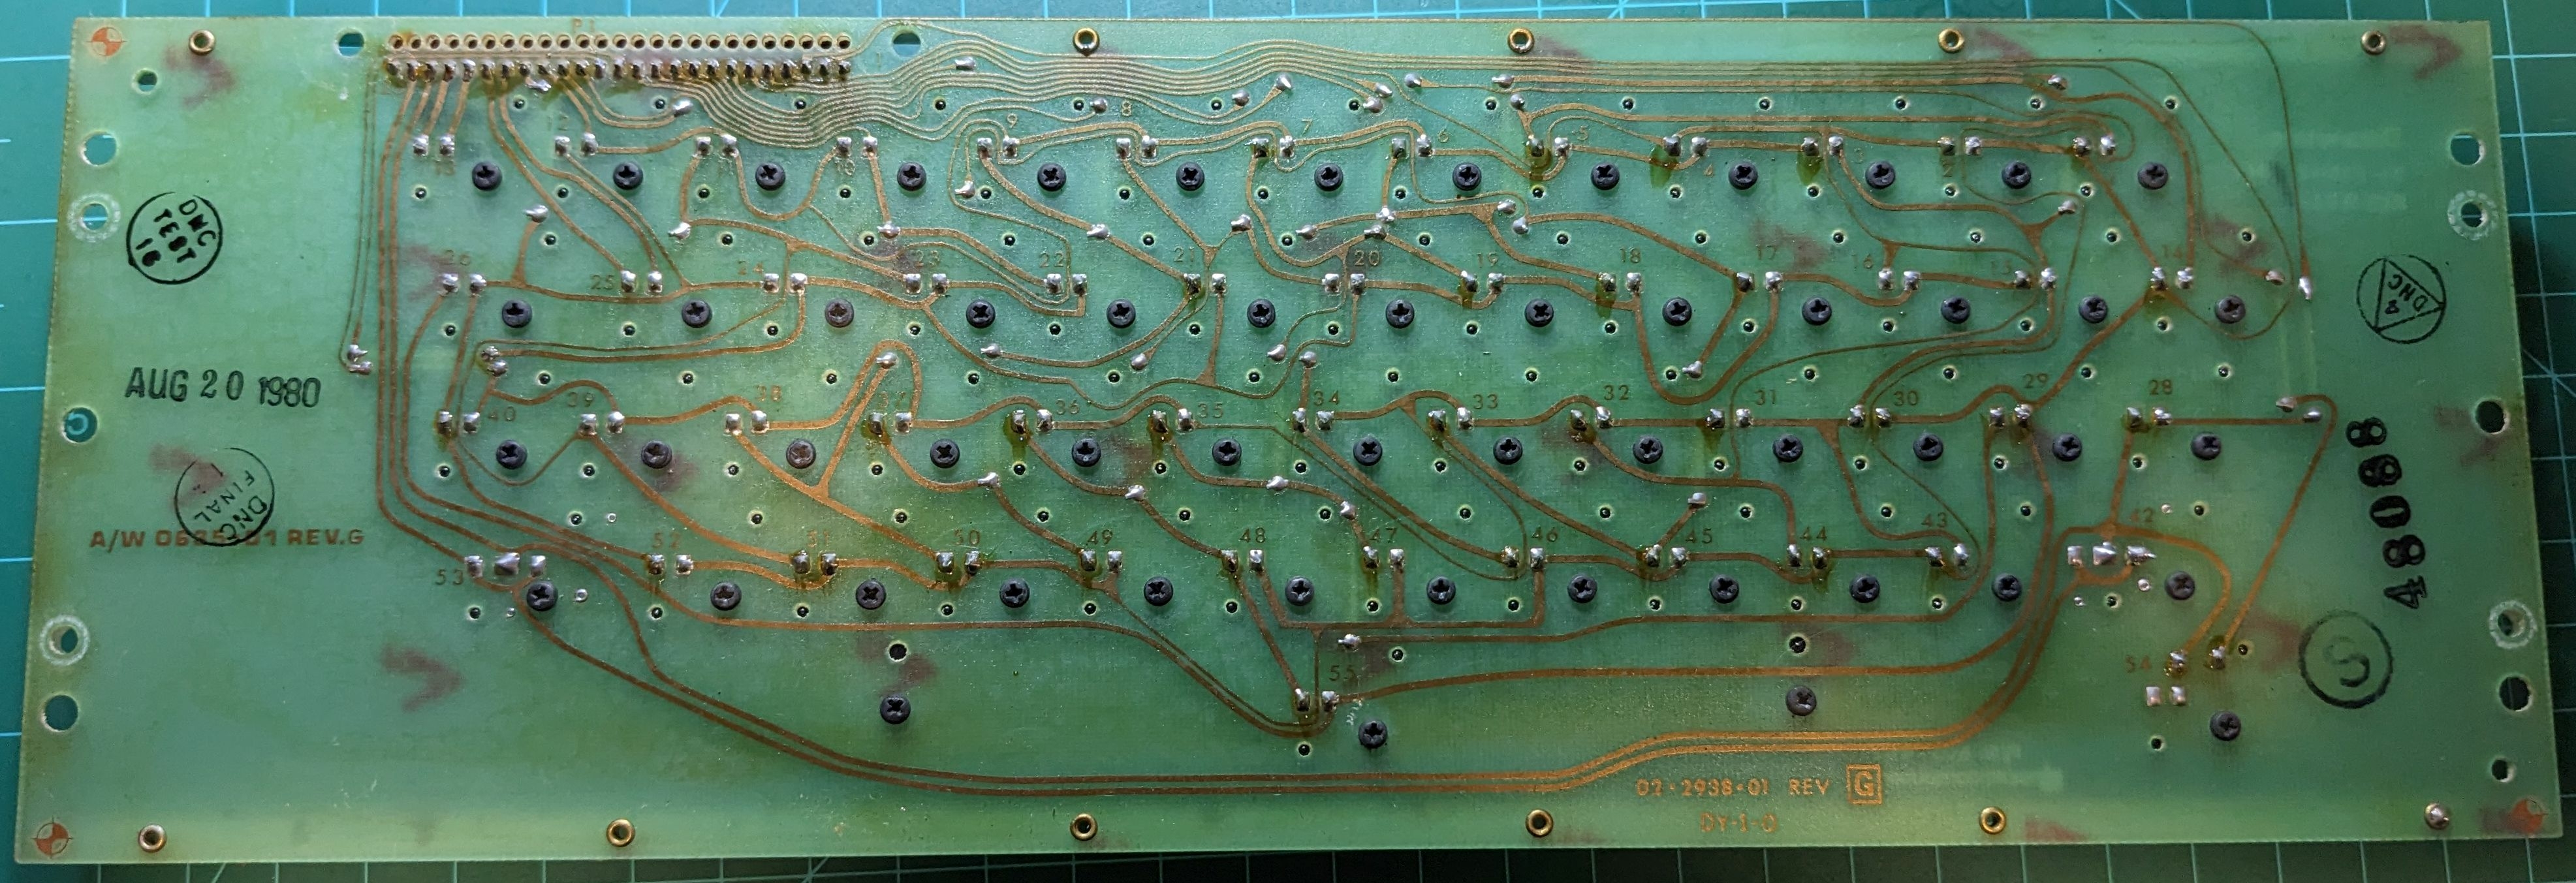
This substantially upgraded A2S1016 from the 36th week of 1980 sports a Datanetics 01-0551-01 keyboard, Apple part number 605-4117 dated from August 20, 1980. I took care of its Rifa filter cap, two electrolytics and a few cracked resistors in the power supply as well.
Cleaning flux was a bit of an afterthough in those days... (And for a few more years still, I've seen AEK IIs caked in the stuff.)
After running the keyboard test in Apple-Cillin, it turns out that the definition of "a few" here is twenty-one defective switches out of fifty-two, oof.
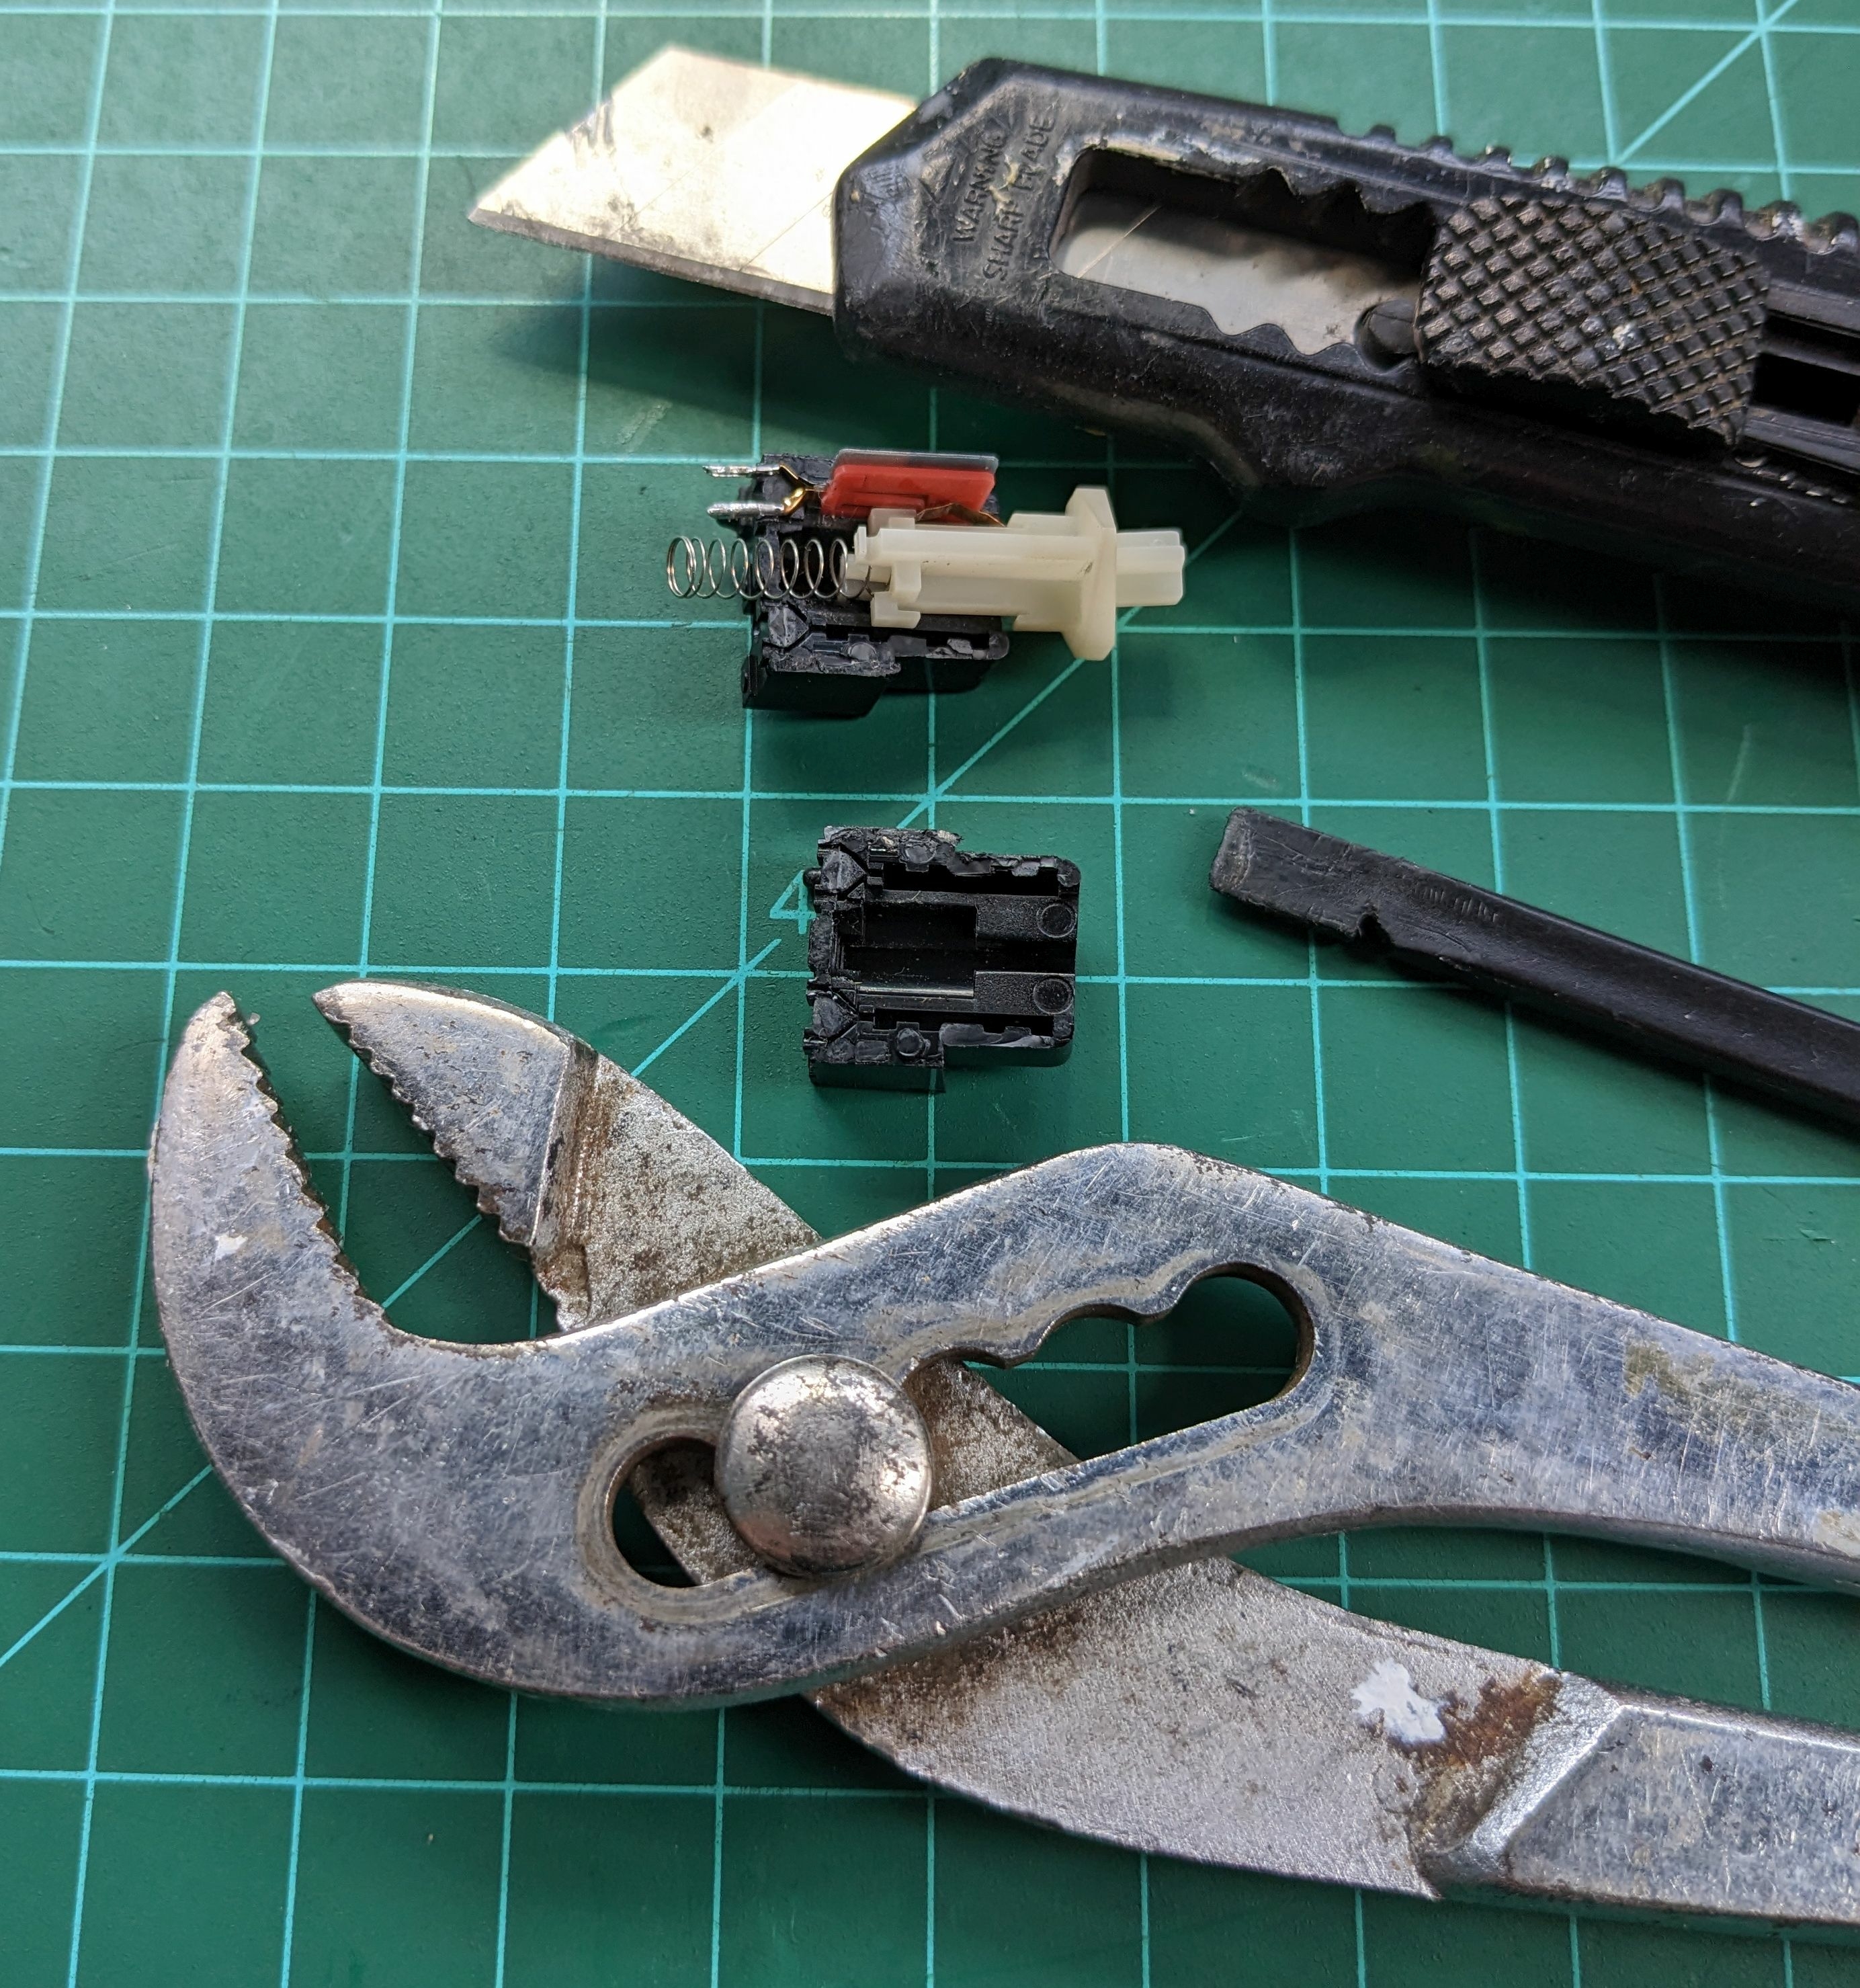
My multimeter agrees, no continuity even after exercising them a bit. A quick search tells me the contacts are supposed to be sealed so spraying contact cleaner directly in the housing won't do much. Oh, and the shell is "ultrasonically welded together" per https://telcontar.net/KBK/Datanetics/DC-50.
Cracking one of these open isn't without risk and one or two switches didn't survive:
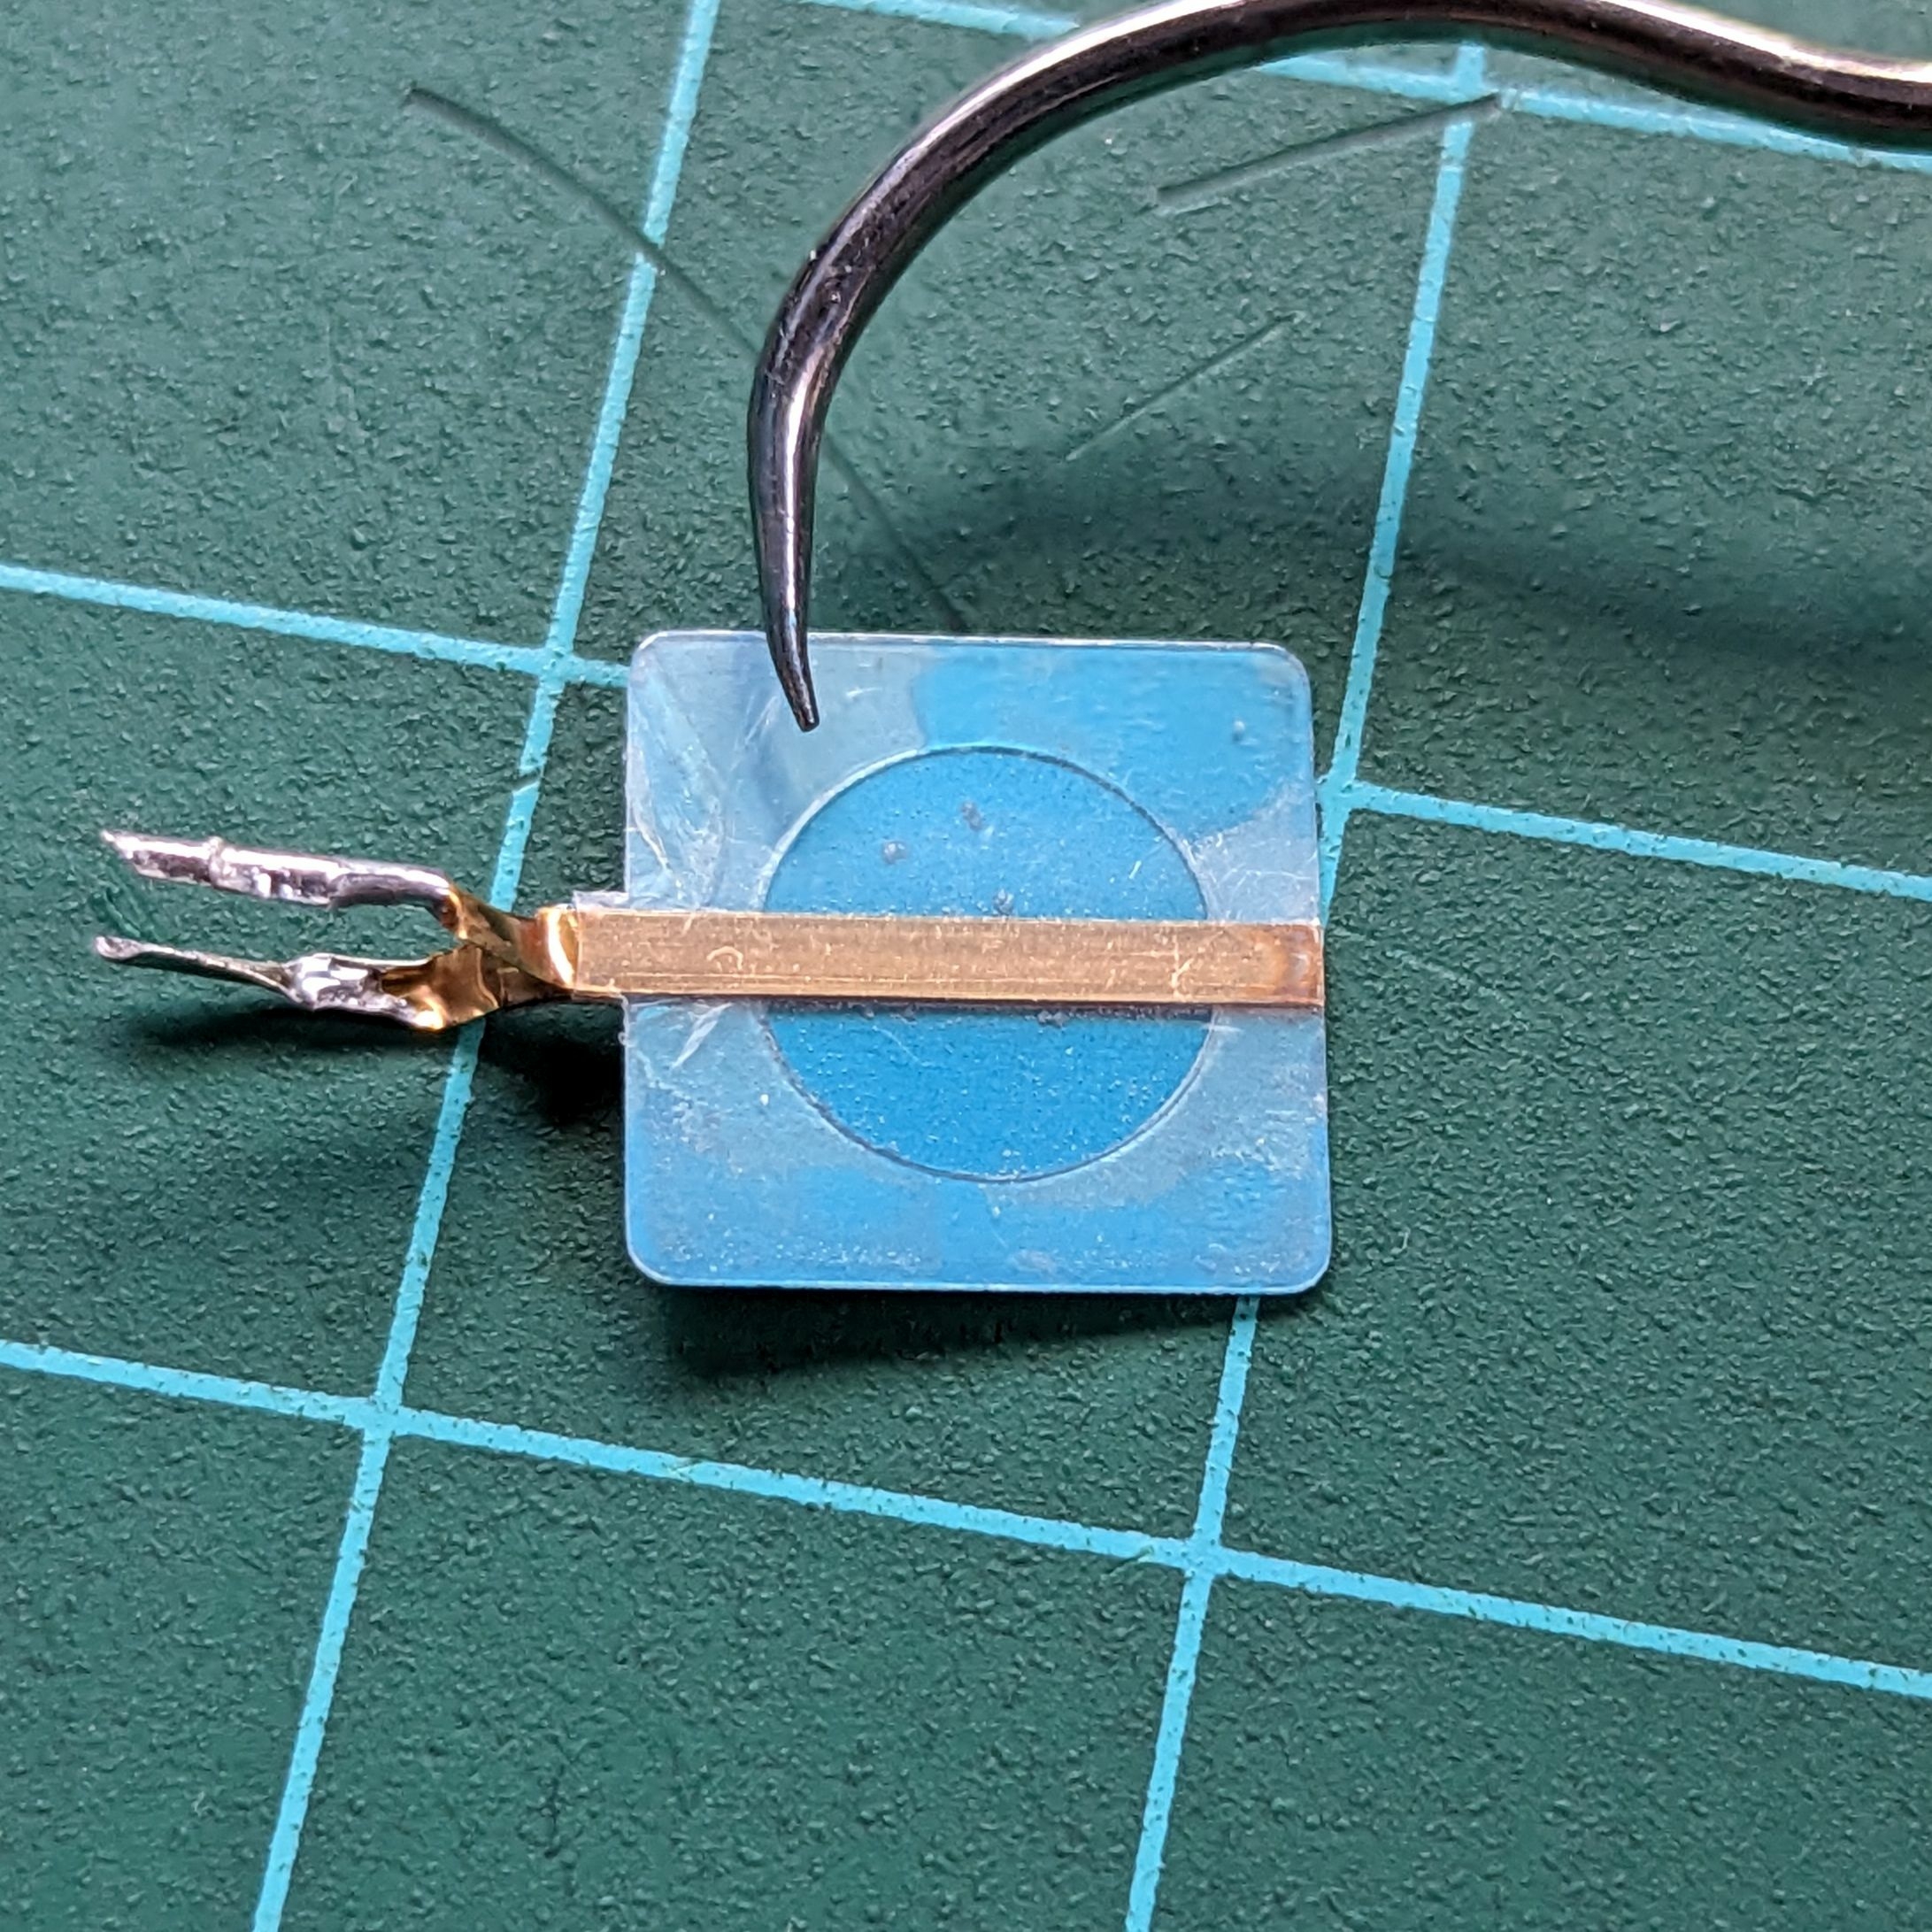
After four decades the contact membranes are no longer sealed and there is some kind of contamination that prevents the contacts from closing:
It is possible to separate the membranes further to spray contact cleaner to "fix" the switch, gingerly reassemble all the parts then close the shell halves with a bit of polyimide tape - but I'd consider those on borrowed time.
To sum things up:
- Replacement Apple II keyboards of any kind are getting harder to come by and when they do show up they're not cheap.
- The Cherry MX based kit from ReactiveMicro is out of stock with no ETA.
- Datanetics switches are failing fast even though this machine is normally located in a climate-controlled office and there are no signs of spills.
- There are no replacement Datanetics switches available anywhere I checked.
- The Datanetics switches, while not outright terrible, are nothing to write home about in terms of key feel.
But I had an idea:
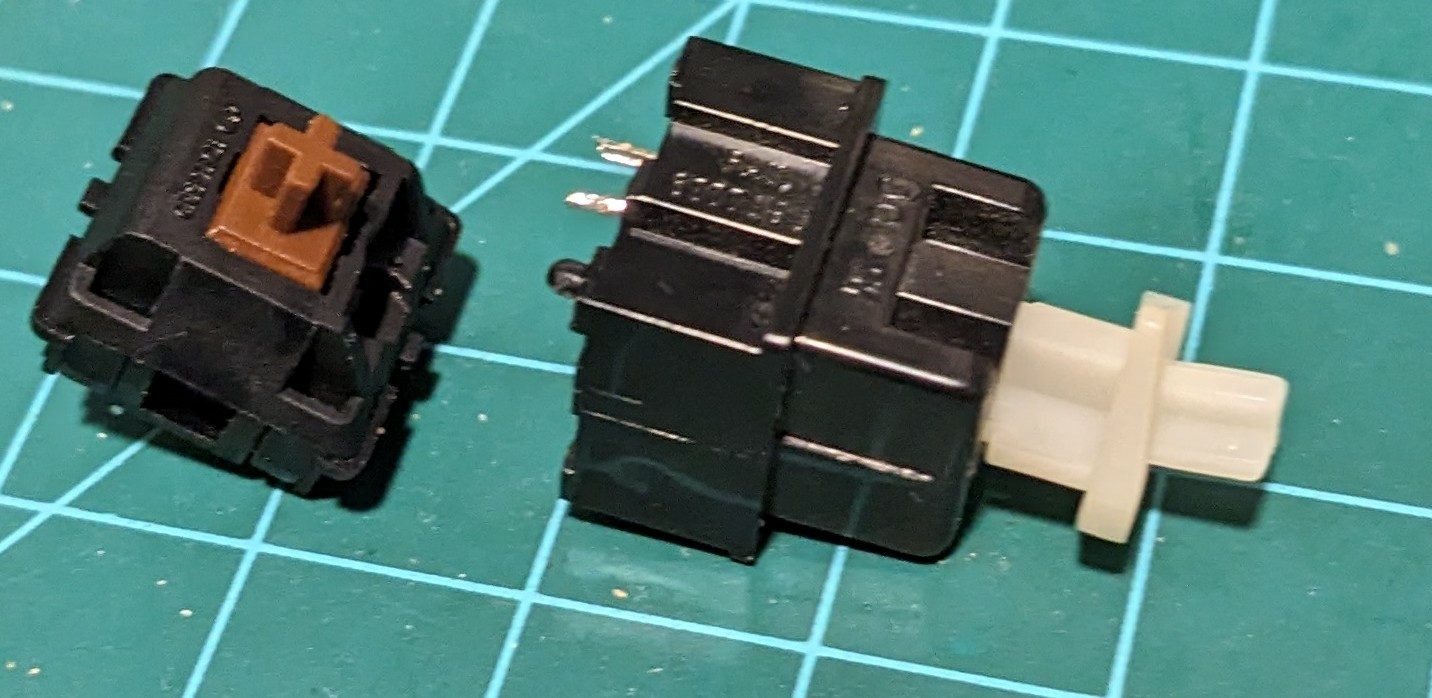
The Cherry MX switch footprint fits completely inside of the Datanetics' one! (That's a cheap Greetech clone I had lying around.)
Granted, Cherry's design is a decade newer (1983 vs 1973) but I'd still call its linear variant "period correct"; it has proven to be reliable, is easy to clean if needed and it's still in production.
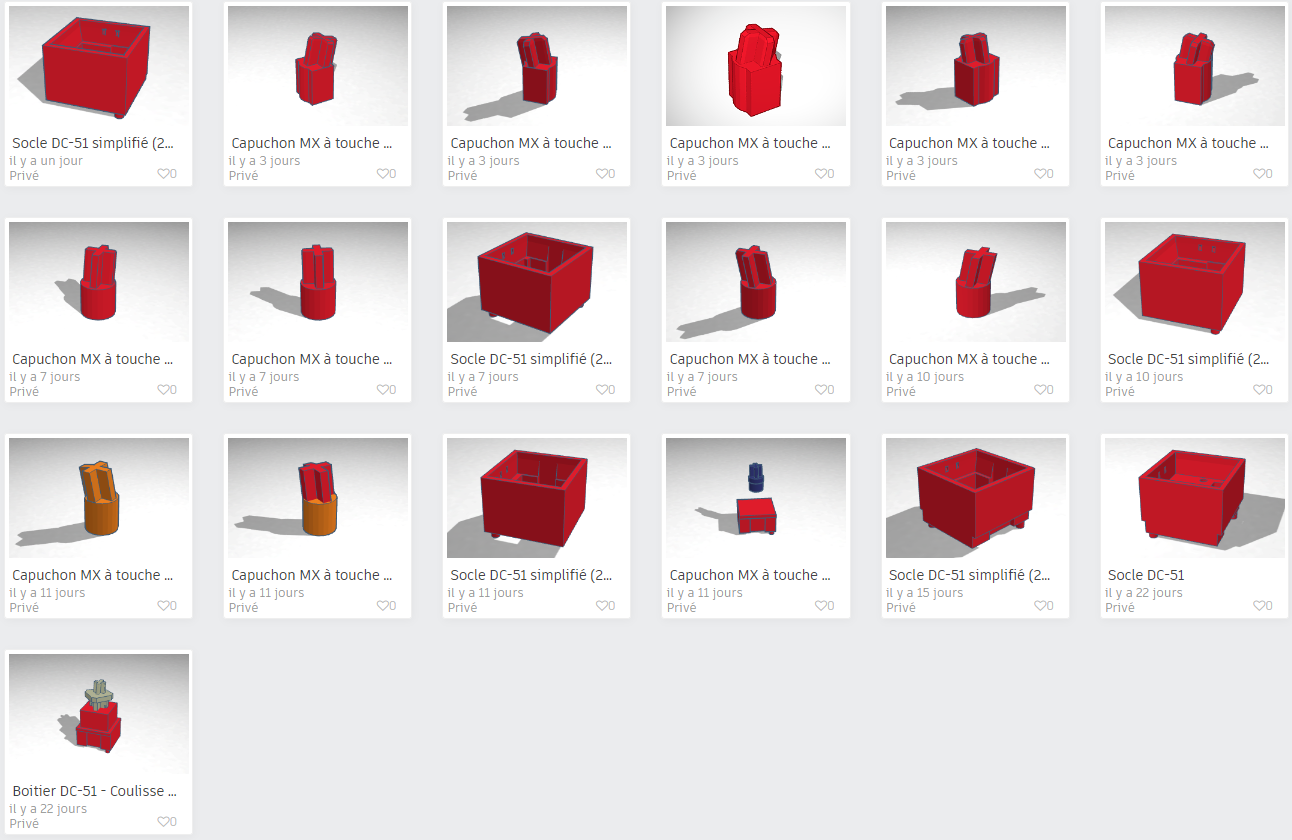
So after getting my first 3D printer, many iterations on TinkerCAD...
...and print attempts in both PLA and PETG...
I'm happy with the results!
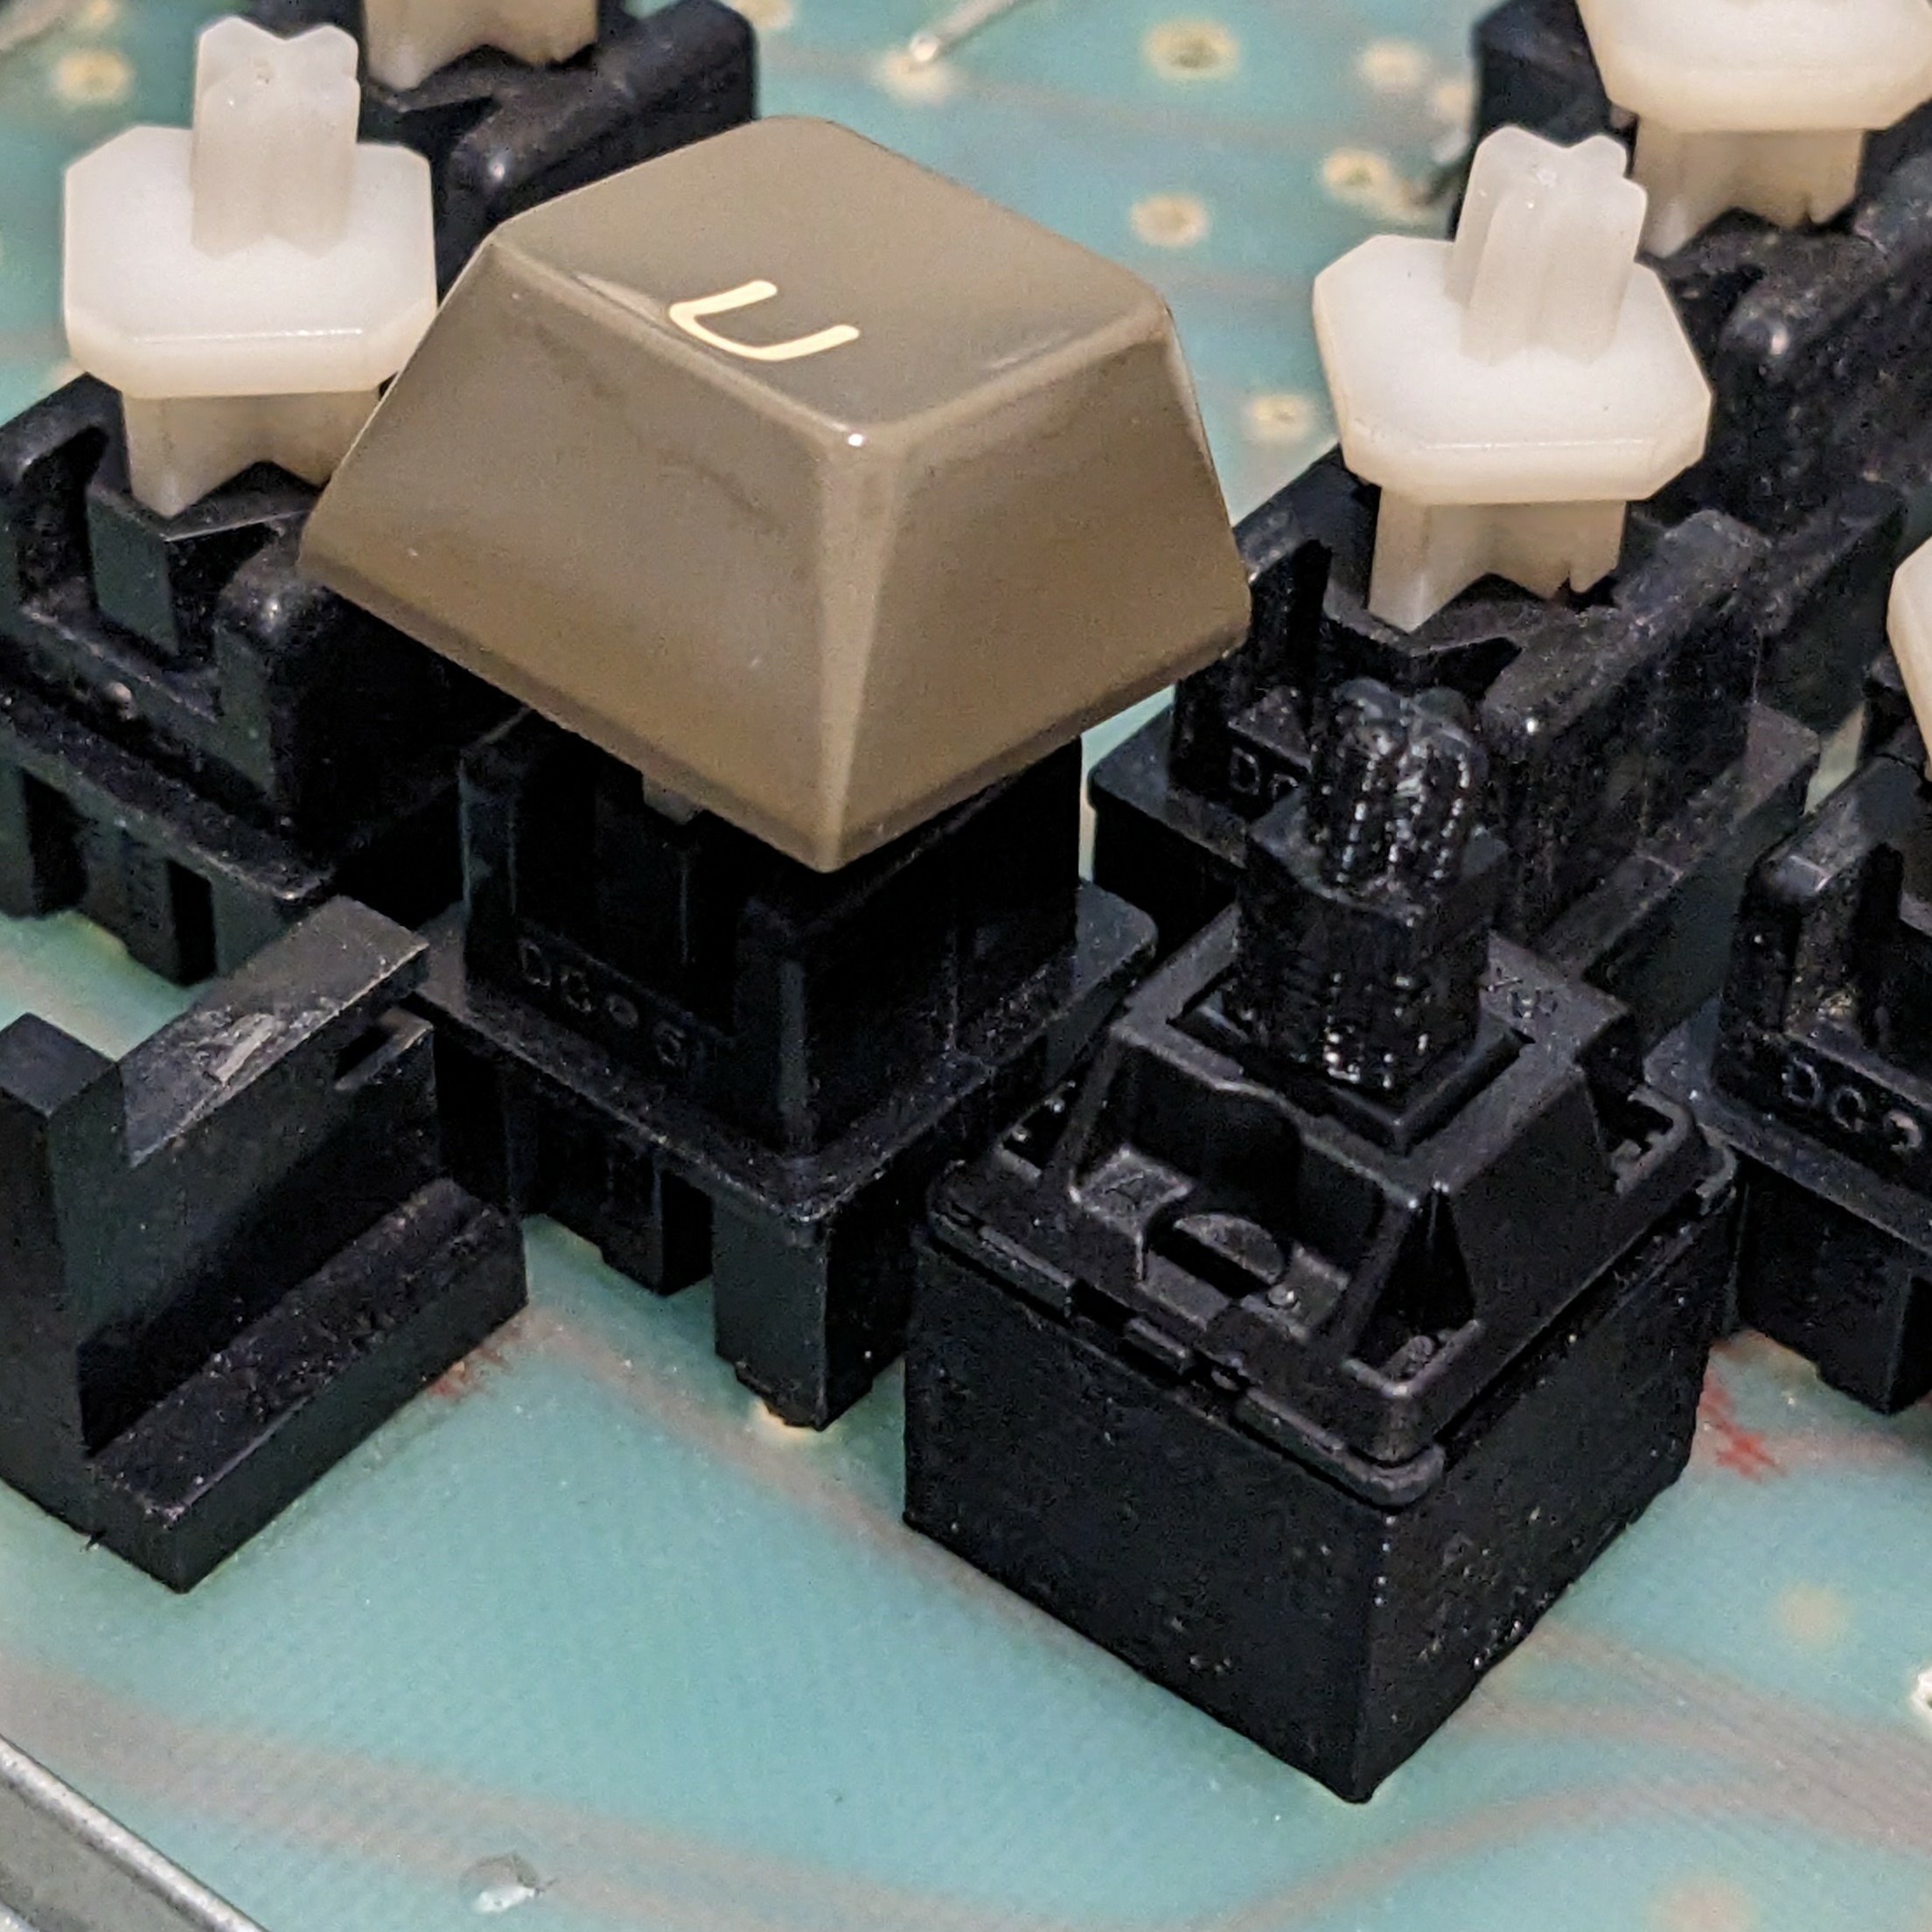
Whole keyboard with the "switch adapters" - I went with genuine Cherry MX Black:
With caps back on:
I have attached my model files here and also on Thingiverse (https://www.thingiverse.com/thing:5780203) - they're licensed under Creative C0mmons CC-BY-NC-SA: https://creativecommons.org/licenses/by-nc-sa/4.0/.
You'll need a reasonably well adjusted printer, I used PETG for my final prints and I suggest you do the same, PLA's weaker inter-layer bonds is not ideal for the DC stem in particular. The switch adapters need supports, the keycap ones don't.
Let me know if you end up using my models or if you have any questions.
Regards,
LR514




This is an absolutely wonderful contribution. I have this exact keyboard and i have resurrected it 2 years ago but random keys are beginning to get twitchy again and one has stopped working outright. When time permits, I am definitely going to give this a go.
Its a shame injection moulding costs so much to set up. These designs would be great to be able to buy.
But this is very cool. Time to dust off the 3d printer.
Great photos and back story.
Thanks heaps
Cheers
Dave
Hello,
nice job and thanks for sharing the project.
I was looking for a similar solution, I have an Apple J plus with a datanetics keyboard that has the same switches and I confirm that it is very difficult to revive a faulty switch.
How did you solve the misalignment of the cherry mx bottom pins with respect to the dcs51 pins and the pcb holes?
Is the new switch stem smooth as the original? Is it rough or does it slide nicely? What about keycaps wobble?
Sorry for all this questions
Best regards
Luca
This is fantastic... I wonder if it would work with the Datanetics clone PCBs that there are gerbers available for?
No need to apologize, these are good questions; I forgot to add a few photos to my original post and the forum isn't letting me edit at the moment, so keep reading...
I solder two (approx 2 cm) wires to the Cherry switch before inserting them in guide-holes on the switch adapter that match the Datanetics footprint. I used enameled "magnet" wire but any small gauge solid wire should work:
Enameled wires 1.jpg
Enameled wires 2.jpg
I'm keeping the stock Cherry stem to avoid that issue altogether, simply printing an adapter that mounts like an MX cap and converts to a DC-51 stem. Besides, printing smooth, quality stems with a filament printer is not really possible, perhaps with the exception of acetone vapor polished ABS but that comes with several other challenges. If you haven't tried them yet, I must say the new retooled "Hyperglide" MX Blacks I got for this project are pretty decent.
I checked and it is a little higher than the original DC-51 switches by virtue of the longer arm the cap is now on, but nothing noteworthy while typing normally. Comparable to, if not lower than that of Alps SKCC keyboards that shipped with similar adapters.
A few more notes:
The MX stem hole in the keycap adapter is slightly oversized: 1.25 mm thick cross whereas official Cherry spec says 1.17±0.02 mm. (Source: https://www.cherrymx.de/en/dev.html).
Thanks and Attribution: I used this Cherry MX switch model by user "gcb" : https://www.thingiverse.com/thing:421524 for part of the switch adapter design.
Thanks for all the answers!
Luca
nicely done. I may borrow some of this to do a similar thing to an SKCC keyboard
What small guage wire is the best to use? 28? 30?
I've had a bunch of those adapters 3D printed and bought some Cherry MX keyswitches and had Datanetics PCBs of the kind the are commonly used with Apple-1 made... And bought some keycap sets... Getting ready to assemble some keyboards.... I have one Joe's Computer Museum encoder chip but if these keybards work I will order a few more.
This adapter is pretty awesome. Seems to fit and look nearly perfect.
Oh, the keycaps I've ordered directly fit the Cherry MX key switches so I will end up with a bunch of the MX->Datanetics keycap adapters I won't need.
I used 26 gauge. (24 might fit but don't quote me on that.)
If you're going to use MX keycaps directly you might want to adjust the PCB's height relative to the case you're going to be using it in, since the MX caps are going to sit low in comparison to the DC ones.
You will need to DIY something for the spacebar stabilizers as well since my setup reuses the DC's.
Here are the Tinkercad links in case you need them:
Switch adapter: https://www.tinkercad.com/things/12udcAePK2T-socle-dc-51-simplifie-2023-01-09
Keycap adapter: https://www.tinkercad.com/things/lMbRnojhf6x-capuchon-mx-a-touche-dc-51-2023-01-08-v1
I bought a spool of 24 gauge tinned copper wire and it fits easy. I think you could easily use 22, in fact if I was ordering again I'd probably go with 22.
Partially assembled keyboard. The keycaps aren't ideal but these are cheaply available from Aliexpress.
20230223_174756.jpg
Assembling a keyswitch into adapter
cmx2dc-1.jpeg
cmx2dc-2.jpeg
Final stages of keyswitch to adapter installation.
cmx2dc-3.jpeg
cmx2dc-4.jpeg
This is an awesome contribution thankyou!!
It is also what led me to find this great forum.
The 3D printer is whirring away...
I think I need to find something to practice my soldering on though.
I haven't soldered since high school...
Hopefully your 3D printing goes better than the last batch I had done. I have a few hundred that are completely unusable. The first batch I got was OK, but when I tried to re-order from the originaal maker they had more than doubled the price. I went with a cheaper option and it was a bad move. It has kind of soured me on working on the project anymore. I have 5 of the Datanetics PCBs I may just put on eBay and let someone else deal with completing them. And Cherry MX key switches and key caps too...
LR514, I would like to adapt your design for the switches in my keyboard (LFW-CT switches in a SWTPC KBD-2 keyboard).
Would you be willing to share your original design files, instead of the .stl files? Then, I could modify just the footprint at the bottom to accommodate my switches.
Thank you.
Sure! There you go:
Switch base: https://www.tinkercad.com/things/12udcAePK2T?sharecode=B7vT58ra5Wn6TgHJFJEuySpw54i0qUaYmlDvqpZHiow
Keycap adapter: https://www.tinkercad.com/things/lMbRnojhf6x?sharecode=COgzbTb4wd9uu2e7dFD94oSeaHVAVPKaNBmTjfTRfY8
(I might revisit this using a more capable parametric CAD program, but won't commit on the how and when yet.)
Thank you.
Today, with my finding this post https://deskthority.net/wiki/Datanetics_DC-50_series along with a Google search bringing me to LR514's post on 3D printing an MX "fix", I learned why trying to clean my Apple II Rev 0 keyboard with DeoxIT D5 hasn't been very successful due to the way the DC-50 and DC-51 Datanetics key switches were made.
Thanks for sharing!!
Looking at your break-away of the your kbd switch I noticed the contact are U-shaped, formed pins. My older Rev.0 (S/N 3465) kbd switches are DC-51's but their contact pins are solid, round wires. Given the way the switch membranes are constructed I can see how contact cleaner can get between the two facing Mylar membranes making it harder for the two copper contacts to be pushed together by the downward movement of the key plunger. (Just an observation, though)
Yes, especially with "sealed" switches and a cleaner like D5 which has a significant residue content it may lead to problems.
Are the DC51 housings heat staked or ultrasonic welded? That will make them very difficult to disassemble but in general there's always a way if necessity is great enough. It might be possible to develop or misuse a tool to lever the halves apart, such as a pair of reverse locking pliers. Looking at the pictures of the switch contacts gave me the idea that improving their conductivity might be achievable by flushing with isohexane contact cleaner (no residue) followed by a small drop of Stabilant 22A.
I see a subtle seam on mine that separates the switch body with a front and rear half as one faces the keyboard, so my guess is ultrasonic welded. I appreciate the mention of isohexane contact cleaner and Stabilant 22A.
20230619_124351_001.jpg
Above is a close-up of key switch seams. Blelow is the only keyboard identifying marks on my Rev 0. keyboard.
20230618_145757.jpg